@8Shuttle hold button (SHUTTLE HOLD)
•If you press this button while rotating the shuttle ring, playback speed will be maintained even after removing a hand from the shuttle ring. (The LED indicator on this button blinks during the fast playback.)
Note: This operation differs from “Hold playback speed” performed by holding the shuttle ring of recorder. When you hold the playback speed from the system controller, the
•If you press this button again, normal playback speed is recovered.
@9History button (HISTORY)
When you press the + or – button while holding down this button, camera images selected in the past are dis- played in order or in reverse order.
#0– button [–]
This button is pressed when selecting a camera with the lower channel number. During setup, this button is pressed to decrease the value of selected parameter.
#1+ button [+]
This button is pressed when selecting a camera with the higher channel number. During setup, this button is pressed to increase the value of selected parameter.
#2Recorder/Unit Selection button (RECORDER/UNIT)
•Selects a recorder.
•When you press while holding down the SHIFT button, this button selects a system unit.
#3Preset/Program preset button (PRESET/PGM
PRESET)
•Recalls a preset position or the home position of combi- nation camera.
•When you press while holding down the SHIFT button, this button programs preset positions.
#4Camera position button (CAM POSI)
This button is pressed to select the camera position (the combination of camera number and preset posi- tion).
#5Numeric buttons (0, 1 to 9)
Enters camera numbers, monitor numbers, or unit num- bers, etc.
#6Monitor/Escape button (MON (ESC))
•Selects a monitor.
•When pressed during setup, this button determines the current selection to return to the main menu.
#7 Camera/Set button (CAM (SET))
•Selects a camera.
•When pressed during setup, this button selects an item to go to a submenu.
#8LCD (Liquid Crystal Display)
Displays the numbers of unit, monitor and camera cur- rently selected. The LCD also displays the functions assigned to F1 to F8 buttons.
#9Adjustment button (ADJUST)
This button is pressed to perform the settings of LCD brightness, LCD contrast, alarm buzzer, or button buzzer.
$0Menu button (MENU)
Displays the list of menu functions on the LCD. Menu functions are assignable to the function buttons (F1 to F4/F5 to F8) or joystick function buttons (A, B, and top buttons).
$1Function buttons (F1 to F4/F5 to F8)
Recall button functions you assign.
Note: When you press while holding down the SHIFT button, the F1 to F4 buttons become F5 to F8.
$2Exit button (EXIT)
While a menu function, determined with the ENTER but- ton, is being displayed on the LCD, this button is pressed to return to the upper menu.
$3Enter button (ENTER)
While menu functions are displayed on the LCD, this button is determines a function to assign.
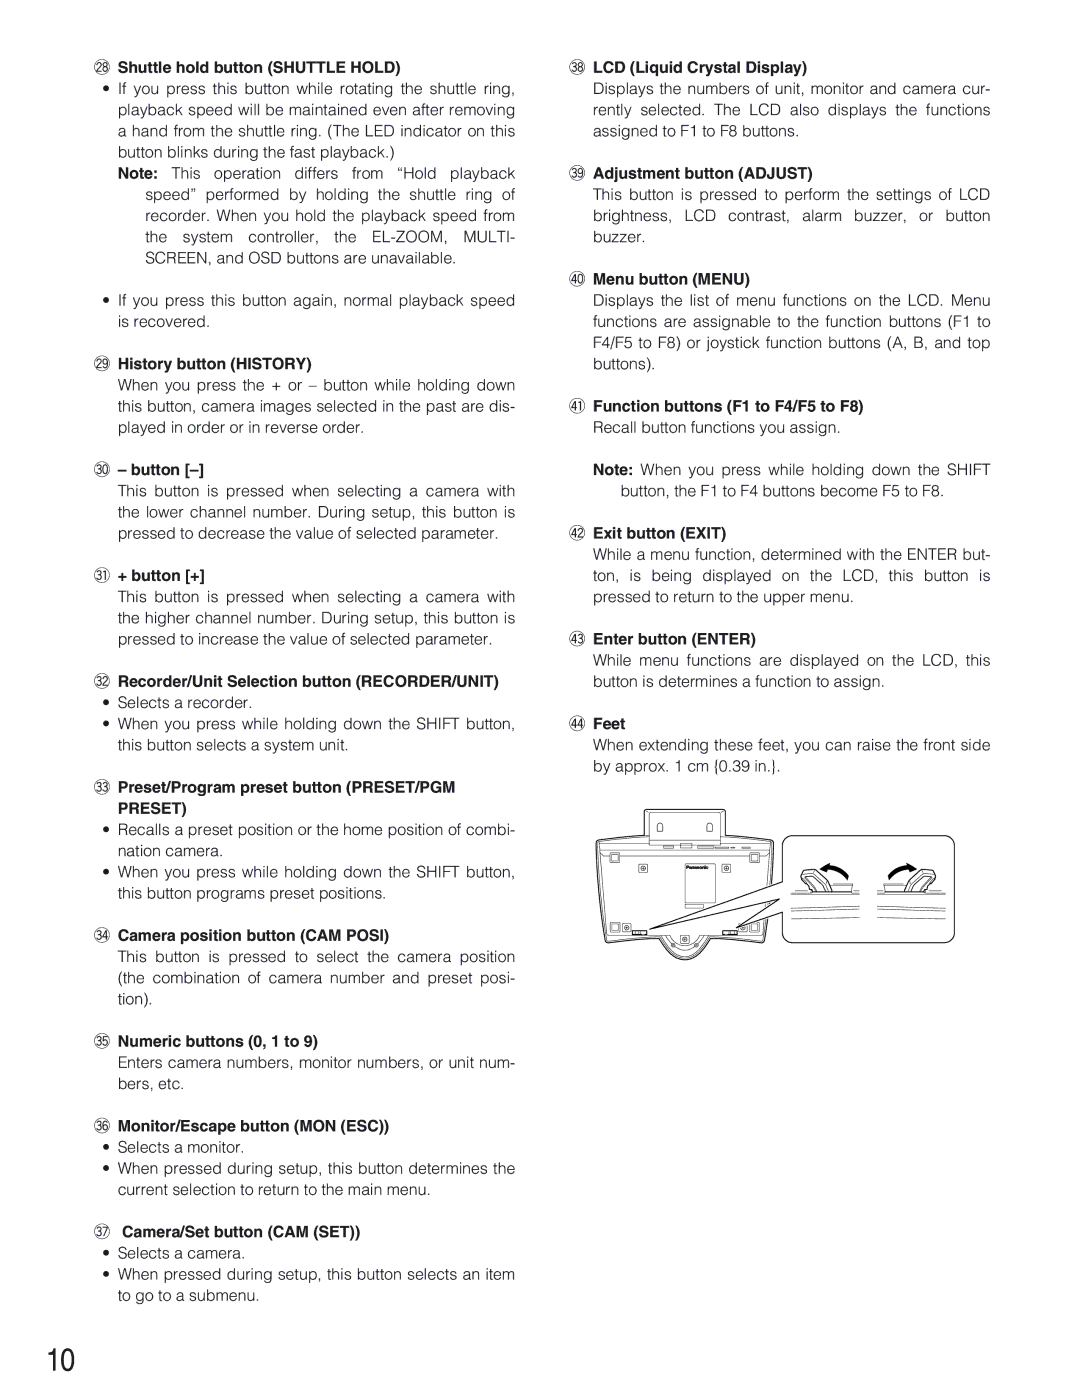
$4Feet
When extending these feet, you can raise the front side by approx. 1 cm {0.39 in.}.
10