Note: To return to Step 3, rotate the shuttle ring coun- terclockwise or move the 3D joystick to the left.
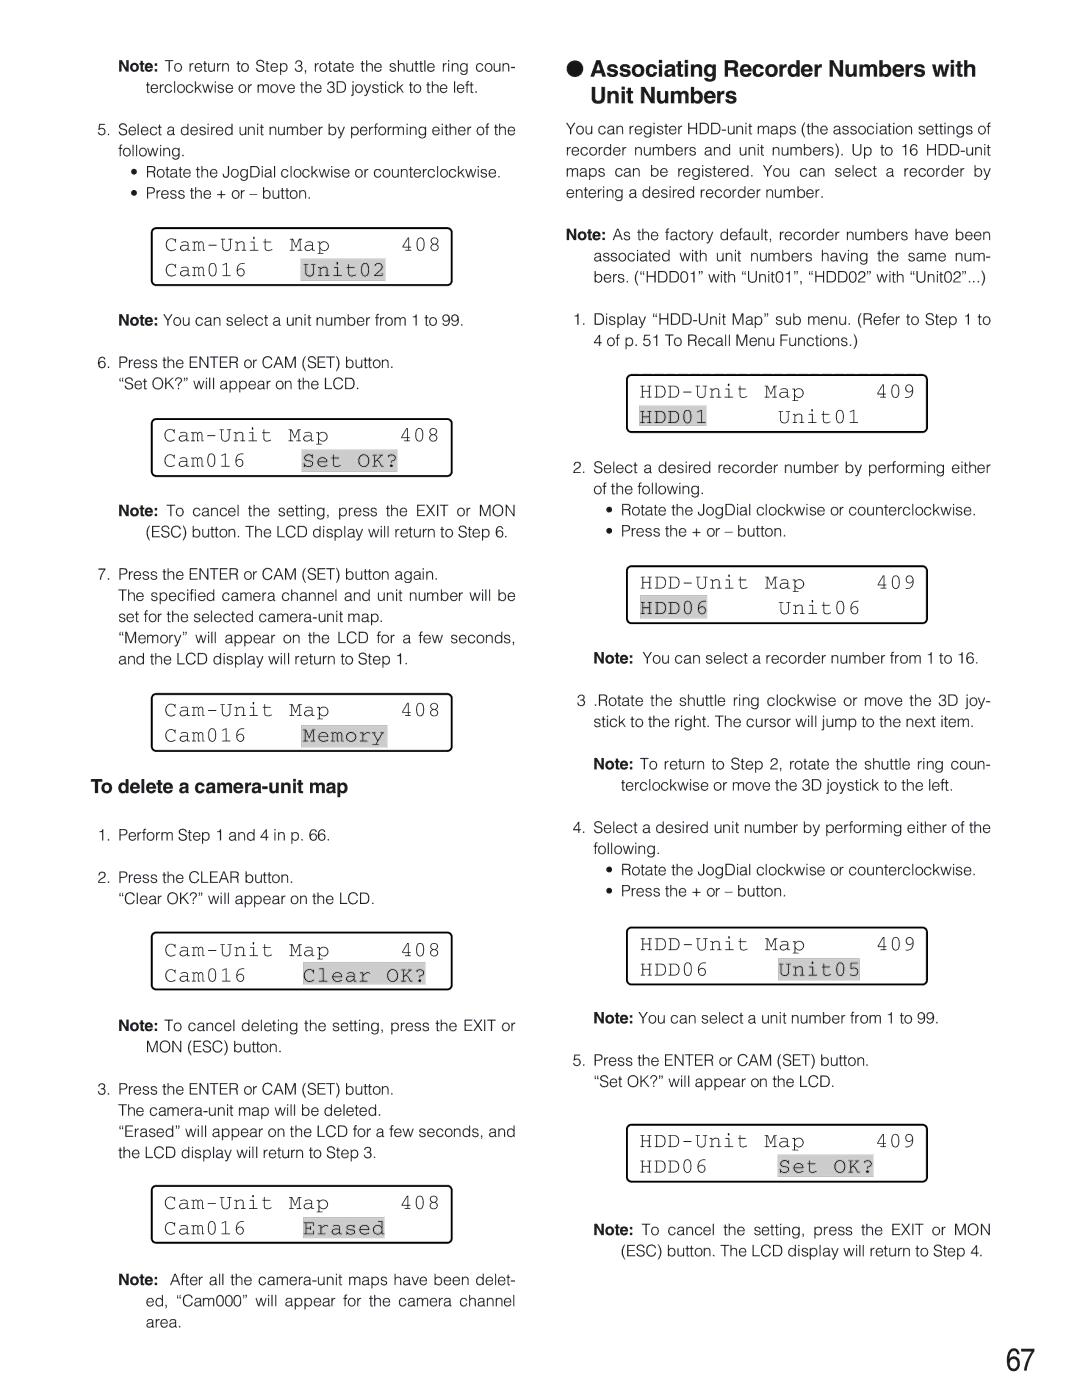
5.Select a desired unit number by performing either of the following.
•Rotate the JogDial clockwise or counterclockwise.
•Press the + or – button.
408 |
Cam016 Unit02
Note: You can select a unit number from 1 to 99.
6.Press the ENTER or CAM (SET) button. “Set OK?” will appear on the LCD.
Map | 408 | |||
Cam016 |
| Set | OK? |
|
Note: To cancel the setting, press the EXIT or MON (ESC) button. The LCD display will return to Step 6.
7.Press the ENTER or CAM (SET) button again.
The specified camera channel and unit number will be set for the selected
“Memory” will appear on the LCD for a few seconds, and the LCD display will return to Step 1.
| 408 |
Cam016 Memory
To delete a
1.Perform Step 1 and 4 in p. 66.
2.Press the CLEAR button.
“Clear OK?” will appear on the LCD.
Map | 408 | |||
Cam016 |
| Clear | OK? |
|
Note: To cancel deleting the setting, press the EXIT or MON (ESC) button.
3.Press the ENTER or CAM (SET) button. The
“Erased” will appear on the LCD for a few seconds, and the LCD display will return to Step 3.
408 |
Cam016 Erased
Note: After all the
●Associating Recorder Numbers with Unit Numbers
You can register
Note: As the factory default, recorder numbers have been associated with unit numbers having the same num- bers. (“HDD01” with “Unit01”, “HDD02” with “Unit02”...)
1.Display
| 409 |
HDD01 Unit01
2.Select a desired recorder number by performing either of the following.
•Rotate the JogDial clockwise or counterclockwise.
•Press the + or – button.
| 409 |
HDD06 Unit06
Note: You can select a recorder number from 1 to 16.
3 .Rotate the shuttle ring clockwise or move the 3D joy-
stick to the right. The cursor will jump to the next item.
Note: To return to Step 2, rotate the shuttle ring coun- terclockwise or move the 3D joystick to the left.
4.Select a desired unit number by performing either of the following.
•Rotate the JogDial clockwise or counterclockwise.
•Press the + or – button.
409 |
HDD06 Unit05
Note: You can select a unit number from 1 to 99.
5.Press the ENTER or CAM (SET) button. “Set OK?” will appear on the LCD.
Map | 409 | |||
HDD06 |
| Set | OK? |
|
Note: To cancel the setting, press the EXIT or MON (ESC) button. The LCD display will return to Step 4.
67
