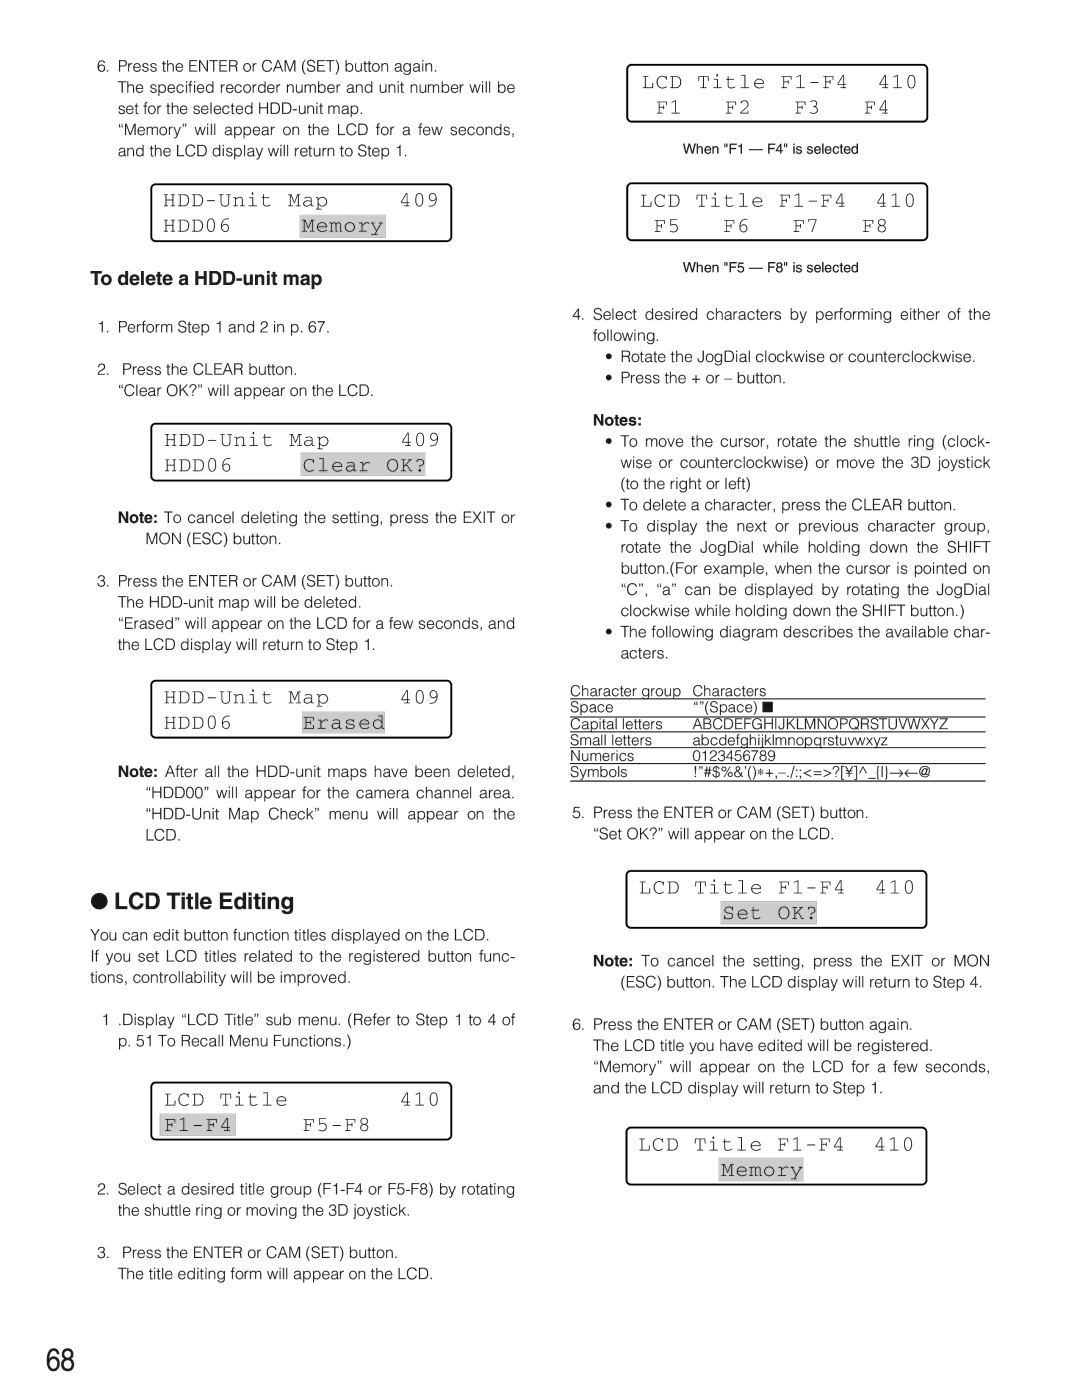
6.Press the ENTER or CAM (SET) button again.
The specified recorder number and unit number will be set for the selected
“Memory” will appear on the LCD for a few seconds, and the LCD display will return to Step 1.
LCD Title
When "F1 — F4" is selected
| 409 |
HDD06 Memory
To delete a
1.Perform Step 1 and 2 in p. 67.
2.Press the CLEAR button.
“Clear OK?” will appear on the LCD.
Map | 409 | |||
HDD06 |
| Clear | OK? |
|
Note: To cancel deleting the setting, press the EXIT or MON (ESC) button.
3.Press the ENTER or CAM (SET) button. The
“Erased” will appear on the LCD for a few seconds, and the LCD display will return to Step 1.
| 409 |
HDD06 Erased
Note: After all the
LCD Title F1-F4 410
F5 F6 F7 F8
When "F5 — F8" is selected
4.Select desired characters by performing either of the following.
•Rotate the JogDial clockwise or counterclockwise.
•Press the + or – button.
Notes:
•To move the cursor, rotate the shuttle ring (clock- wise or counterclockwise) or move the 3D joystick (to the right or left)
•To delete a character, press the CLEAR button.
•To display the next or previous character group, rotate the JogDial while holding down the SHIFT button.(For example, when the cursor is pointed on “C”, “a” can be displayed by rotating the JogDial clockwise while holding down the SHIFT button.)
•The following diagram describes the available char- acters.
Character group | Characters |
Space | “”(Space) ■ |
Capital letters | ABCDEFGHIJKLMNOPQRSTUVWXYZ |
Small letters | abcdefghijklmnopqrstuvwxyz |
Numerics | 0123456789 |
Symbols |
5.Press the ENTER or CAM (SET) button. “Set OK?” will appear on the LCD.
●LCD Title Editing
You can edit button function titles displayed on the LCD.
If you set LCD titles related to the registered button func- tions, controllability will be improved.
1.Display “LCD Title” sub menu. (Refer to Step 1 to 4 of p. 51 To Recall Menu Functions.)
LCD Title | 410 | |
|
|
|
2.Select a desired title group
3.Press the ENTER or CAM (SET) button.
The title editing form will appear on the LCD.
LCD Title F1-F4 410
Set OK?
Note: To cancel the setting, press the EXIT or MON (ESC) button. The LCD display will return to Step 4.
6.Press the ENTER or CAM (SET) button again. The LCD title you have edited will be registered. “Memory” will appear on the LCD for a few seconds, and the LCD display will return to Step 1.
LCD Title
Memory
68
