Creating a patch (Patch mode)
To create a sound (patch) of your own on the
Each item that can be set is known as a parameter. When you change the values of parameters, you are doing what is referred to as Editing.
Settings for the internal effects (reverb, chorus,
This chapter explains the procedures used in creating patches, and the functions of the patch parameters.
If you want to edit the sound of a rhythm set, refer to “Creating a rhythm set (Patch mode)” (p. 52).
Three tips for editing patches
Select a patch that is similar to the sound you wish to create (p. 20).
It’s hard to create a new sound that’s exactly what you want if you just select a patch and modify its parameters at random. It makes sense to start with a patch whose sound is related to what you have in mind.
Choose the tone that you want to edit (p. 26)
You can assign a different instrumental sound to each of the two tones (upper/lower) in a patch, and edit them independently. Use [DESTINATION TONE] to choose the tone to be edited; UPPER only, LOWER only, or both.
If the [KEY MODE] is SINGLE, the upper tone will always sound. If you want to hear only the lower tone while you edit, switch [KEY MODE] to DUAL, and turn the PATCH MODIFY section’s BALANCE knob all the way to the “L” position.
Turn Effects off (p. 65).
Since the
How to make the patch settings
Including the parameters that can be controlled from the panel, a patch consists of the following types of settings.
•Settings used by the entire patch (Patch Common)
•Settings for each patch (Patch Tone)
Collectively, these are referred to as “patch parameters.”
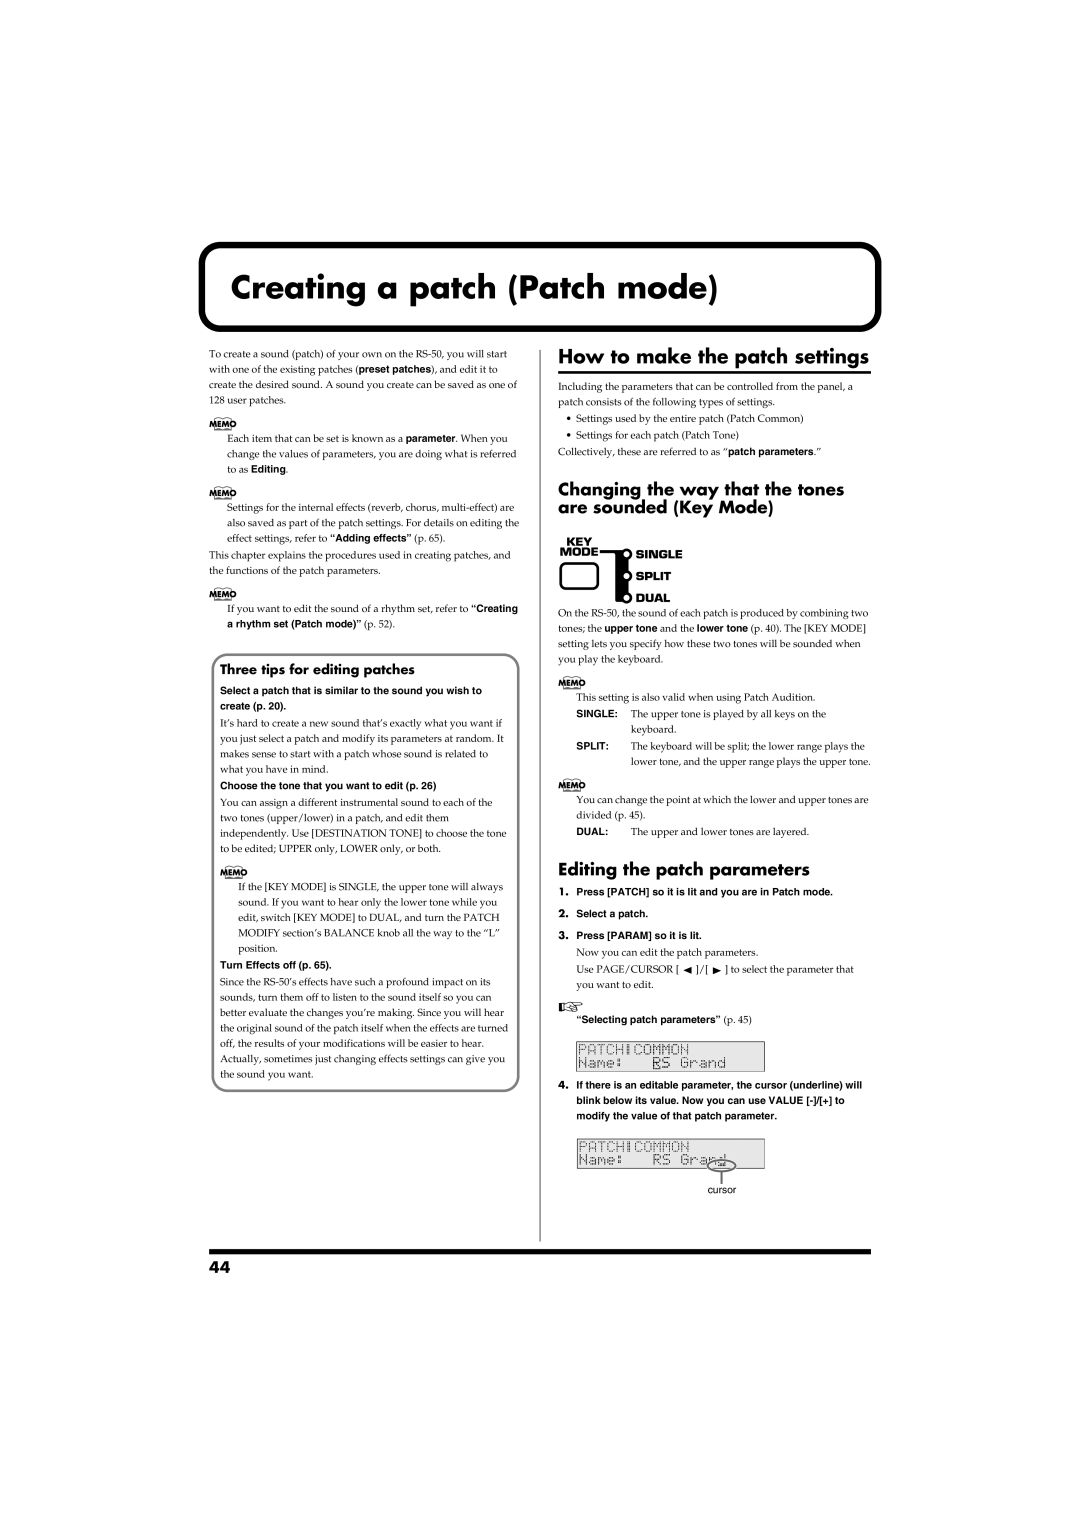
Changing the way that the tones are sounded (Key Mode)
fig.r03-03a
On the
This setting is also valid when using Patch Audition. SINGLE: The upper tone is played by all keys on the
keyboard.
SPLIT: The keyboard will be split; the lower range plays the lower tone, and the upper range plays the upper tone.
You can change the point at which the lower and upper tones are divided (p. 45).
DUAL: The upper and lower tones are layered.
Editing the patch parameters
1.Press [PATCH] so it is lit and you are in Patch mode.
2.Select a patch.
3.Press [PARAM] so it is lit.
Now you can edit the patch parameters.
Use PAGE/CURSOR [ ![]() ]/[
]/[ ![]() ] to select the parameter that you want to edit.
] to select the parameter that you want to edit.
“Selecting patch parameters” (p. 45)
fig.r03-04_40
4.If there is an editable parameter, the cursor (underline) will blink below its value. Now you can use VALUE
modify the value of that patch parameter.
fig.r03-05.e
cursor
44