Configuring the SDC 8200 system
Configuration
1New
Select Booth
Booth = 01
Save Config.
as Config. 1
Press ENTER to Save
yThe second target languages of the respective booths (see “Configuring the second target language
yThe booth from which a relay interpretation is delivered (see “Enabling the
yThe initialization of the interpreter consoles (see
You can save two different interpreter configurations in the central unit: “CONFIG 1” and “CONFIG 2”. This allows you to quickly and easily adapt you interpretation system to a new conference. In addition, you can mod- ify the currently active interpreter configuration at any time.
Creating a new interpreter configuration
To create a new interpreter configuration:
1.Define the number of booths as described under “Setting the max. number of interpreter booths/languages” on page 96.
If you change the number of booths after you have created and saved the interpreter configuration, the new number of booths will automat- ically be saved in the configuration.
2.Define the number of interpreter consoles per booth as described under “Setting the max. number of interpreter consoles per booth” on page 96.
If you change the number of interpreter consoles after you have cre- ated and saved the interpreter configuration, the new number of inter- preter consoles will automatically be saved in the configuration.
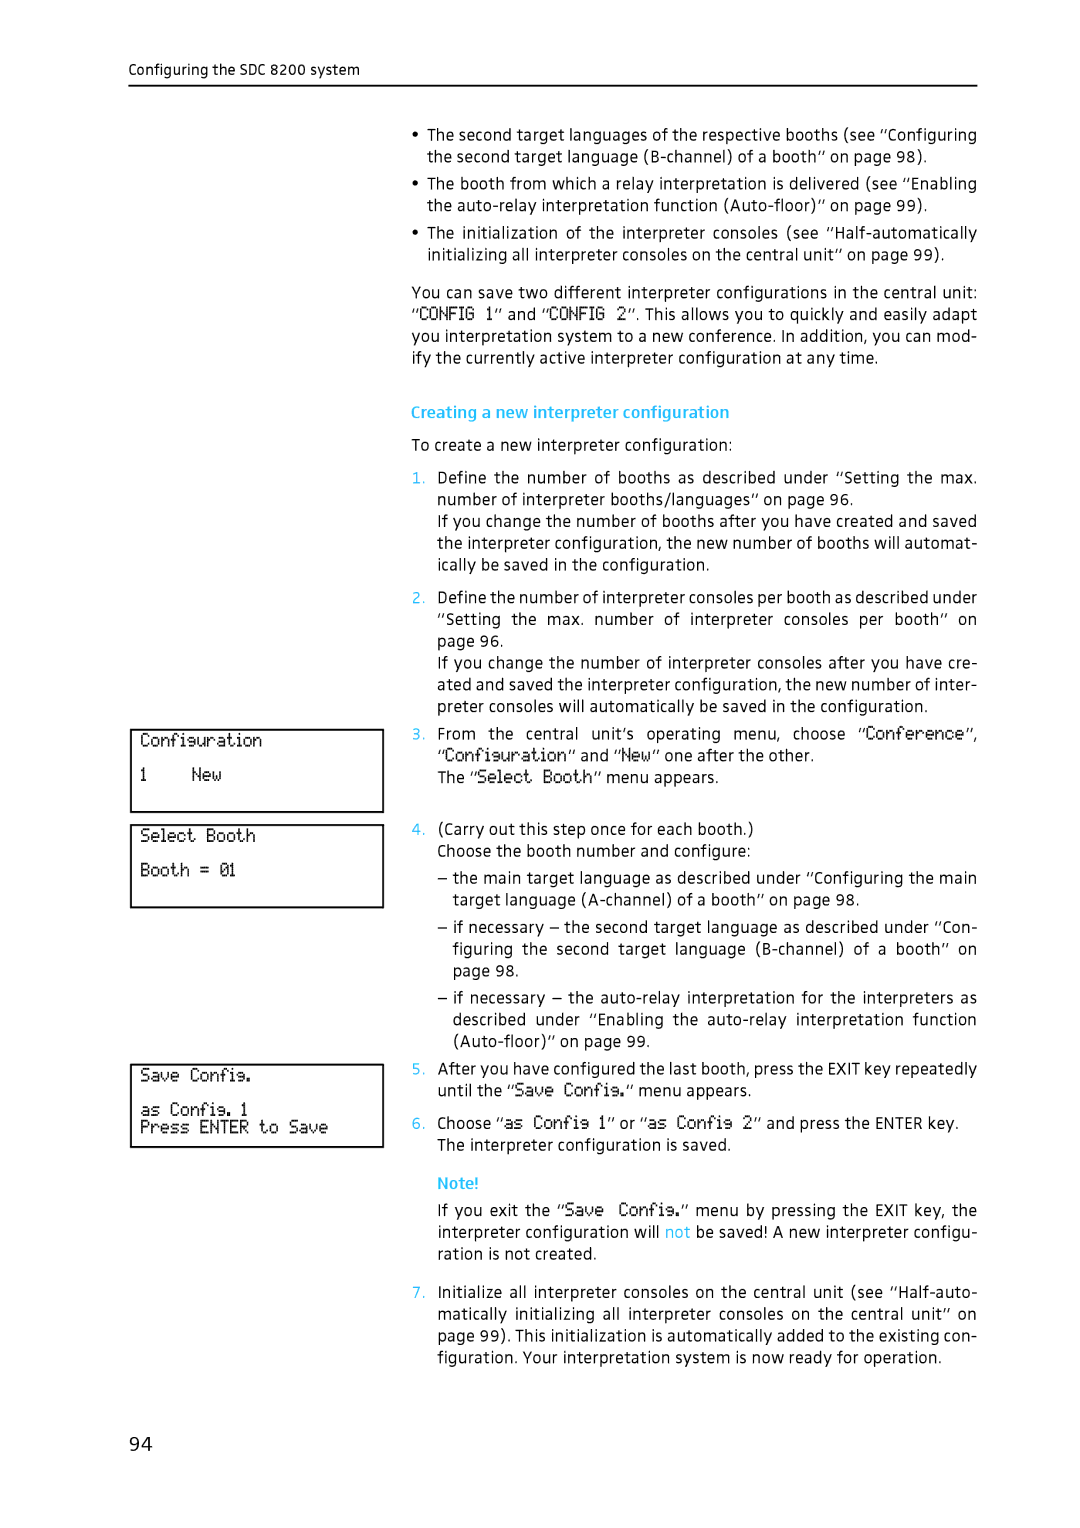
3.From the central unit’s operating menu, choose “Conference”, “Configuration” and ”New” one after the other.
The “Select Booth” menu appears.
4.(Carry out this step once for each booth.) Choose the booth number and configure:
–the main target language as described under “Configuring the main target language
–if necessary – the second target language as described under “Con- figuring the second target language
–if necessary – the
5.After you have configured the last booth, press the EXIT key repeatedly until the “Save Config.” menu appears.
6.Choose “as Config 1” or “as Config 2” and press the ENTER key. The interpreter configuration is saved.
Note!
If you exit the “Save Config.” menu by pressing the EXIT key, the interpreter configuration will not be saved! A new interpreter configu- ration is not created.
7.Initialize all interpreter consoles on the central unit (see
94
