Updates to the User Guide
34
The drives for each blade are shipped together as a set. The drives in each set are labeled from 1 to 10, corresponding the blade slots they occupied when the RAID 6 volume was originally built. Spectra Logic strongly recommends installing the drives into the blade slot corresponding to the number on the drive. Refer to Figure 3 to determine the slot numbers.
Note: Although the system dynamically detects the locations of the drives and can reconfigure the RAID to reflect the current drive positions, installing the drives in the same positions as they were when the RAID was originally built provides enhanced disaster recovery.
Use the following instructions to install the drives in a blade.
1.Put on the provided
Any damage to the nTier700 caused by failure to protect it from electrostatic Caution discharge (ESD) voids the warranty. To protect the nTier700 and its drives from
damage:
Connect the AC power cords to the power supplies, but DO NOT turn on the power (see Connect the Power Cords on page 31).
Wear the provided
Leave the drives in their
Do not place
Do not power on the nTier700 until all of the drives are installed in every blade.
2.Unlock the blades as described (see Unlock the Blades on page 32).
3.Grasp the blade handle and carefully slide the blade out until all of the drive slots are accessible.
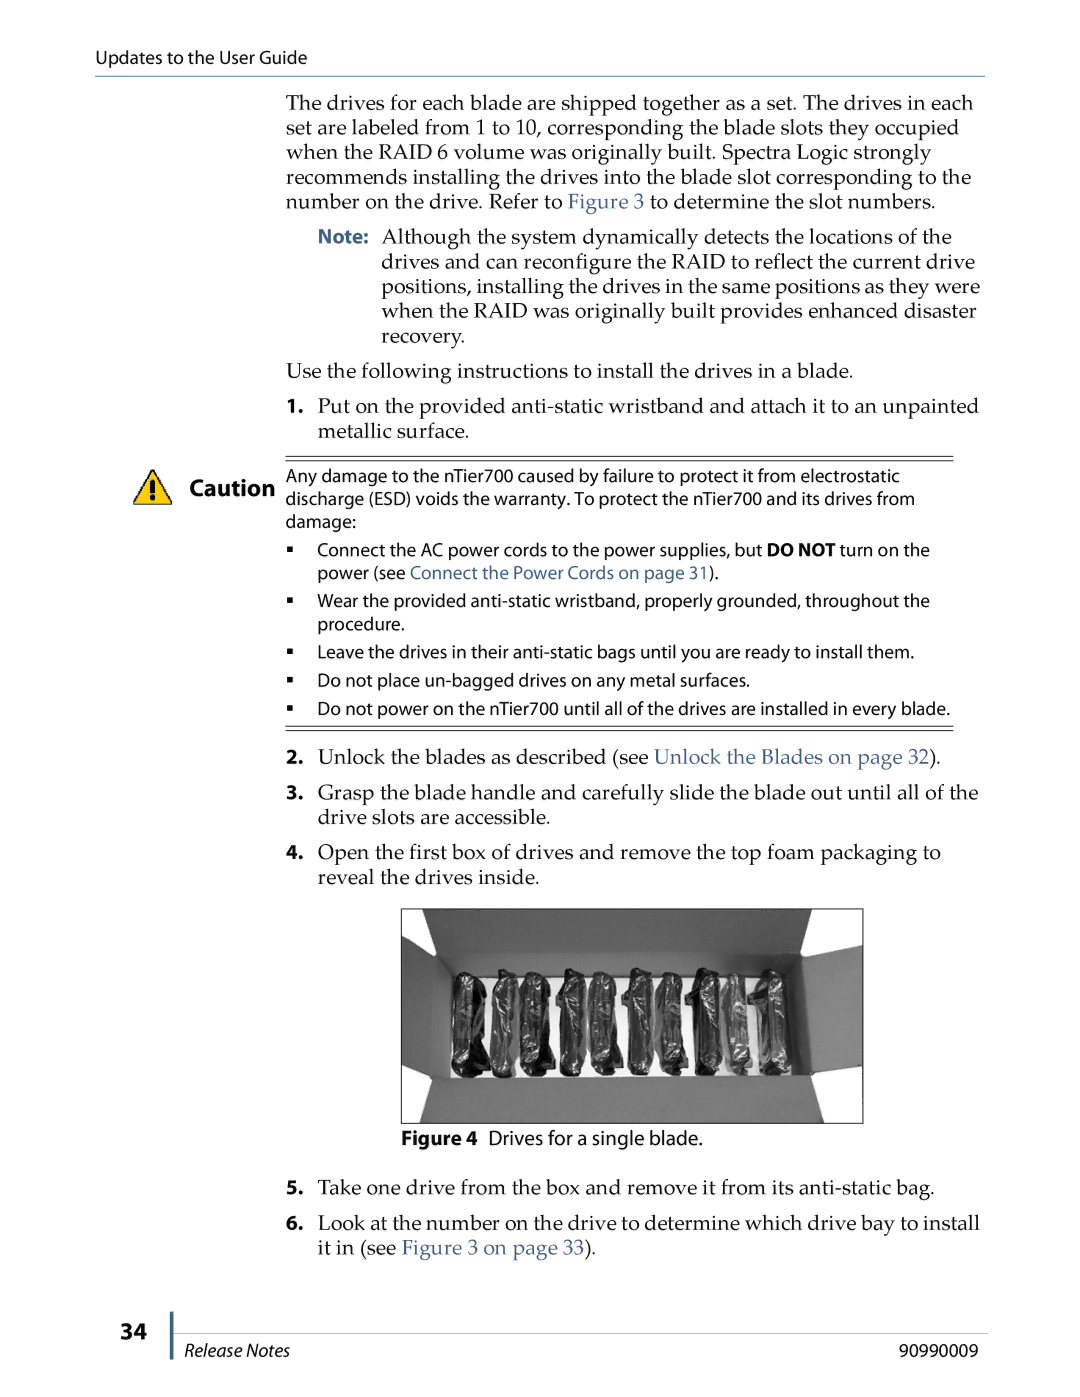
4.Open the first box of drives and remove the top foam packaging to reveal the drives inside.
Figure 4 Drives for a single blade.
5.Take one drive from the box and remove it from its
6.Look at the number on the drive to determine which drive bay to install it in (see Figure 3 on page 33).
Release Notes | 90990009 |