ELECTRICAL TROUBLESHOOTING
5.Follow the white power connector wire to the where it plugs into the main cable white wire, and disconnect it from the main cable white wire.
6.Set your voltmeter to VDC. Connect the positive lead of your voltmeter to the white wire from the power connector and touch the gray casing of the alternator with the negative lead of your voltmeter.
7.DC voltage measured should be 12 to 19 VDC. Replace the power connector if the voltage is not the same value as in step 3. Connect the two white wires.
8.Remove the console knobs from the back of the console, lift the console up, and disconnect the
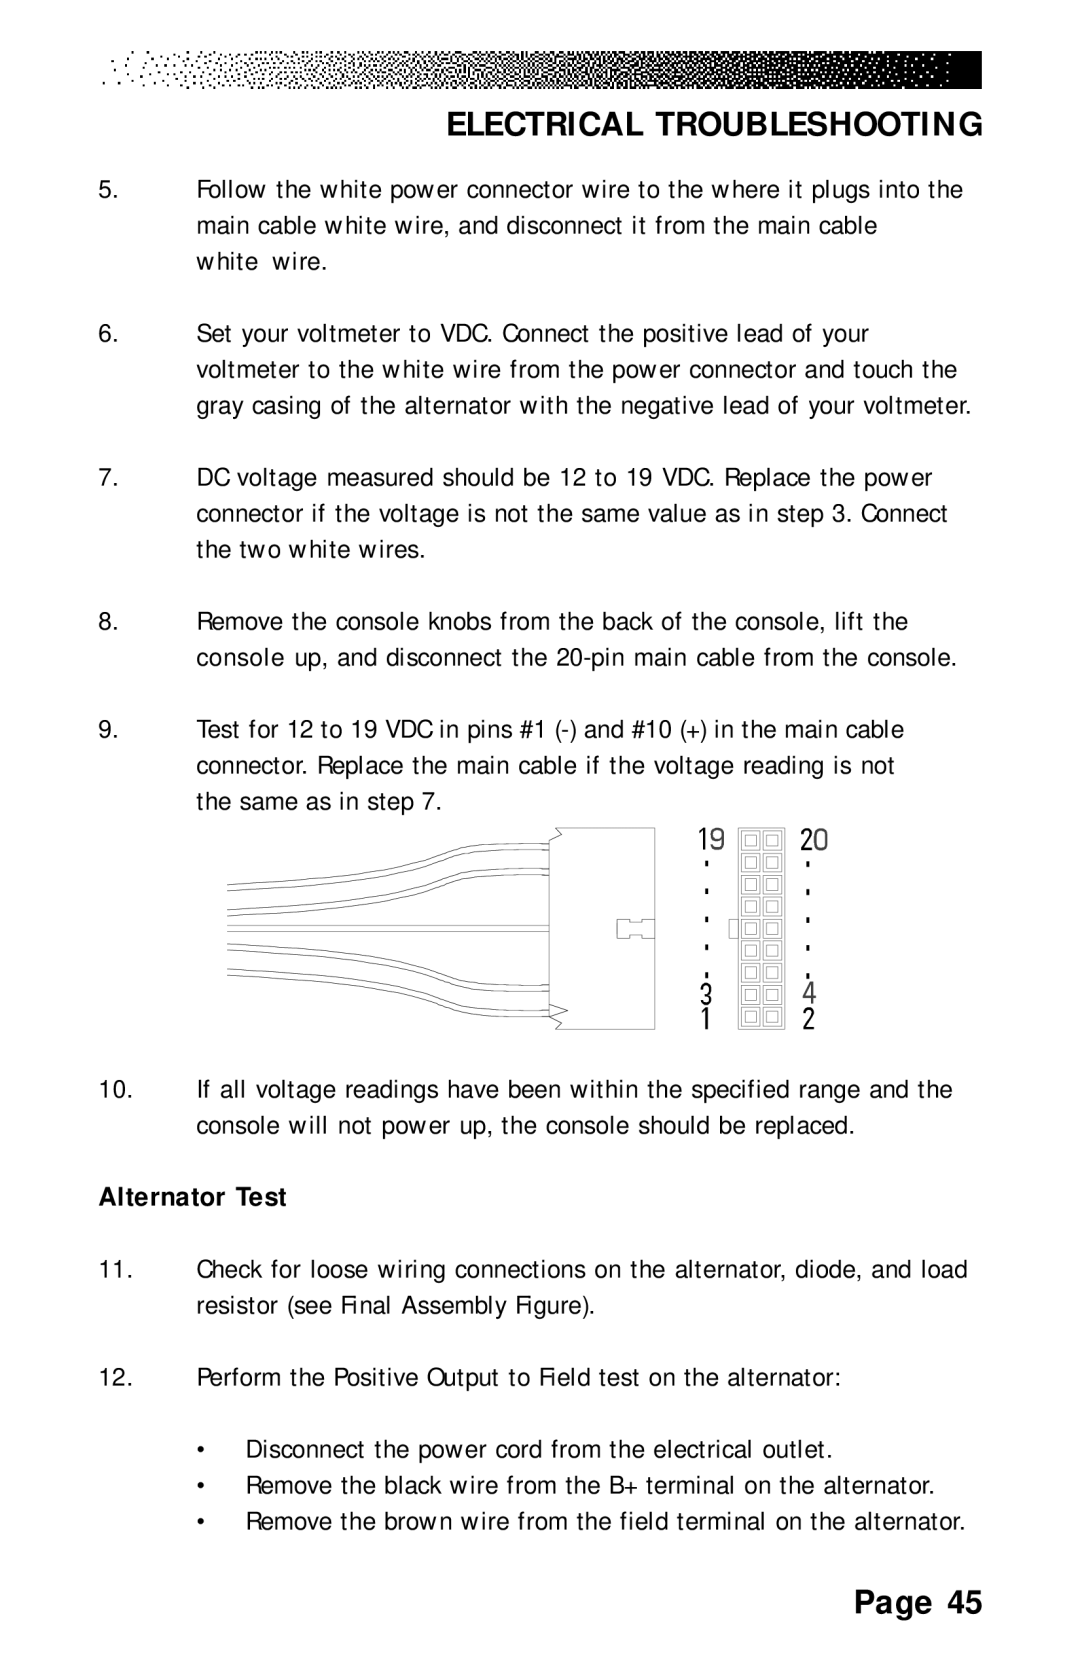
9.Test for 12 to 19 VDC in pins #1
10.If all voltage readings have been within the specified range and the console will not power up, the console should be replaced.
Alternator Test
11.Check for loose wiring connections on the alternator, diode, and load resistor (see Final Assembly Figure).
12.Perform the Positive Output to Field test on the alternator:
•Disconnect the power cord from the electrical outlet.
•Remove the black wire from the B+ terminal on the alternator.
•Remove the brown wire from the field terminal on the alternator.
Page 45