2.1 INSTALLING THE ANTENNA
Choose a location for the antenna that has a clear view of the sky. Ensure there are no major obstructions or fixtures in the immediate proximity to the antenna. The antenna relies on direct “line of sight” satellite reception. If you are unsure that the chosen location is suitable it may be advisable to mount the antenna in a temporary manner to verify correct operation. The thread used on the antenna (1 inch, 14 TPI) is an industry standard thread used on a wide range of mounting brackets, including the swivel joints commonly used for angled surfaces. However due to the manufac- turing process of these mounting brackets you may see that there is some slop when tightening down the antenna to the bracket. This is of no concern however as the antenna must be tightened until the antenna stops rotating on the antenna mounting bracket.
The antenna design also allows for easy flush mounting.
1.Drill a ¾ inch hole in an area that was verified to receive satellite signals well.
2.Unscrew the base of the antenna and remove the gasket.
3.Thread the cable though the hole and route to the plotter.
4.Apply a small coat of RTV to the underside of the antenna where the model number sticker is located.
5.Insert the shaft of the antenna into the hole.
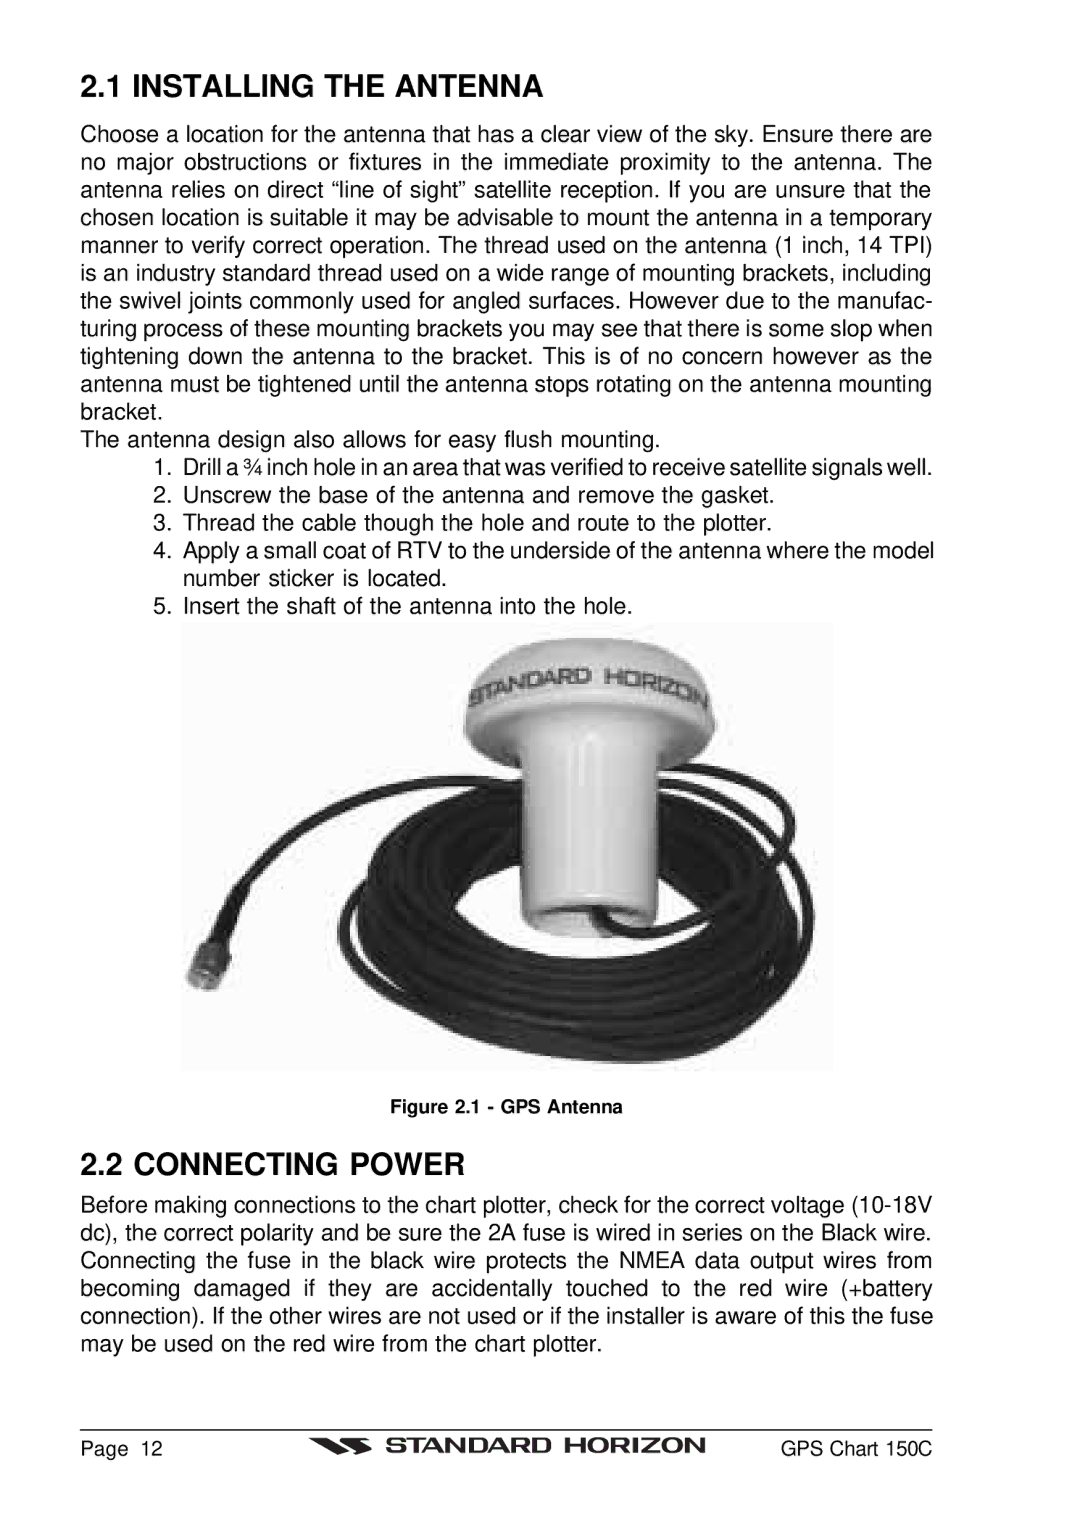
Figure 2.1 - GPS Antenna
2.2 CONNECTING POWER
Before making connections to the chart plotter, check for the correct voltage
Page 12 |
| GPS Chart 150C |
|
