7
Up to this point, we’ve been clearing the decks for action, so to speak. There are only a couple more things left to do before we can start printing - install the interface board and the font cartridge.
W Installing the interface board
II
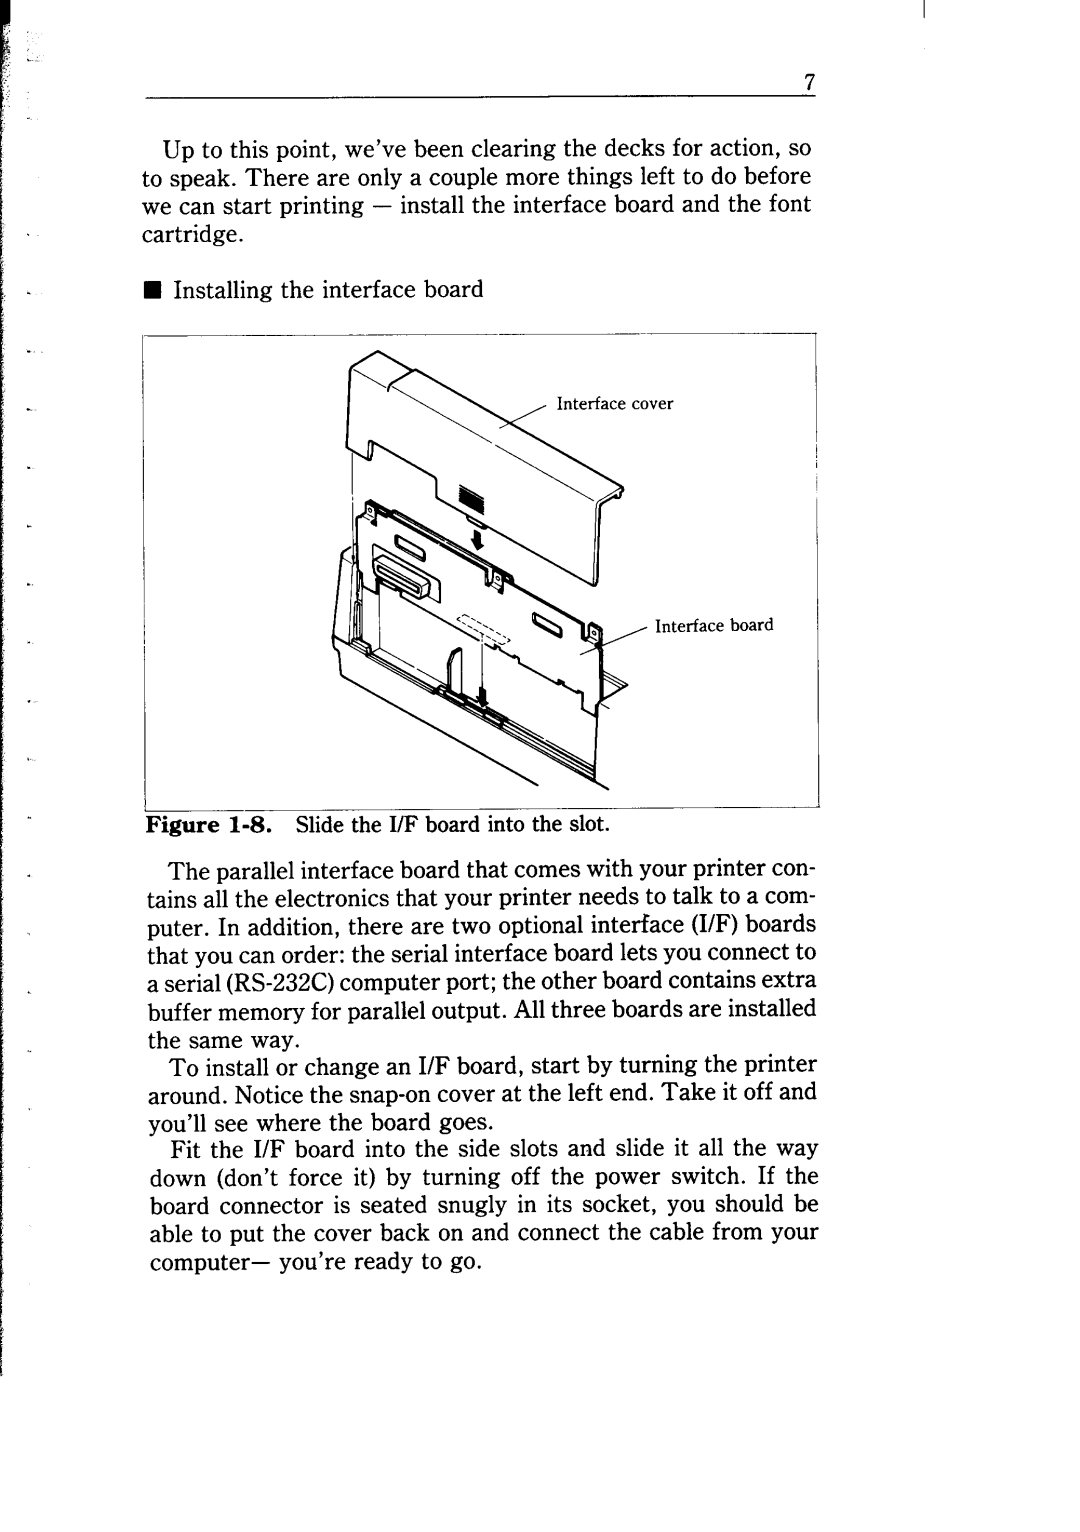
Interface cover
Interface board
Figure 1-8. Slide the I/F board into the slot.
The parallel interface board that comes with your printer con- tains all the electronics that your printer needs to talk to a com- puter. In addition, there are two optional interface (I/F) boards that you can order: the serial interface board lets you connect to a serial
To install or change an I/F board, start by turning the printer around. Notice the
Fit the I/F board into the side slots and slide it all the way down (don’t force it) by turning off the power switch. If the board connector is seated snugly in its socket, you should be able to put the cover back on and connect the cable from your
computer- you’re ready to go.