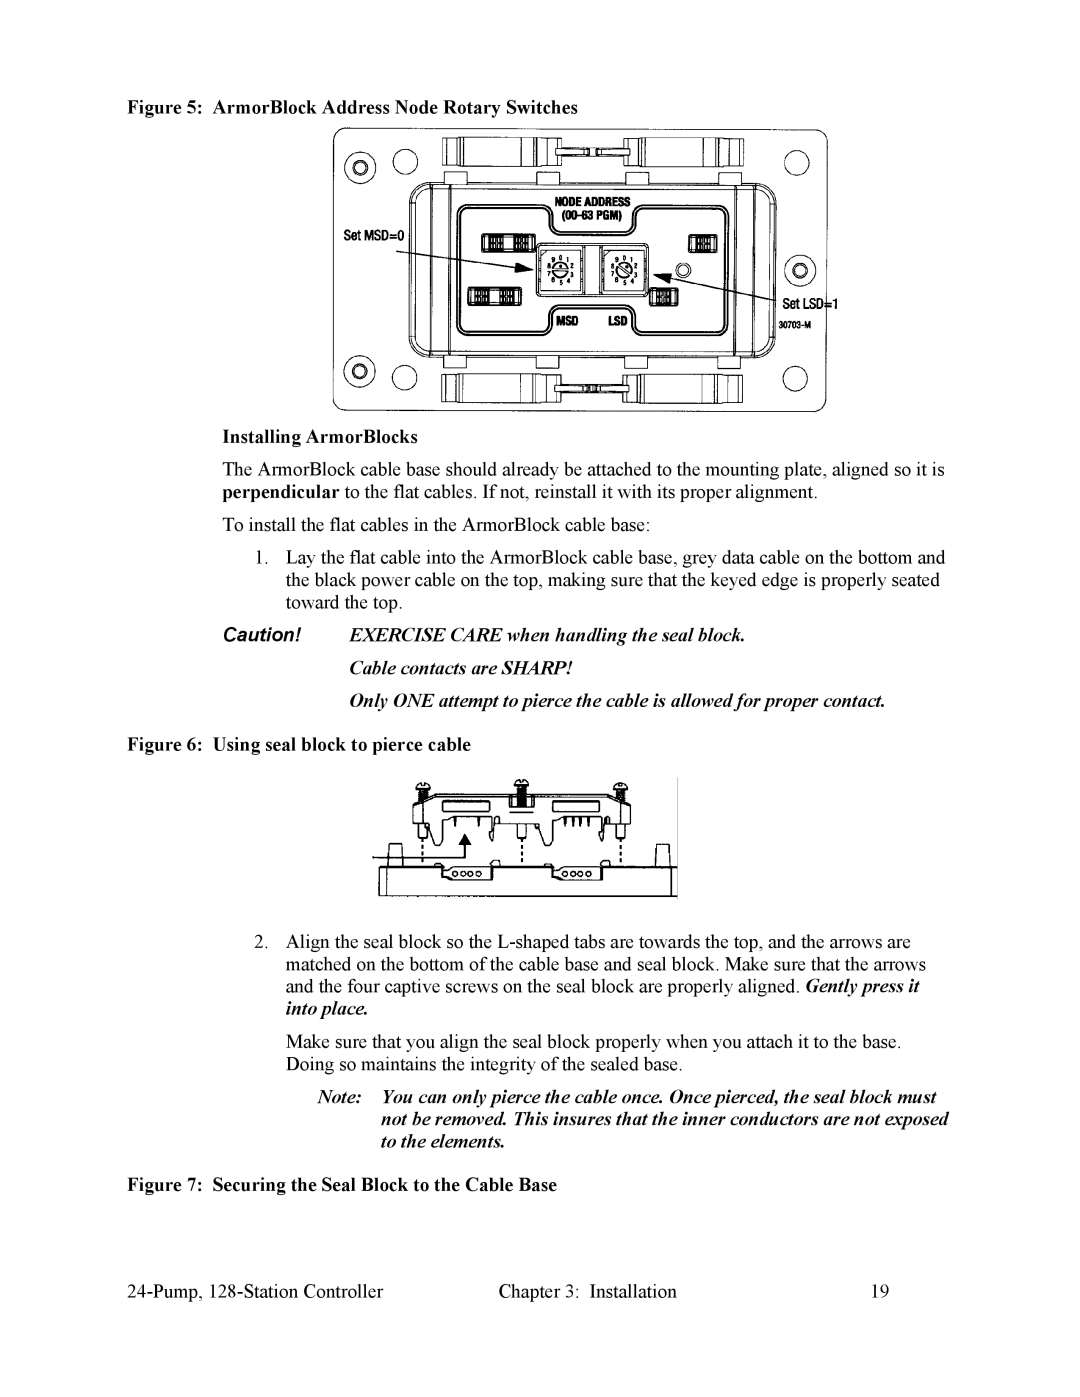
Figure 5: ArmorBlock Address Node Rotary Switches
Installing ArmorBlocks
The ArmorBlock cable base should already be attached to the mounting plate, aligned so it is perpendicular to the flat cables. If not, reinstall it with its proper alignment.
To install the flat cables in the ArmorBlock cable base:
1.Lay the flat cable into the ArmorBlock cable base, grey data cable on the bottom and the black power cable on the top, making sure that the keyed edge is properly seated toward the top.
Caution! EXERCISE CARE when handling the seal block. Cable contacts are SHARP!
Only ONE attempt to pierce the cable is allowed for proper contact.
Figure 6: Using seal block to pierce cable
2.Align the seal block so the
Make sure that you align the seal block properly when you attach it to the base. Doing so maintains the integrity of the sealed base.
Note: You can only pierce the cable once. Once pierced, the seal block must not be removed. This insures that the inner conductors are not exposed to the elements.
Figure 7: Securing the Seal Block to the Cable Base
Chapter 3: Installation | 19 |
