SETTINGS AND ADJUSTMENTS
SECTION 4-6
Adjusting or Replacing Bed Knives
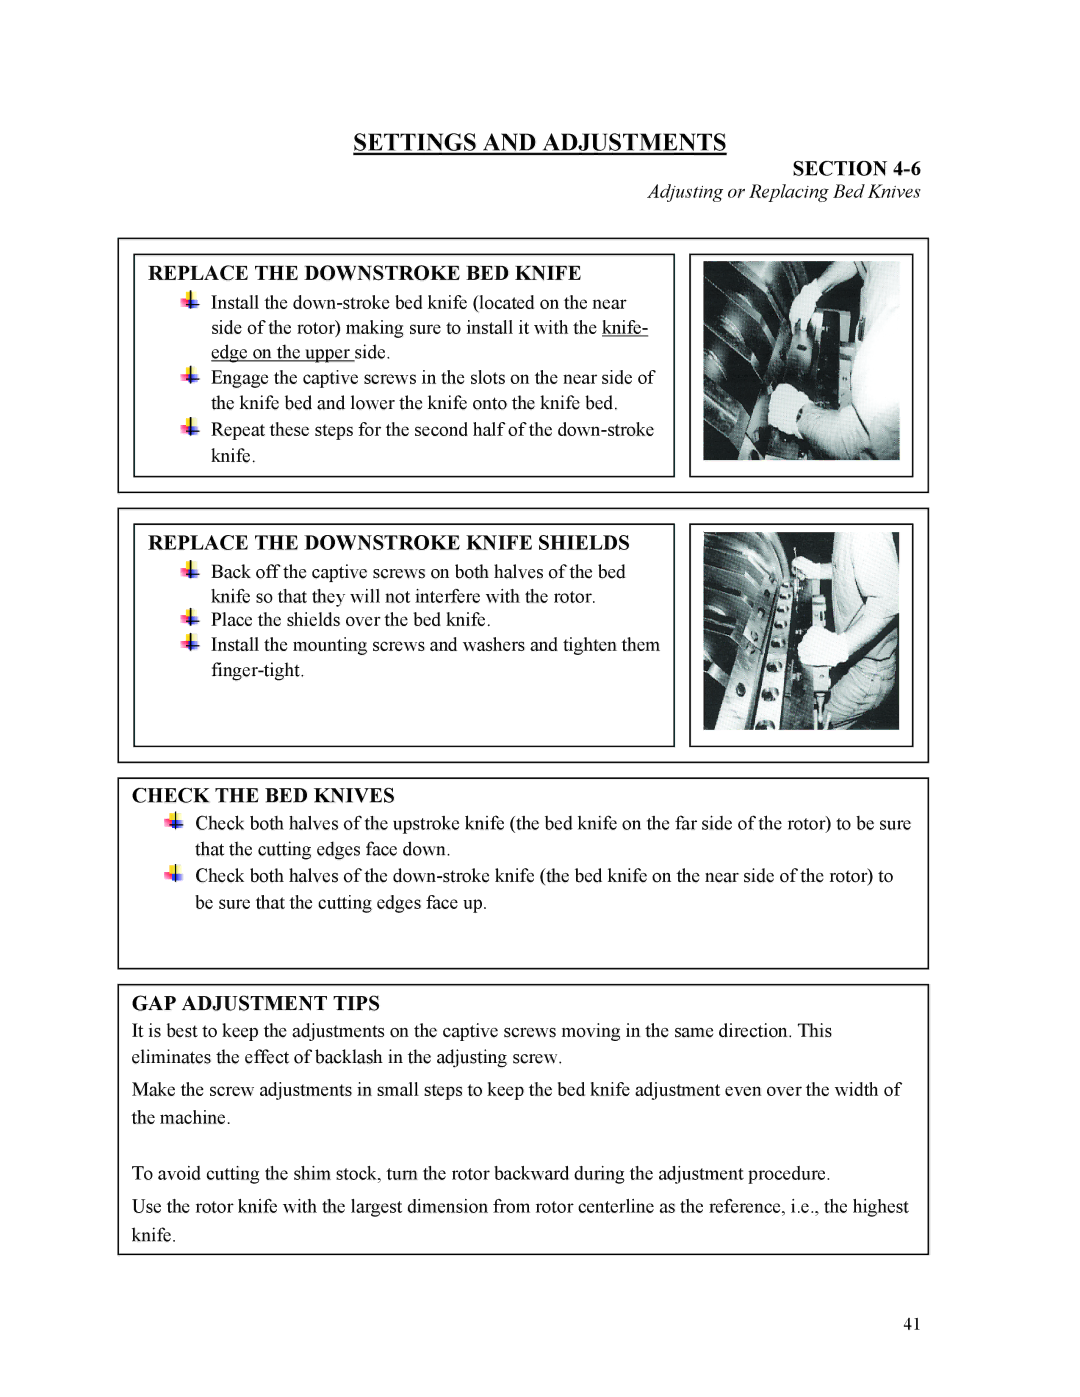
REPLACE THE DOWNSTROKE BED KNIFE
Install the
Engage the captive screws in the slots on the near side of the knife bed and lower the knife onto the knife bed. Repeat these steps for the second half of the
REPLACE THE DOWNSTROKE KNIFE SHIELDS
Back off the captive screws on both halves of the bed knife so that they will not interfere with the rotor. Place the shields over the bed knife.
Install the mounting screws and washers and tighten them
CHECK THE BED KNIVES
Check both halves of the upstroke knife (the bed knife on the far side of the rotor) to be sure that the cutting edges face down.
Check both halves of the
GAP ADJUSTMENT TIPS
It is best to keep the adjustments on the captive screws moving in the same direction. This eliminates the effect of backlash in the adjusting screw.
Make the screw adjustments in small steps to keep the bed knife adjustment even over the width of the machine.
To avoid cutting the shim stock, turn the rotor backward during the adjustment procedure.
Use the rotor knife with the largest dimension from rotor centerline as the reference, i.e., the highest knife.
41
