SETTINGS AND ADJUSTMENTS
SECTION 4-35
Adjustable rotor knives
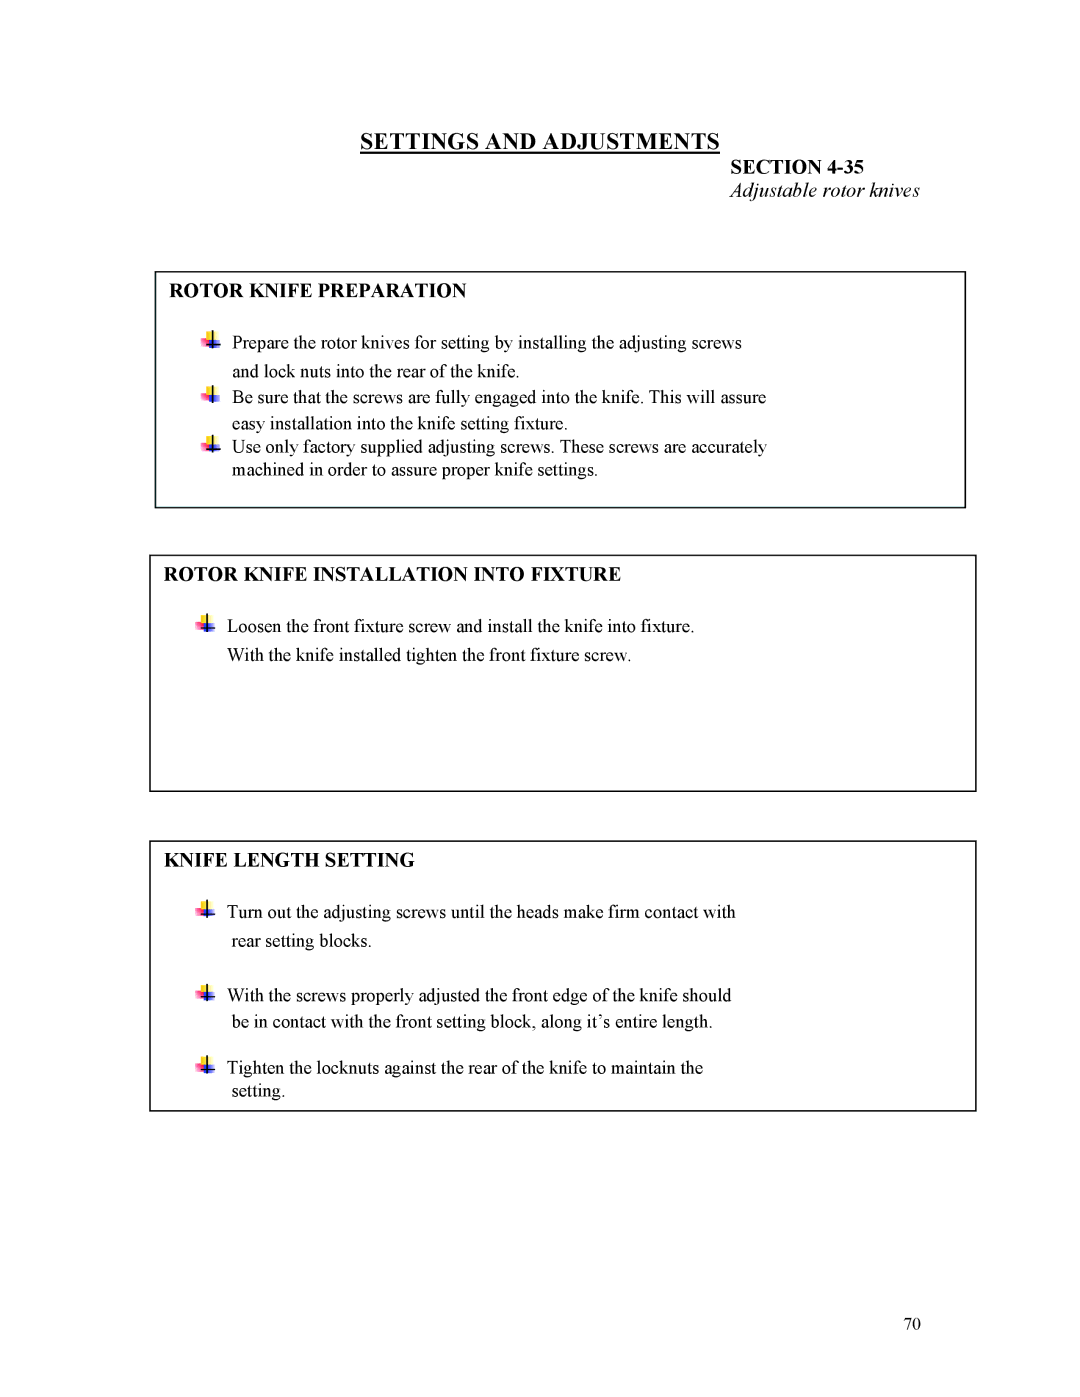
ROTOR KNIFE PREPARATION
Prepare the rotor knives for setting by installing the adjusting screws | PHOTO |
and lock nuts into the rear of the knife. | Knife with screws |
Be sure that the screws are fully engaged into the knife. This will assure |
|
easy installation into the knife setting fixture. |
|
Use only factory supplied adjusting screws. These screws are accurately |
|
machined in order to assure proper knife settings. |
|
ROTOR KNIFE INSTALLATION INTO FIXTURE
Loosen the front fixture screw and install the knife into fixture. | PHOTO |
With the knife installed tighten the front fixture screw. | Fixture front screw |
KNIFE LENGTH SETTING
Turn out the adjusting screws until the heads make firm contact with | PHOTO |
rear setting blocks. | Knife with adjusting |
screws
With the screws properly adjusted the front edge of the knife should be in contact with the front setting block, along it’s entire length.
Tighten the locknuts against the rear of the knife to maintain the setting.
70