SETTINGS AND ADJUSTMENTS
SECTION 4-18
Drive Belt Replacement Or Adjustment
INSPECT THE DRIVE BELTS
Check the belts for cracks in the
surface of the belts. Also look for signs of excessive wear.
If replacement is necessary, continue with the steps that follow.
If it is not necessary to replace the belts, skip ahead to the step entitled Measure the Belt Span.
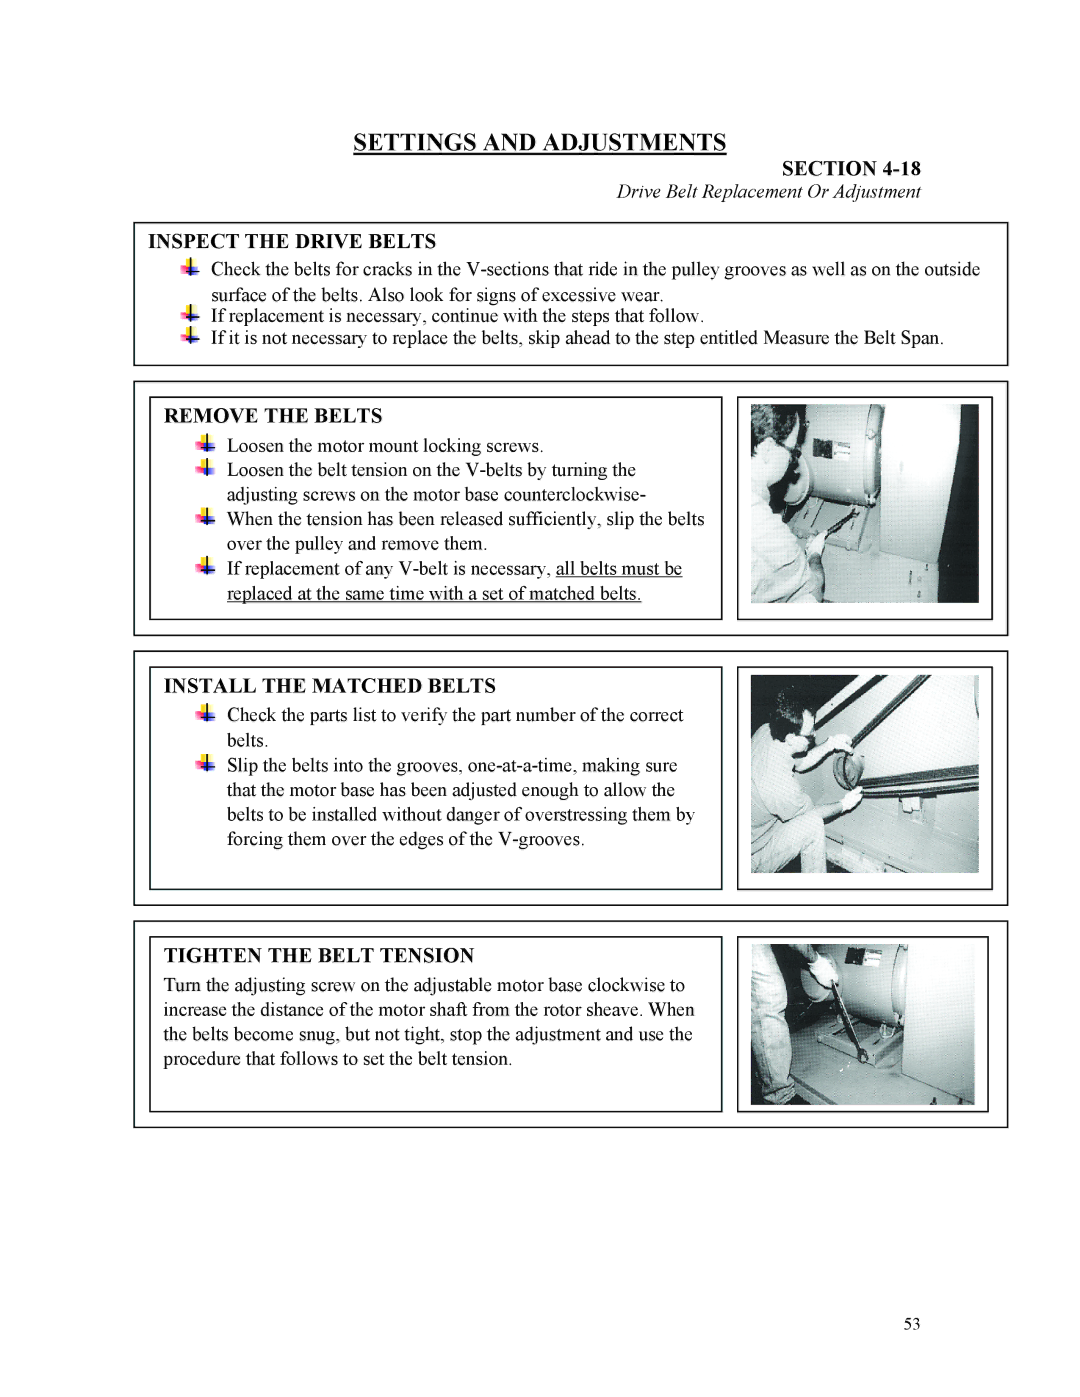
REMOVE THE BELTS
Loosen the motor mount locking screws.
Loosen the belt tension on the
If replacement of any
INSTALL THE MATCHED BELTS
Check the parts list to verify the part number of the correct belts.
Slip the belts into the grooves,
TIGHTEN THE BELT TENSION
Turn the adjusting screw on the adjustable motor base clockwise to increase the distance of the motor shaft from the rotor sheave. When the belts become snug, but not tight, stop the adjustment and use the procedure that follows to set the belt tension.
53