SETTINGS AND ADJUSTMENTS
SECTION 4-25
Setting and Adjusting the Chamber Jackscrew
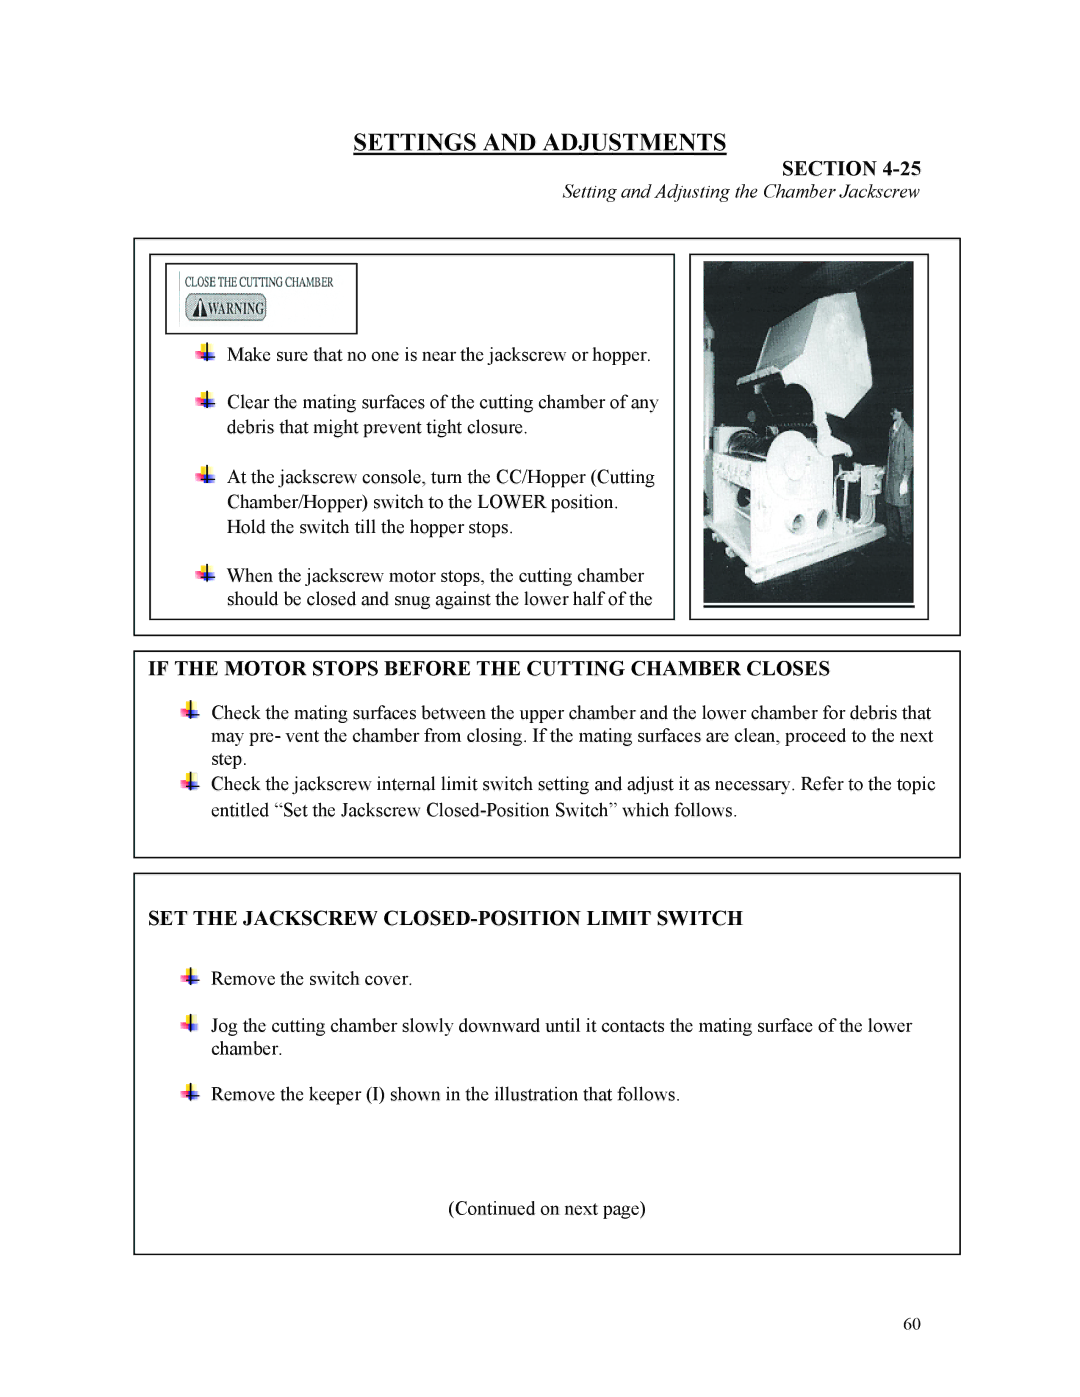
Make sure that no one is near the jackscrew or hopper.
Clear the mating surfaces of the cutting chamber of any debris that might prevent tight closure.
At the jackscrew console, turn the CC/Hopper (Cutting
Chamber/Hopper) switch to the LOWER position.
Hold the switch till the hopper stops.
When the jackscrew motor stops, the cutting chamber should be closed and snug against the lower half of the
IF THE MOTOR STOPS BEFORE THE CUTTING CHAMBER CLOSES
Check the mating surfaces between the upper chamber and the lower chamber for debris that may pre- vent the chamber from closing. If the mating surfaces are clean, proceed to the next step.
Check the jackscrew internal limit switch setting and adjust it as necessary. Refer to the topic entitled “Set the Jackscrew
SET THE JACKSCREW CLOSED-POSITION LIMIT SWITCH
Remove the switch cover.
Jog the cutting chamber slowly downward until it contacts the mating surface of the lower chamber.
Remove the keeper (I) shown in the illustration that follows.
(Continued on next page)
60
