[Export...]
This menu is used to store setup information in a specified file.
This menu is selectable only when the [Parameter Setting] screen is activated.
When this menu is clicked, the [Export] screen is displayed. Specify a file where the setup information is saved, click [Save], then the file export is started.
It also stores the status of the current setup screen.
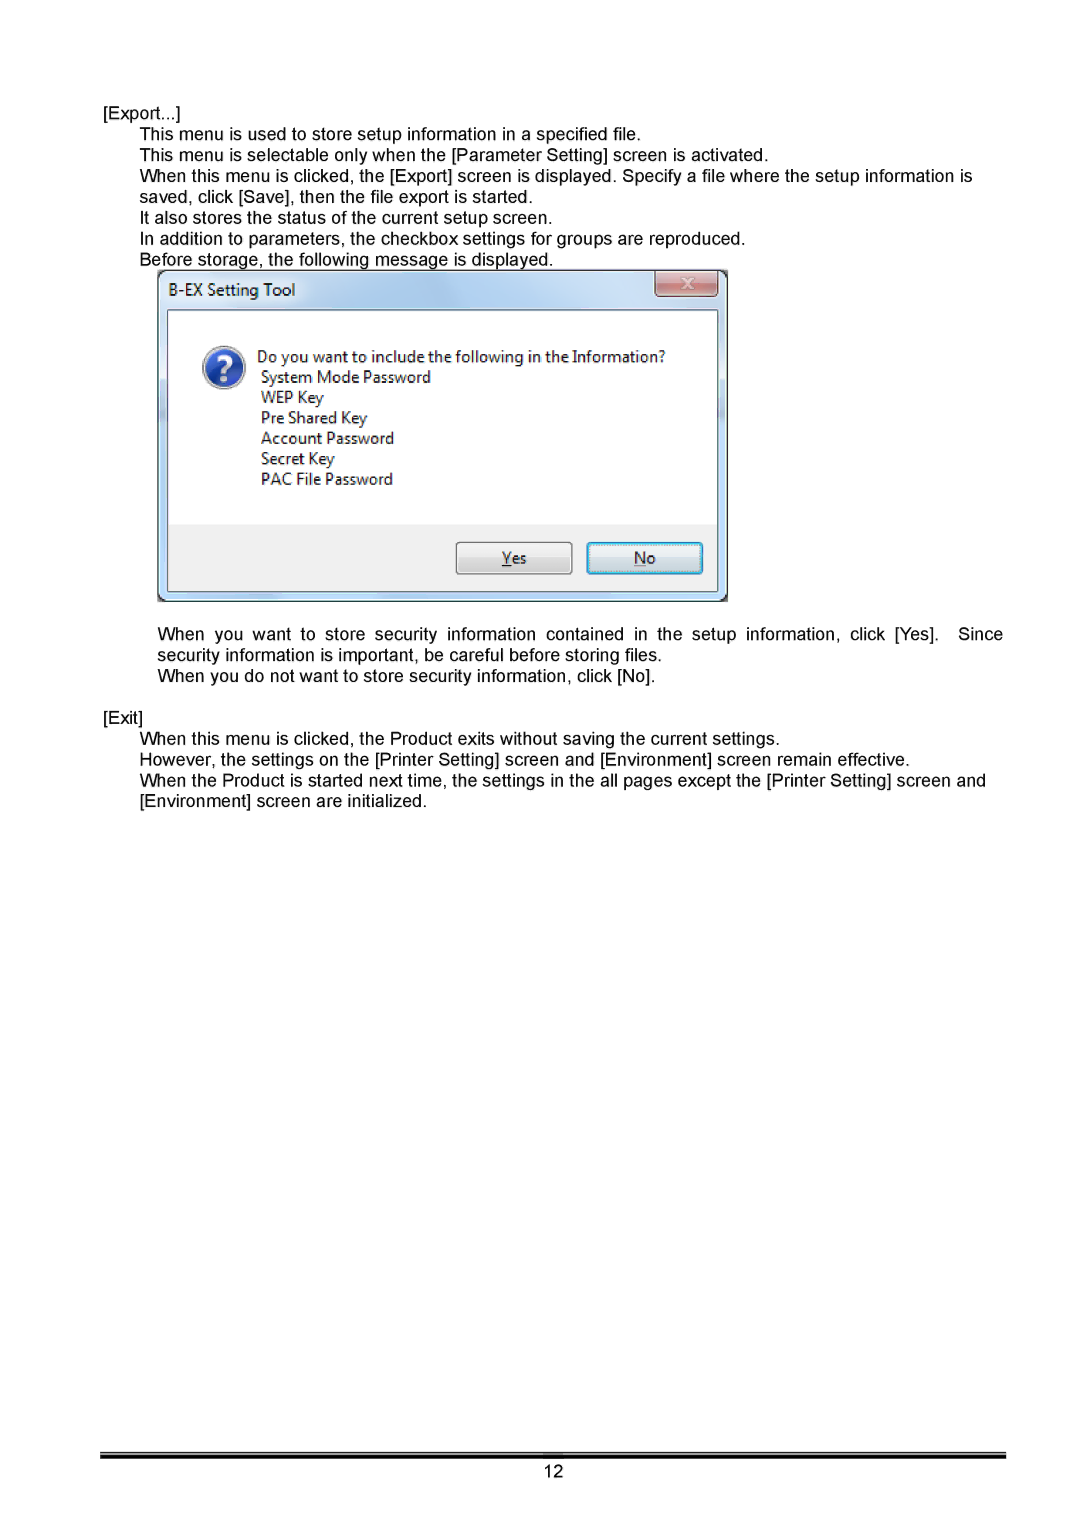
In addition to parameters, the checkbox settings for groups are reproduced. Before storage, the following message is displayed.
When you want to store security information contained in the setup information, click [Yes]. Since security information is important, be careful before storing files.
When you do not want to store security information, click [No].
[Exit]
When this menu is clicked, the Product exits without saving the current settings.
However, the settings on the [Printer Setting] screen and [Environment] screen remain effective.
When the Product is started next time, the settings in the all pages except the [Printer Setting] screen and [Environment] screen are initialized.
12