5.Remove the top two (2) retaining screws.
6.Remove the bottom two (2) screws.
7.Remove the Lint Screen.
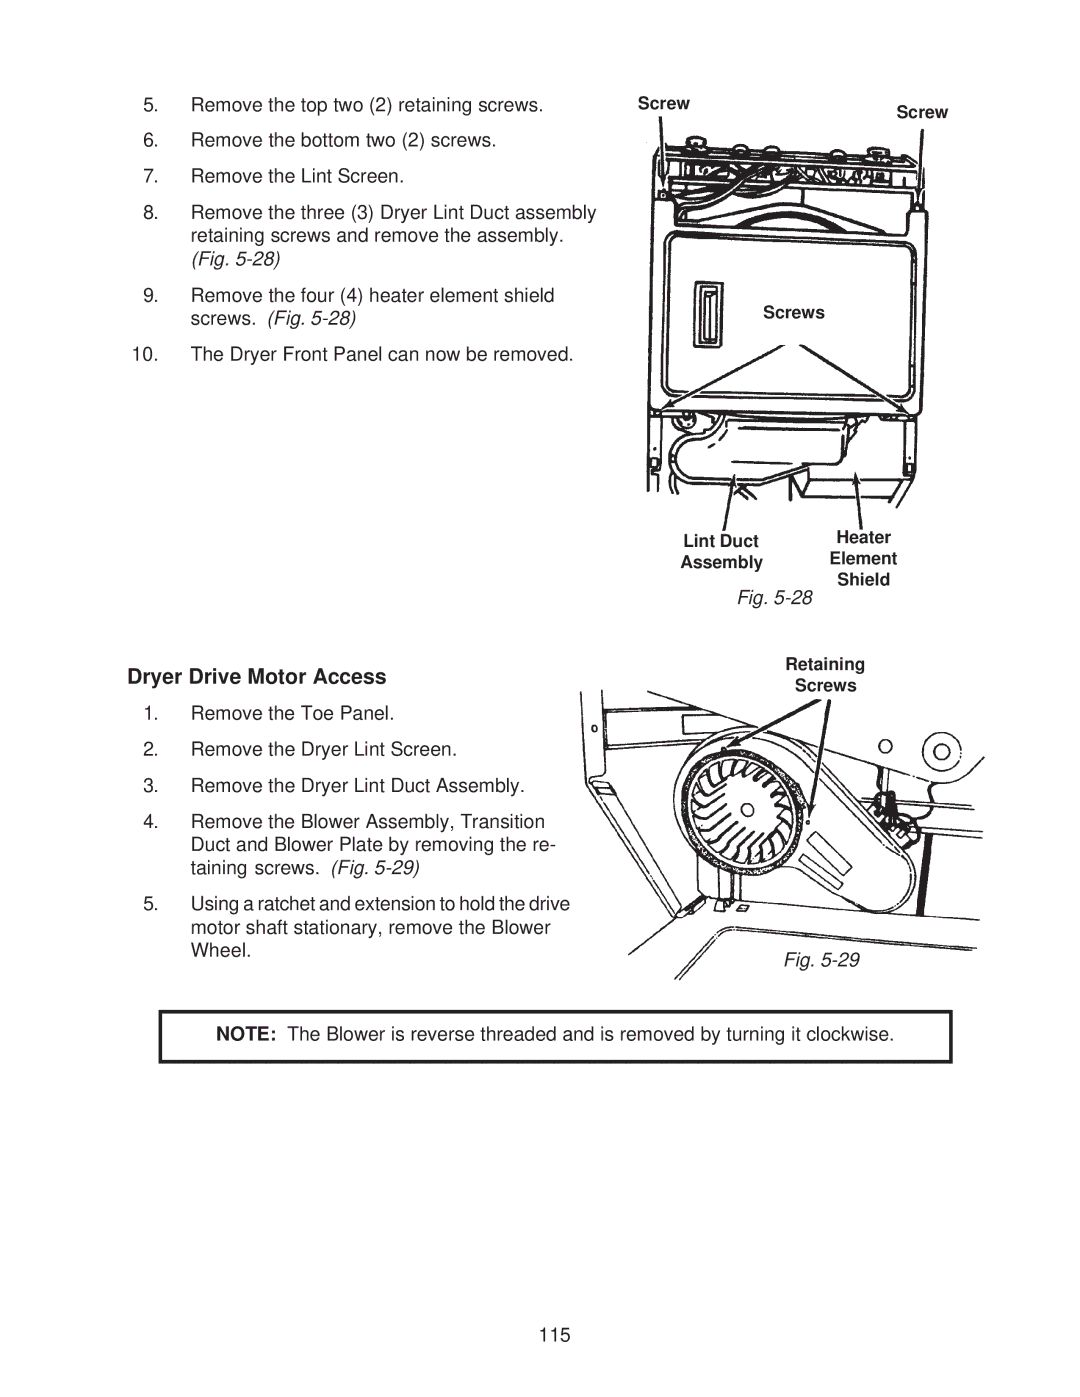
8.Remove the three (3) Dryer Lint Duct assembly retaining screws and remove the assembly. (Fig.
9.Remove the four (4) heater element shield screws. (Fig.
10.The Dryer Front Panel can now be removed.
Dryer Drive Motor Access
1.Remove the Toe Panel.
2.Remove the Dryer Lint Screen.
3.Remove the Dryer Lint Duct Assembly.
4.Remove the Blower Assembly, Transition Duct and Blower Plate by removing the re- taining screws. (Fig.
5.Using a ratchet and extension to hold the drive motor shaft stationary, remove the Blower Wheel.
Screw | Screw |
|
Screws
Lint Duct | Heater |
Assembly | Element |
| Shield |
Fig.
Retaining
Screws
Fig.
NOTE: The Blower is reverse threaded and is removed by turning it clockwise.
115