.
Removing the Push to Start Switch
1.Pull the knob off the
2.Tip the console into the service position.
3.Disconnect the wiring harness leads from the
4.Remove the two (2) screws securing the
Removing the Buzzer
1.Tip the console into the service position.
2.Disconnect the wiring harness heads from the buzzer terminals.
3.Remove the two (2) screws securing the buzzer to the console and remove the buzzer.
Removing the Electronic Control Board
1.Tip the console into the service position.
2.Disconnect the wiring harness heads from the control board terminals.
3.Pull the control board from the mounting bracket.
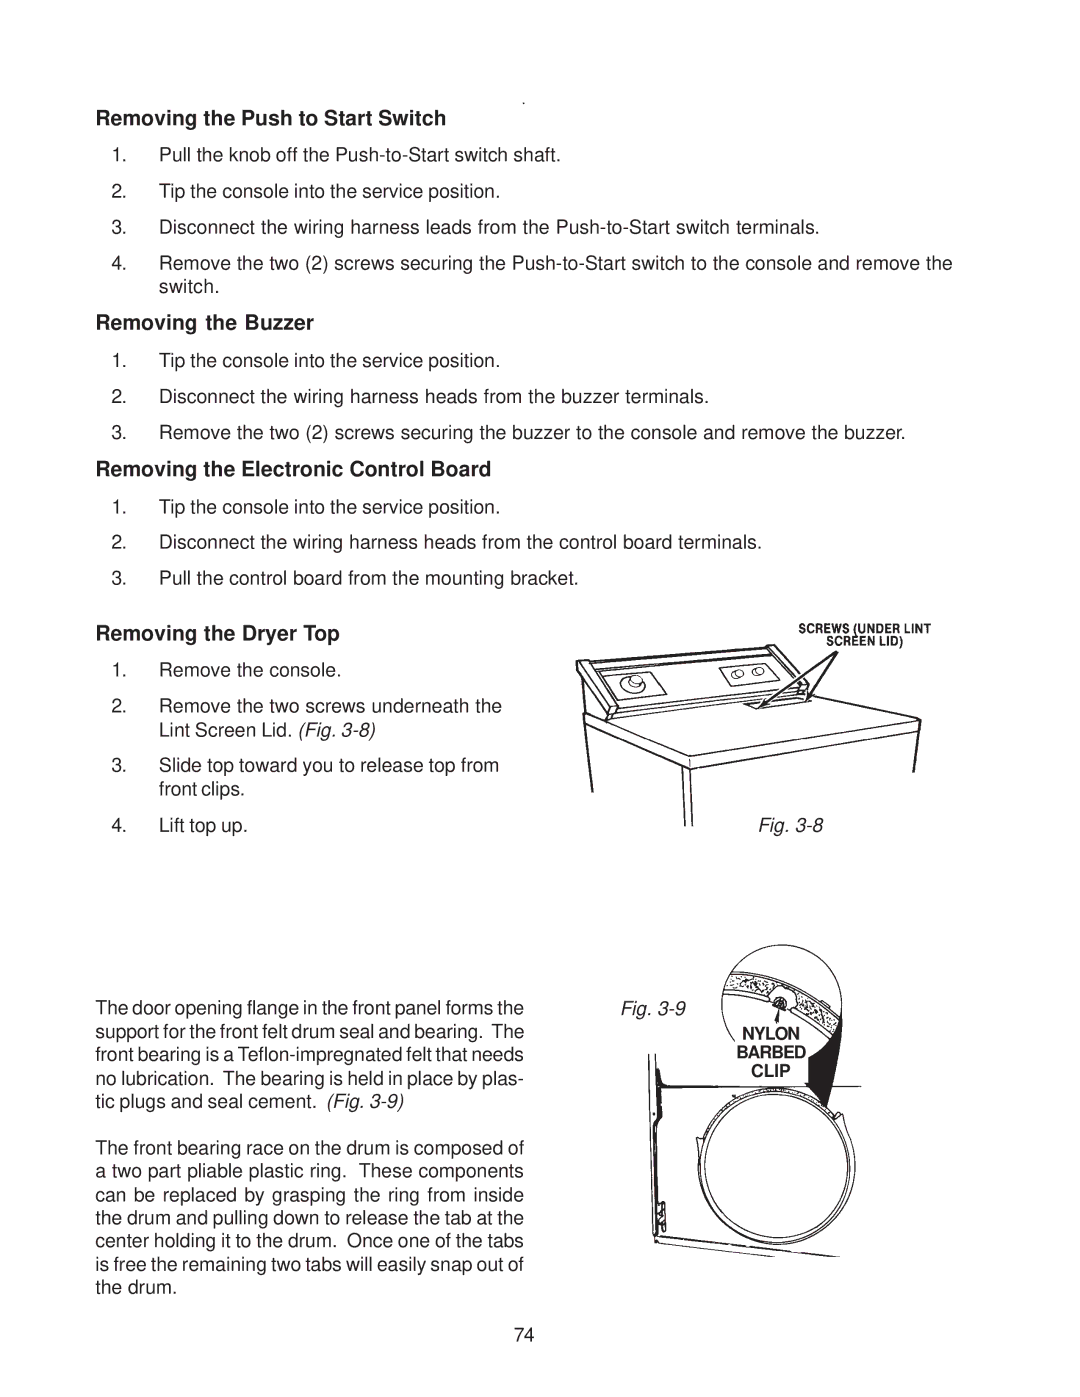
Removing the Dryer Top
1.Remove the console.
2.Remove the two screws underneath the Lint Screen Lid. (Fig.
3.Slide top toward you to release top from front clips.
4. Lift top up. | Fig. |
The door opening flange in the front panel forms the | Fig. | |
support for the front felt drum seal and bearing. The |
|
|
| NYLON | |
front bearing is a |
| BARBED |
no lubrication. The bearing is held in place by plas- |
| CLIP |
|
| |
tic plugs and seal cement. (Fig. |
|
|
The front bearing race on the drum is composed of |
|
|
a two part pliable plastic ring. These components |
|
|
can be replaced by grasping the ring from inside |
|
|
the drum and pulling down to release the tab at the |
|
|
center holding it to the drum. Once one of the tabs |
|
|
is free the remaining two tabs will easily snap out of |
|
|
the drum. |
|
|
74