TROUBLESHOOTING
TROUBLESHOOTING GUIDE
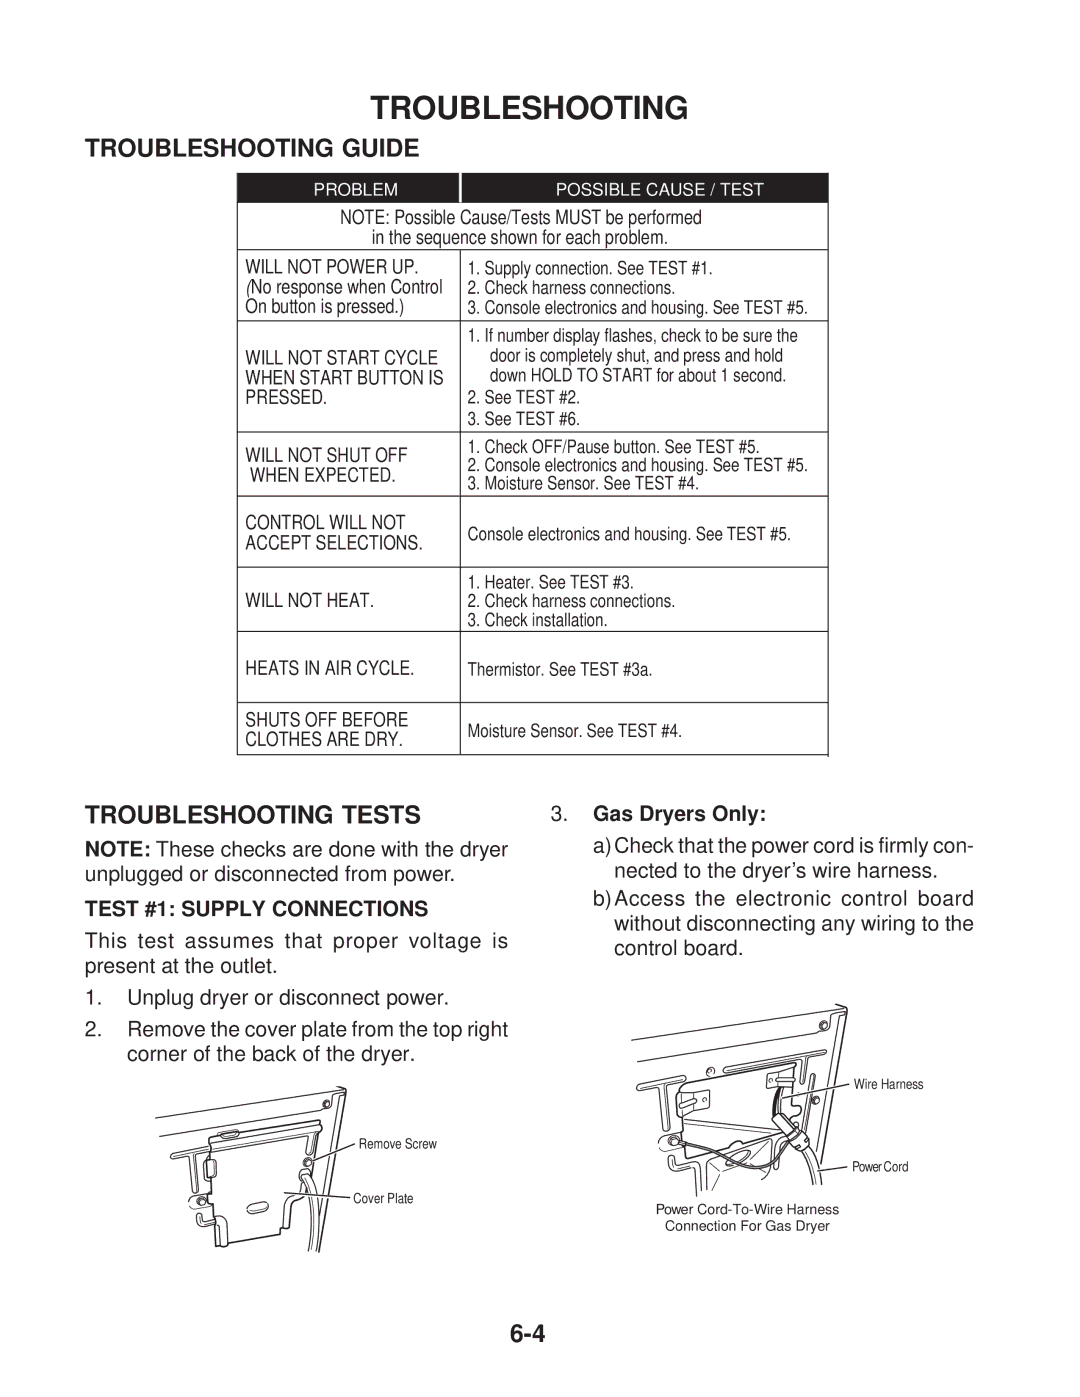
PROBLEM | POSSIBLE CAUSE / TEST |
|
|
NOTE: Possible Cause/Tests MUST be performed in the sequence shown for each problem.
WILL NOT POWER UP. | 1. | Supply connection. See TEST #1. | |
(No response when Control | 2. | Check harness connections. | |
On button is pressed.) | 3. | Console electronics and housing. See TEST #5. | |
| 1. | If number display flashes, check to be sure the | |
WILL NOT START CYCLE |
| door is completely shut, and press and hold | |
WHEN START BUTTON IS |
| down HOLD TO START for about 1 second. | |
PRESSED. | 2. | See TEST #2. | |
| 3. | See TEST #6. | |
WILL NOT SHUT OFF | 1. | Check OFF/Pause button. See TEST #5. | |
2. | Console electronics and housing. See TEST #5. | ||
WHEN EXPECTED. | |||
3. | Moisture Sensor. See TEST #4. | ||
| |||
|
|
| |
CONTROL WILL NOT | Console electronics and housing. See TEST #5. | ||
ACCEPT SELECTIONS. | |||
|
| ||
|
|
| |
WILL NOT HEAT. | 1. | Heater. See TEST #3. | |
2. | Check harness connections. | ||
| 3. | Check installation. | |
HEATS IN AIR CYCLE. | Thermistor. See TEST #3a. | ||
|
|
| |
SHUTS OFF BEFORE | Moisture Sensor. See TEST #4. | ||
CLOTHES ARE DRY. | |||
|
| ||
|
|
| |
TROUBLESHOOTING TESTS
NOTE: These checks are done with the dryer unplugged or disconnected from power.
TEST #1: SUPPLY CONNECTIONS
This test assumes that proper voltage is present at the outlet.
1.Unplug dryer or disconnect power.
2.Remove the cover plate from the top right corner of the back of the dryer.
![]() Remove Screw
Remove Screw
![]() Cover Plate
Cover Plate
3.Gas Dryers Only:
a)Check that the power cord is firmly con- nected to the dryer’s wire harness. b)Access the electronic control board without disconnecting any wiring to the
control board.
![]() Wire Harness
Wire Harness
![]()
![]() Power Cord
Power Cord
Power
Connection For Gas Dryer
