ZD500 specifications
Zebra Technologies ZD500 is a cutting-edge thermal transfer printer designed to meet the diverse needs of modern businesses requiring high-quality label, wristband, and tag printing. This printer is particularly favored in industries such as healthcare, retail, and logistics due to its superior performance, reliability, and advanced technology features.One of the standout characteristics of the ZD500 is its exceptional print quality. With a printing resolution of up to 300 dpi, it ensures that labels and tags are sharp and legible. This is particularly important for barcodes, which need to be scanned accurately for efficient inventory management and tracking. The printer has a print speed of up to 6 inches per second, allowing for quick production of labels, which helps enhance workflow efficiency.
The ZD500 is equipped with a user-friendly interface, including a color touchscreen display that makes operation and navigation intuitive. This feature reduces the learning curve for new users and minimizes operational errors. Furthermore, its compact design allows for easy placement in various work environments without consuming valuable space.
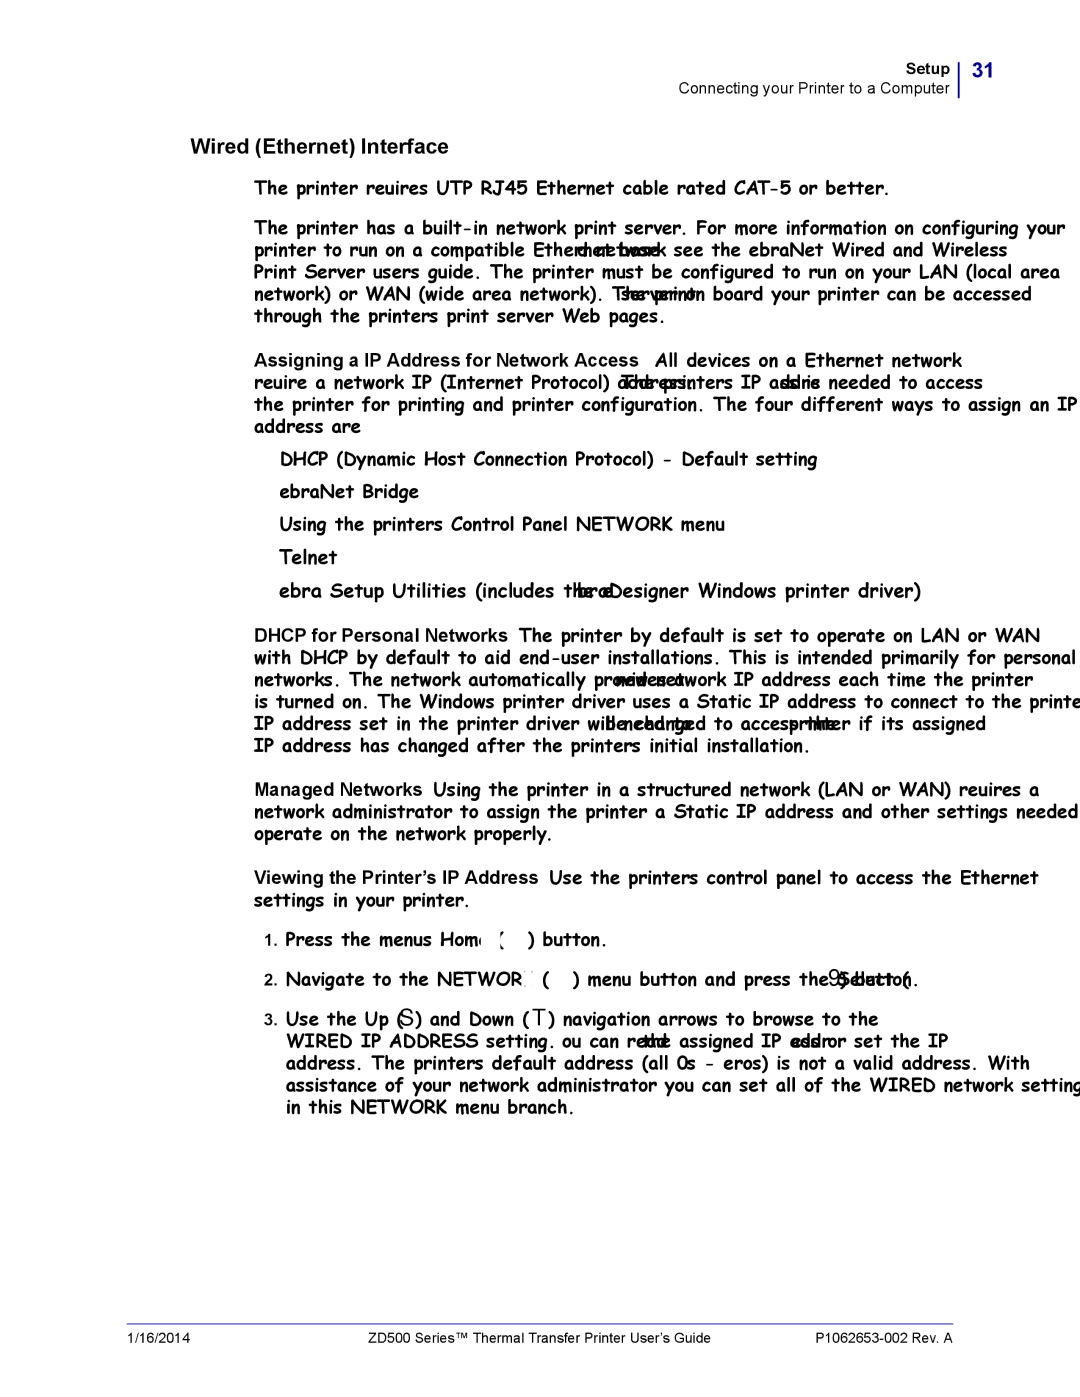
Connectivity is another major highlight of the ZD500. It offers multiple connectivity options, including USB, Ethernet, and Bluetooth, making it versatile for different setups. This flexibility allows businesses to integrate the printer into their existing systems seamlessly. Additionally, Zebra's Link-OS environment supports printer management and configuration from any device, streamlining maintenance and improving productivity.
Security is a crucial concern in today’s digital landscape, and the ZD500 addresses this with robust security features. It includes secure wireless communication protocols, ensuring that sensitive data is protected during transmission.
In terms of durability, the printer is built to withstand the rigors of everyday use while remaining compact and portable. It also supports a variety of media types, giving users the freedom to print on different materials as needed. This adaptability makes the ZD500 an excellent choice for businesses that require customized printing solutions.
Overall, the Zebra Technologies ZD500 is a powerful and versatile thermal printer that combines high-quality output, user-friendly design, advanced connectivity options, and security features, making it a valuable asset for any organization looking to enhance its labeling capabilities.

