Prestige 201 ISDN Access Router
2.9General Setup
Menu 1 - General Setup contains administrative and
To enter Menu 1 and fill in the required information, follow these steps:
Step 1. Enter 1 in the Main Menu to open Menu 1 – General Setup.
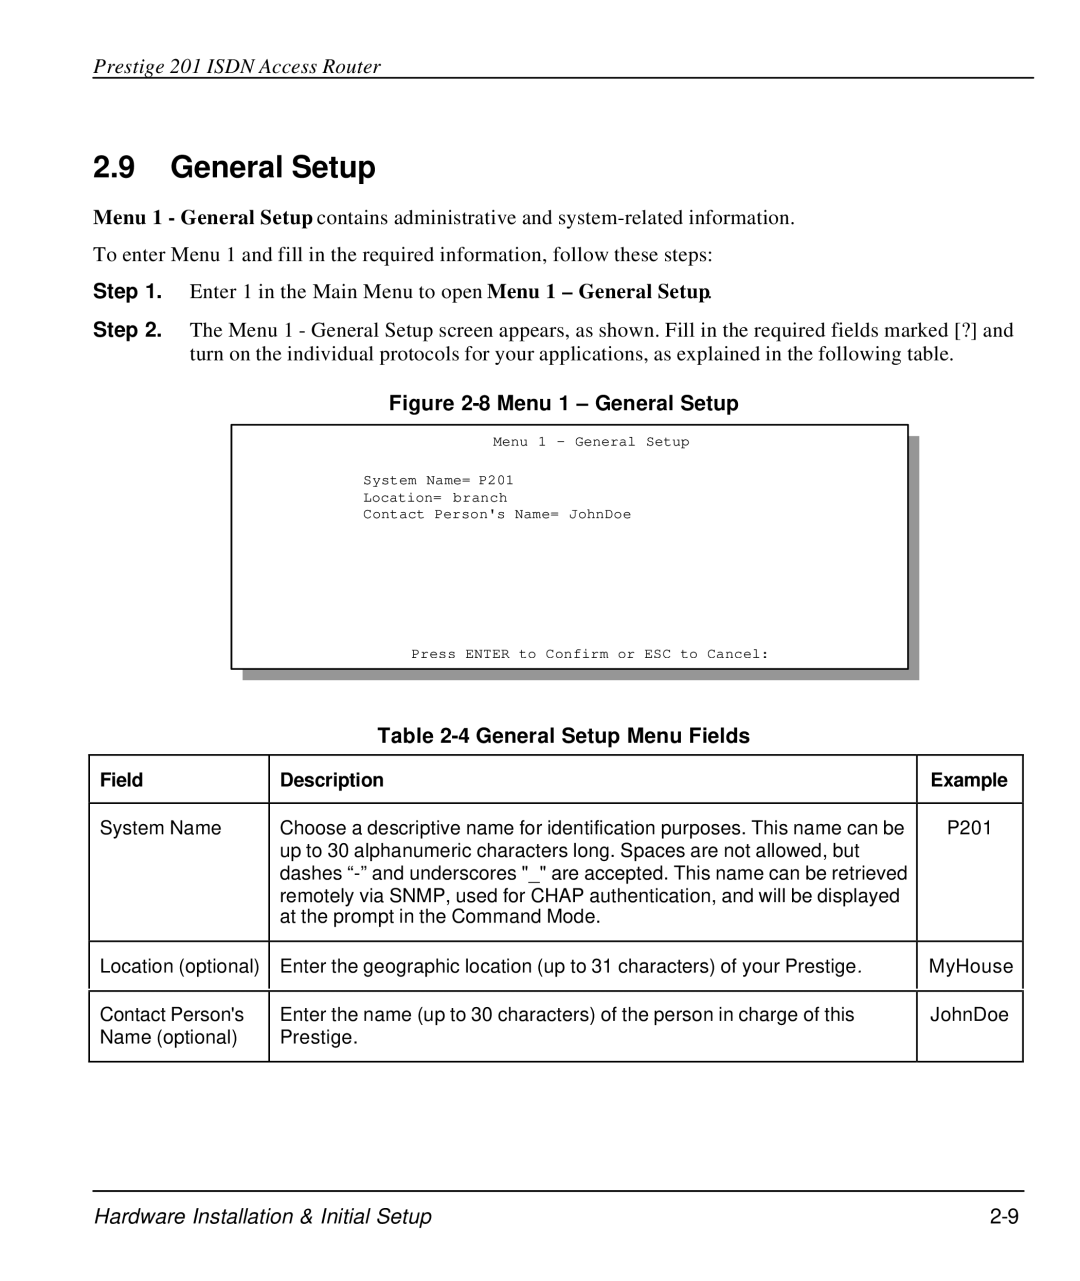
Step 2. The Menu 1 - General Setup screen appears, as shown. Fill in the required fields marked [?] and turn on the individual protocols for your applications, as explained in the following table.
Figure 2-8 Menu 1 – General Setup
Menu 1 - General Setup
System Name= P201
Location= branch
Contact Person's Name= JohnDoe
Press ENTER to Confirm or ESC to Cancel:
Table 2-4 General Setup Menu Fields
Field | Description | Example |
|
|
|
System Name | Choose a descriptive name for identification purposes. This name can be | P201 |
| up to 30 alphanumeric characters long. Spaces are not allowed, but |
|
| dashes |
|
| remotely via SNMP, used for CHAP authentication, and will be displayed |
|
| at the prompt in the Command Mode. |
|
|
|
|
Location (optional) | Enter the geographic location (up to 31 characters) of your Prestige. | MyHouse |
|
|
|
Contact Person's | Enter the name (up to 30 characters) of the person in charge of this | JohnDoe |
Name (optional) | Prestige. |
|
|
|
|
Hardware Installation & Initial Setup |
