Prestige 201 ISDN Access Router
If you replace the current configuration file with the default configuration file, i.e., p480.rom, you will lose all configurations that you had before and the speed of the console port will be reset to the default of 9600 bps with 8 data bit, no parity and 1 stop bit (8n1) . You will need to change your serial communications software to the default before you can connect to the Prestige again. The password will be reset to the default of 1234, also.
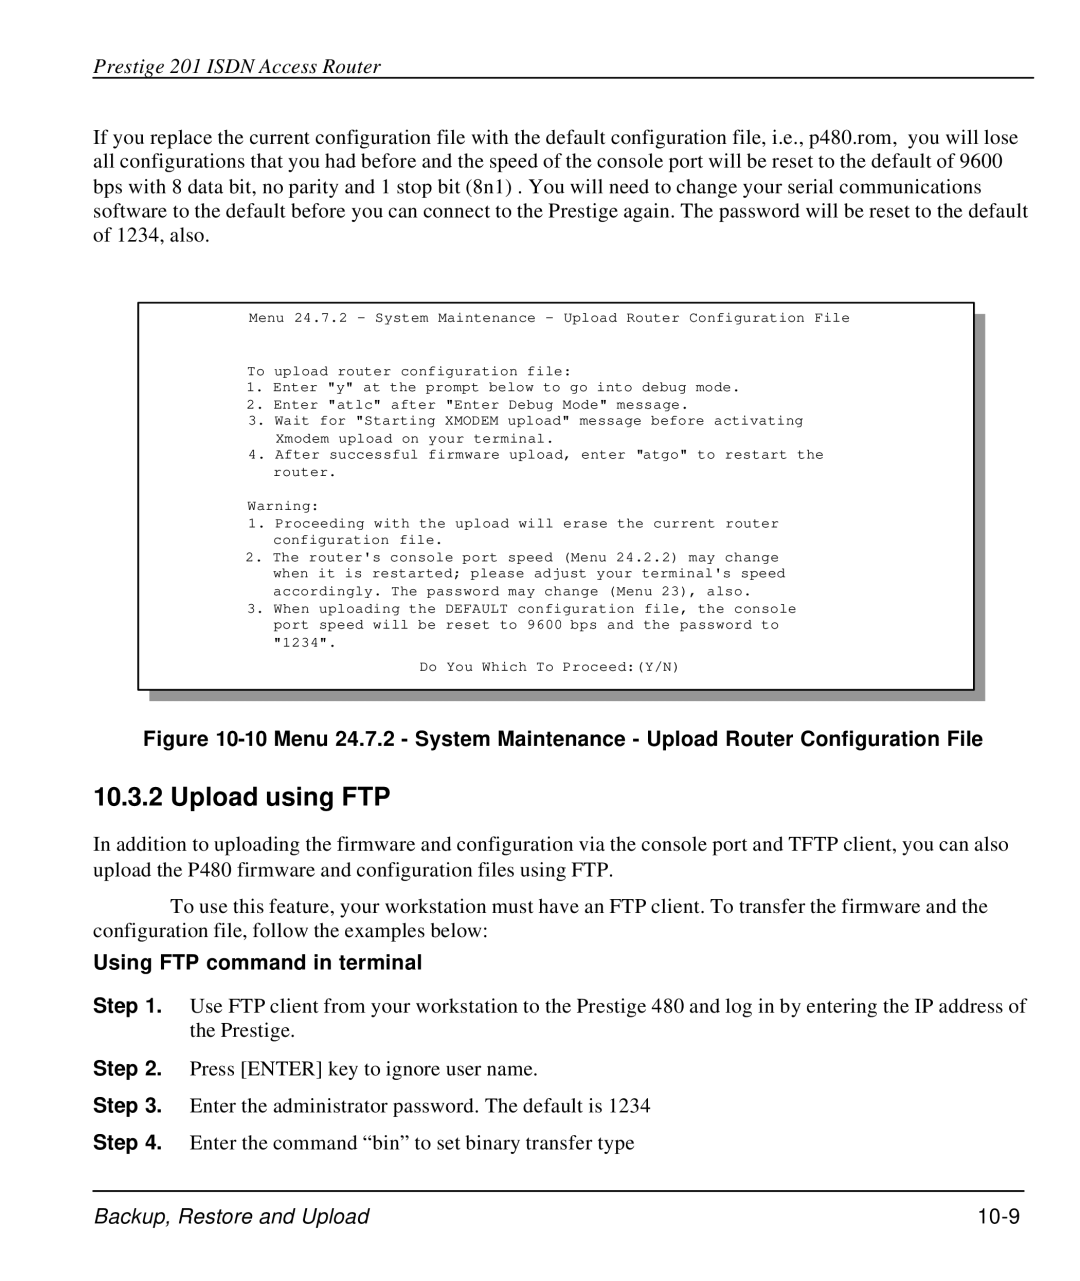
Menu 24.7.2 - System Maintenance - Upload Router Configuration File
To upload router configuration file:
1.Enter "y" at the prompt below to go into debug mode.
2.Enter "atlc" after "Enter Debug Mode" message.
3.Wait for "Starting XMODEM upload" message before activating Xmodem upload on your terminal.
4.After successful firmware upload, enter "atgo" to restart the router.
Warning:
1.Proceeding with the upload will erase the current router configuration file.
2.The router's console port speed (Menu 24.2.2) may change when it is restarted; please adjust your terminal's speed accordingly. The password may change (Menu 23), also.
3.When uploading the DEFAULT configuration file, the console port speed will be reset to 9600 bps and the password to "1234".
Do You Which To Proceed:(Y/N)
Figure 10-10 Menu 24.7.2 - System Maintenance - Upload Router Configuration File
10.3.2 Upload using FTP
In addition to uploading the firmware and configuration via the console port and TFTP client, you can also upload the P480 firmware and configuration files using FTP.
To use this feature, your workstation must have an FTP client. To transfer the firmware and the configuration file, follow the examples below:
Using FTP command in terminal
Step 1. Use FTP client from your workstation to the Prestige 480 and log in by entering the IP address of the Prestige.
Step 2. Press [ENTER] key to ignore user name.
Step 3. Enter the administrator password. The default is 1234
Step 4. Enter the command “bin” to set binary transfer type
Backup, Restore and Upload |
|