Setting Up the Webcache for Management 41
To setup the Webcache using the Command Line Interface over a test network using Telnet, open a Telnet session using a terminal emulator by specifying the IP address of the Webcache. If you are unsure how to do this, check the documentation supplied with the Telnet facility
To connect the Webcache to the test network:
■The client machine must be in the same subnet as the Webcache to be able to access it using the default IP address.
■You must have an IP stack correctly installed on the client machine. You can check this by trying to browse the World Wide Web; if you can browse, an IP stack is installed. If you do not have access to the World Wide Web, you can check that the IP stack is installed by pinging another device in your network. For more information, see “Pinging Other Devices” on page 91.
Setting Up Through the Console Port
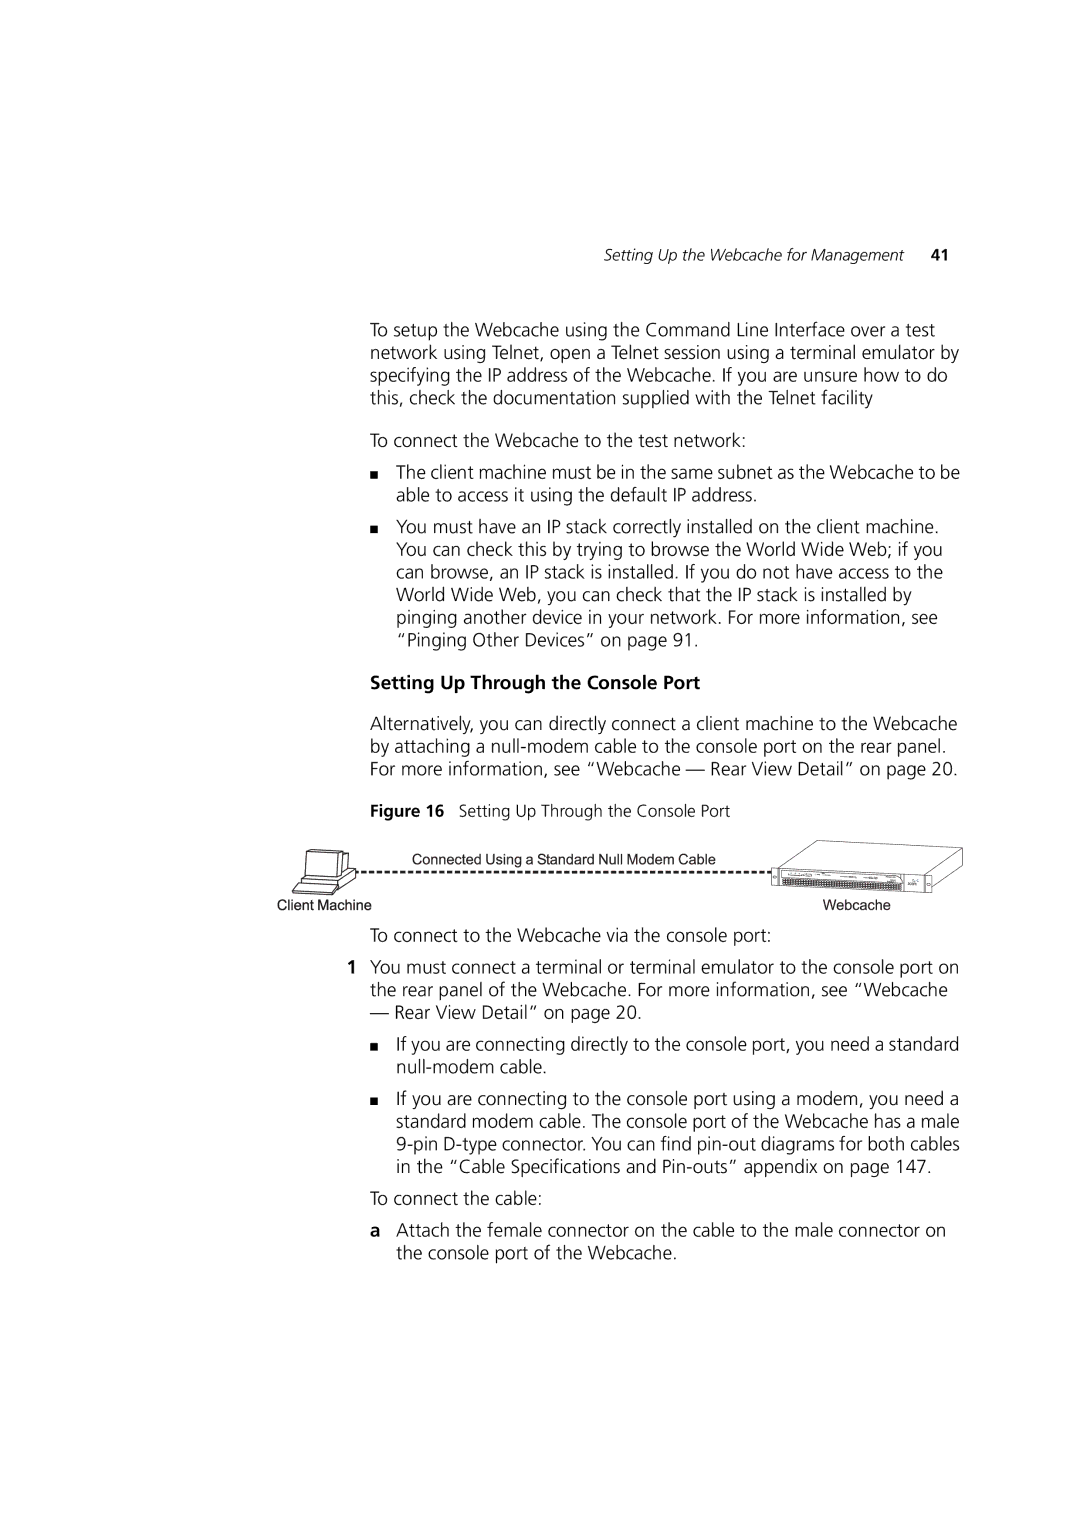
Alternatively, you can directly connect a client machine to the Webcache by attaching a
Figure 16 Setting Up Through the Console Port
To connect to the Webcache via the console port:
1You must connect a terminal or terminal emulator to the console port on the rear panel of the Webcache. For more information, see “Webcache
— Rear View Detail” on page 20.
■If you are connecting directly to the console port, you need a standard
■If you are connecting to the console port using a modem, you need a standard modem cable. The console port of the Webcache has a male
To connect the cable:
aAttach the female connector on the cable to the male connector on the console port of the Webcache.
