3M™ Dynatel™ Advanced Modular System 965AMS |
Self-Test Board
A
3965AMS
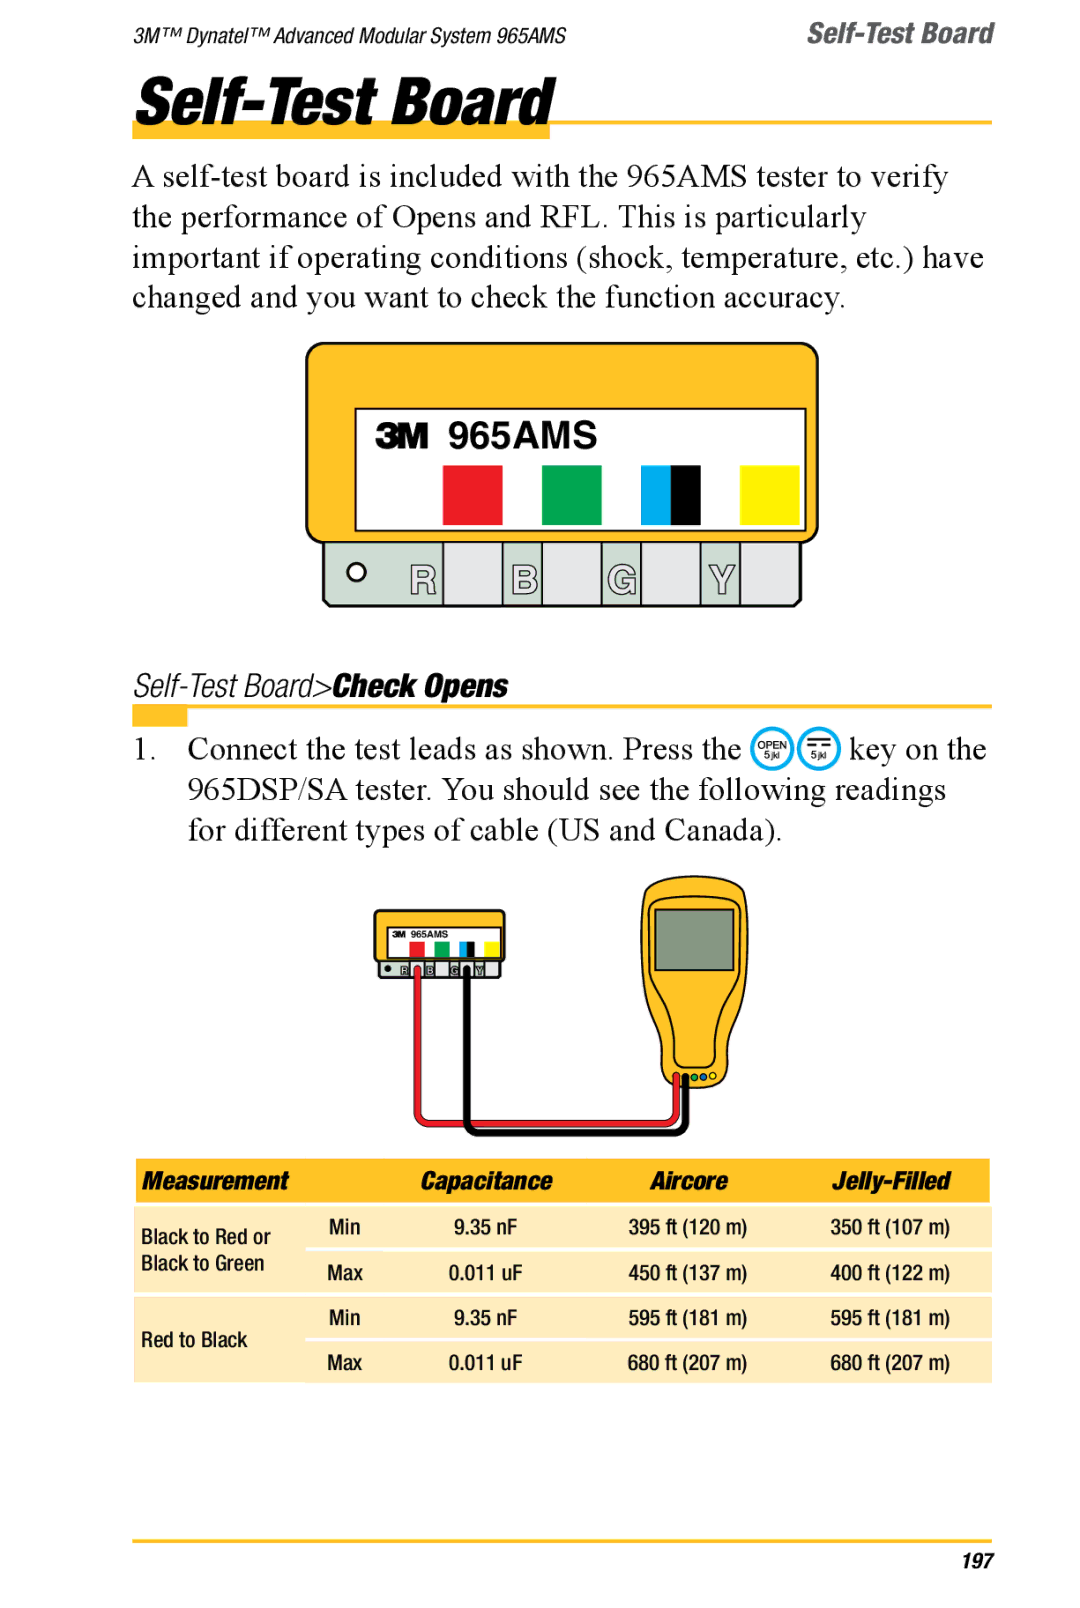
Self-Test Board>Check Opens
1.Connect the test leads as shown. Press the ![]()
![]() key on the 965DSP/SA tester. You should see the following readings for different types of cable (US and Canada).
key on the 965DSP/SA tester. You should see the following readings for different types of cable (US and Canada).
3965AMS
|
|
|
|
|
|
|
|
|
|
|
|
|
|
|
|
|
|
|
|
|
|
|
|
|
|
|
|
|
|
|
|
|
Measurement |
| Capacitance | Aircore |
| ||||||
Black to Red or | Min |
|
|
| 9.35 nF | 395 ft (120 m) | 350 ft (107 m) | |||
|
|
|
|
|
|
|
|
|
| |
Black to Green | Max |
|
| 0.011 uF | 450 ft (137 m) | 400 ft (122 m) | ||||
|
|
| ||||||||
Red to Black | Min |
|
|
| 9.35 nF | 595 ft (181 m) | 595 ft (181 m) | |||
Max |
|
| 0.011 uF | 680 ft (207 m) | 680 ft (207 m) | |||||
|
|
| ||||||||
197