Edit Number
Measurement Functions | 3M™ Dynatel™ Advanced Modular System 965AMS |
POTS>Longitudinal Balance>Operation
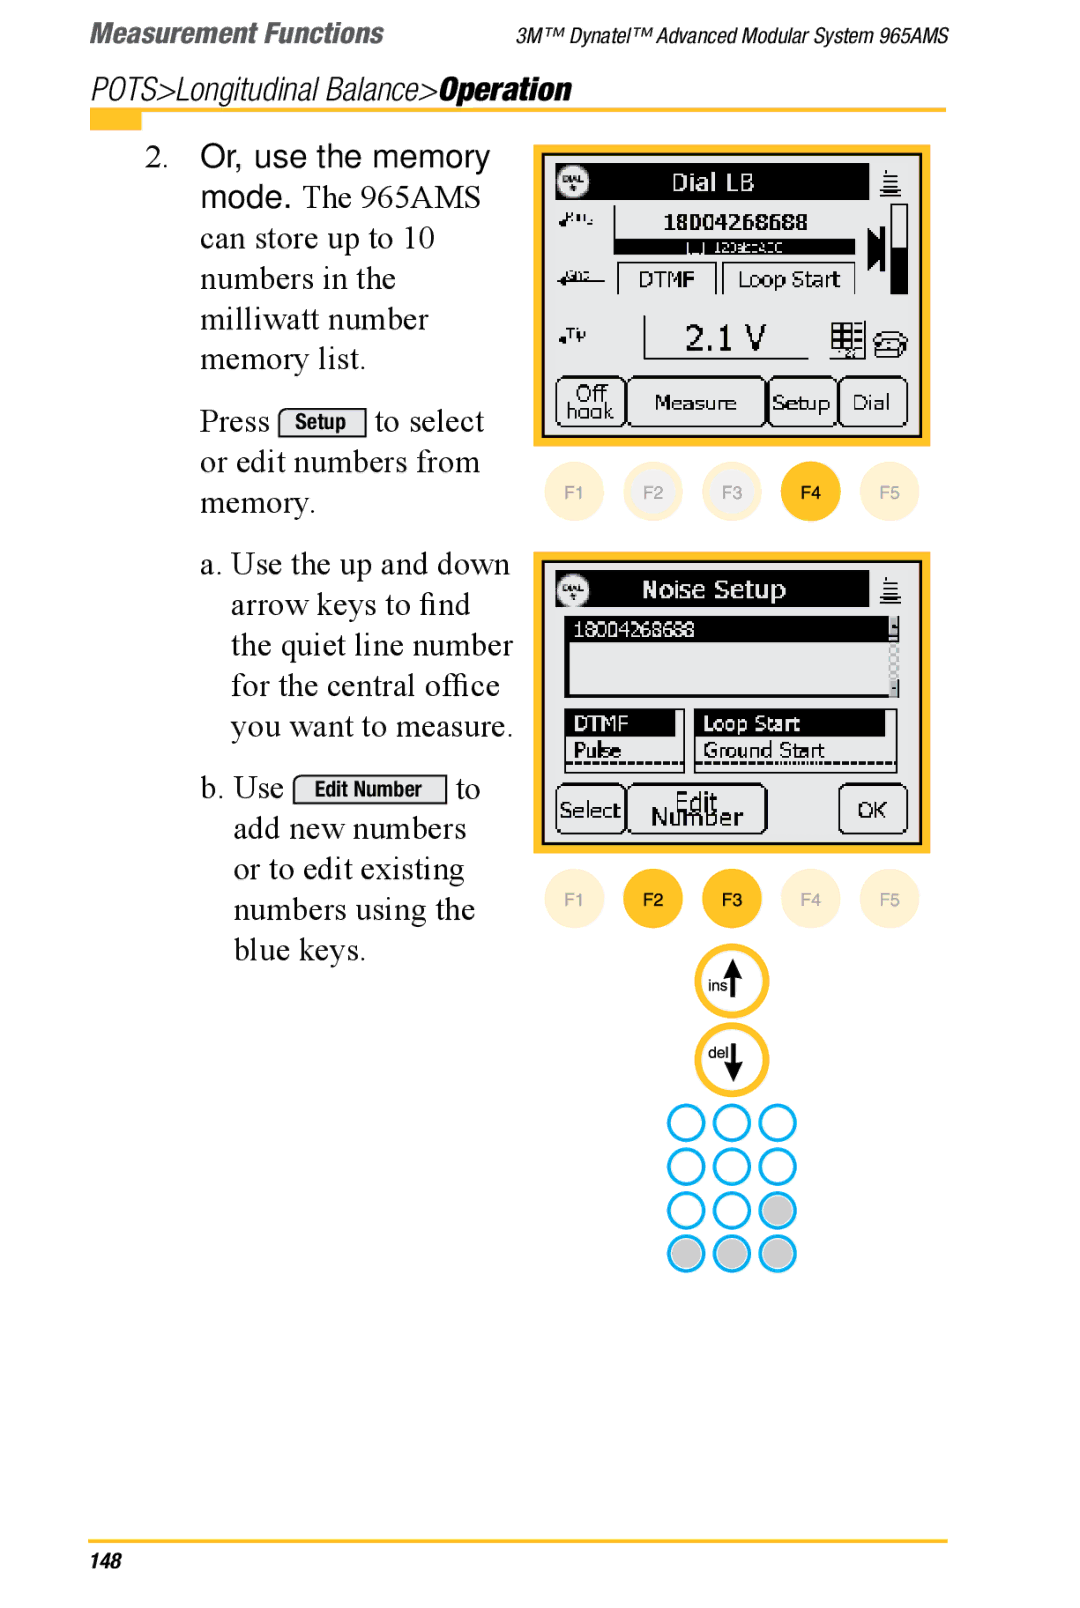
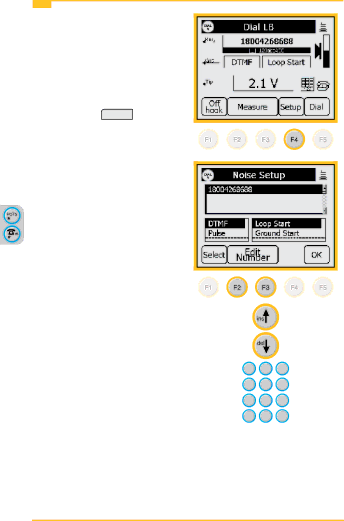
2. Or, use the memory mode. The 965AMS can store up to 10 numbers in the milliwatt number memory list.
Press Setup to select or edit numbers from memory.
a. Use the up and down arrow keys to find the quiet line number for the central office you want to measure.
b. Use ![]() to add new numbers or to edit existing numbers using the blue keys.
to add new numbers or to edit existing numbers using the blue keys.