Measurement Functions | 3M™ Dynatel™ Advanced Modular System 965AMS |
Measurement Functions
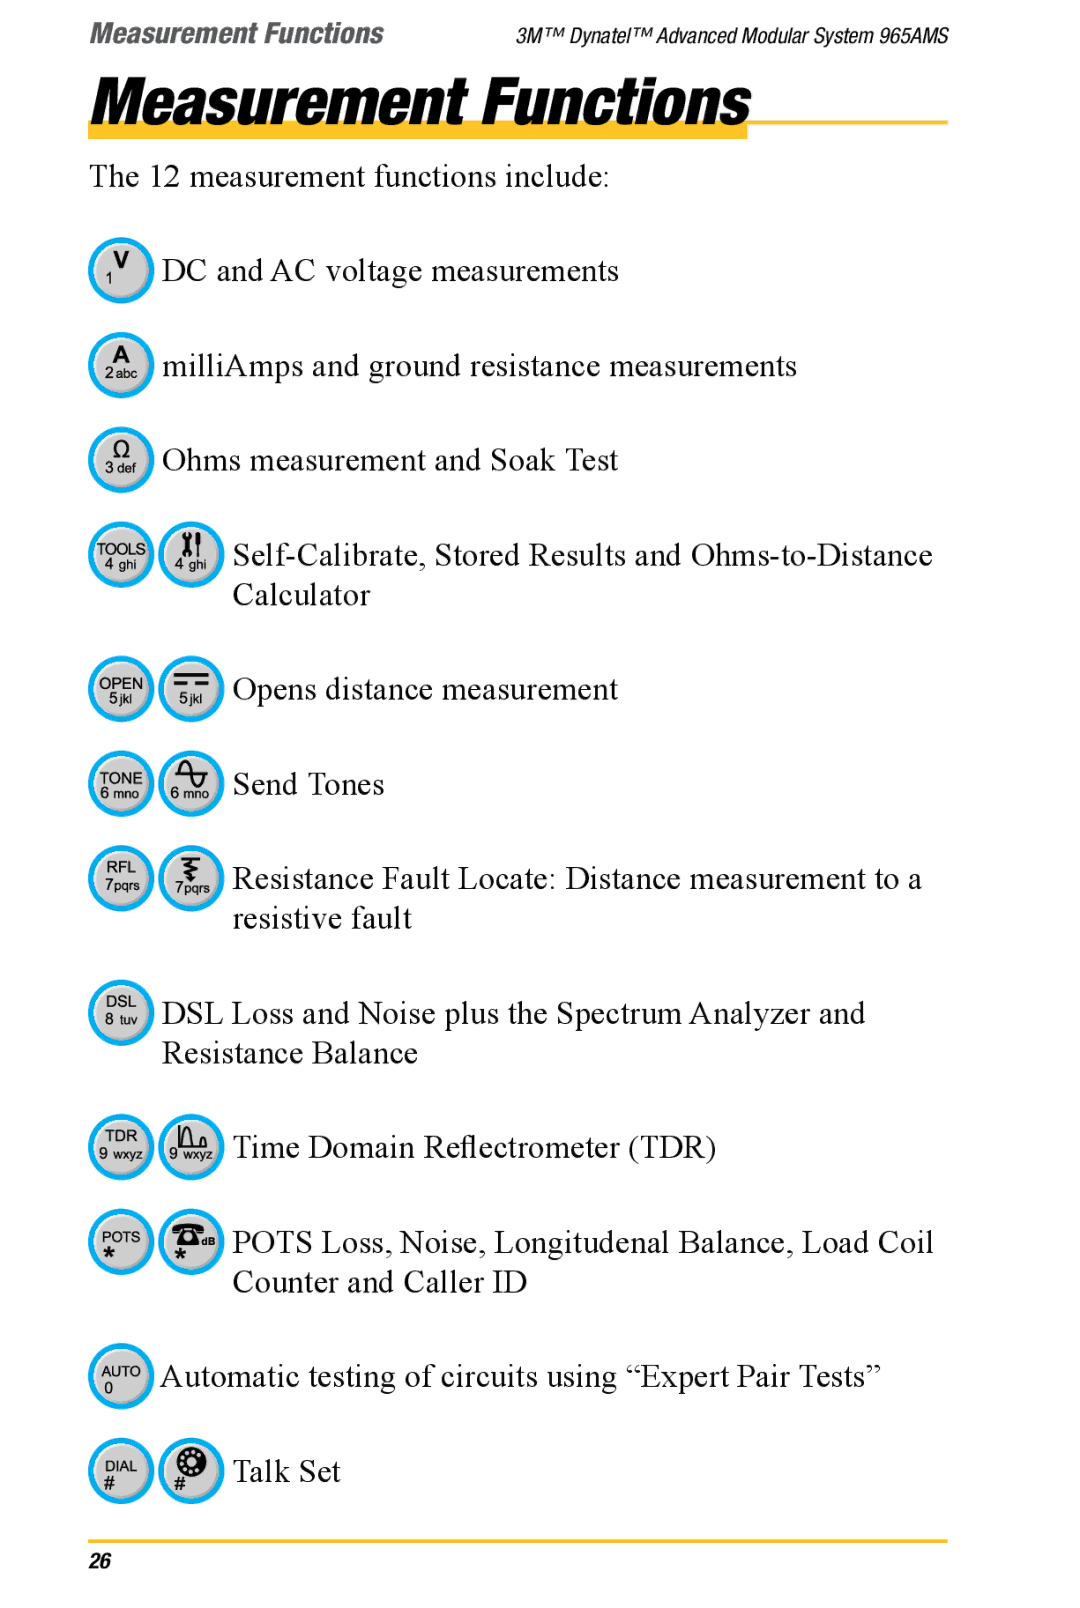
The 12 measurement functions include:
![]() DC and AC voltage measurements
DC and AC voltage measurements
![]() milliAmps and ground resistance measurements
milliAmps and ground resistance measurements ![]() Ohms measurement and Soak Test
Ohms measurement and Soak Test
![]()
![]()
![]() Opens distance measurement
Opens distance measurement
![]()
![]() Send Tones
Send Tones
Resistance Fault Locate: Distance measurement to a resistive fault
![]() DSL Loss and Noise plus the Spectrum Analyzer and Resistance Balance
DSL Loss and Noise plus the Spectrum Analyzer and Resistance Balance
![]()
![]() Time Domain Reflectrometer (TDR)
Time Domain Reflectrometer (TDR)
![]()
![]() POTS Loss, Noise, Longitudenal Balance, Load Coil Counter and Caller ID
POTS Loss, Noise, Longitudenal Balance, Load Coil Counter and Caller ID
![]() Automatic testing of circuits using “Expert Pair Tests”
Automatic testing of circuits using “Expert Pair Tests”
# | Talk Set |
26