First Session: Part 3
PART 3
FIRST SESSION
POWERING UP
Once your QS7.1/QS8.1 is connected to an audio system of some kind, you are ready to play. Here’s how to begin.
1)Make sure that all connections have been made correctly, and that the volume controls in your amplification system and QS are set to zero.
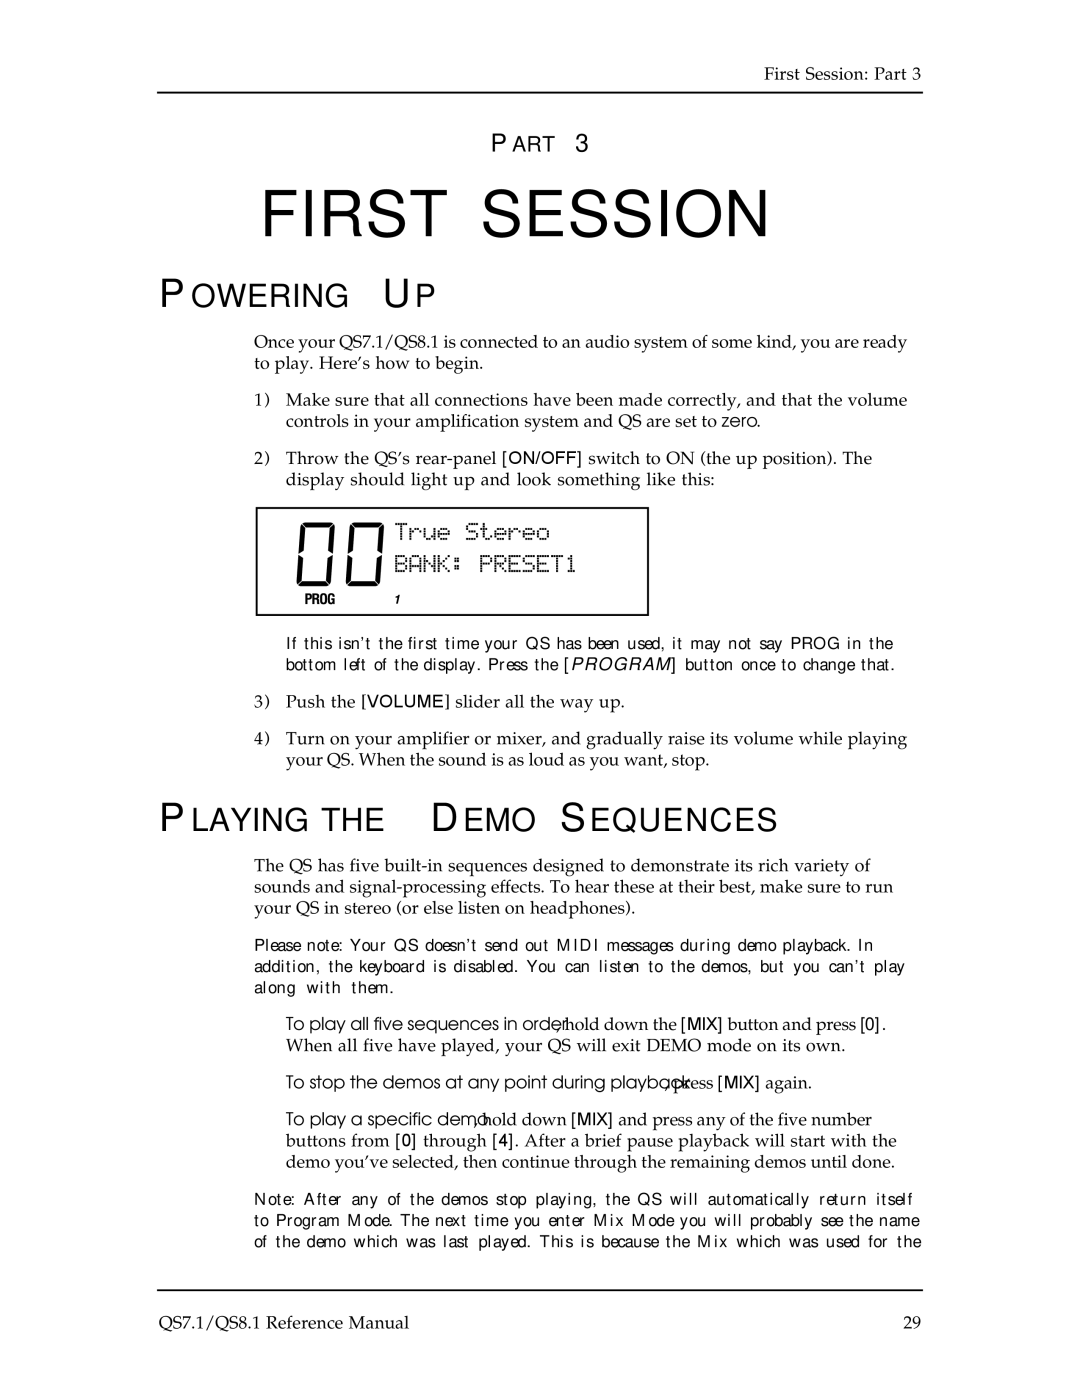
2)Throw the QS’s
If this isn’t the first time your QS has been used, it may not say PROG in the bottom left of the display. Press the [PROGRAM] button once to change that.
3)Push the [VOLUME] slider all the way up.
4)Turn on your amplifier or mixer, and gradually raise its volume while playing your QS. When the sound is as loud as you want, stop.
PLAYING THE DEMO SEQUENCES
The QS has five
Please note: Your QS doesn’t send out MIDI messages during demo playback. In addition, the keyboard is disabled. You can listen to the demos, but you can’t play along with them.
•To play all five sequences in order, hold down the [MIX] button and press [0]. When all five have played, your QS will exit DEMO mode on its own.
•To stop the demos at any point during playback, press [MIX] again.
•To play a specific demo, hold down [MIX] and press any of the five number buttons from [0] through [4]. After a brief pause playback will start with the demo you’ve selected, then continue through the remaining demos until done.
Note: After any of the demos stop playing, the QS will automatically return itself to Program Mode. The next time you enter Mix Mode you will probably see the name of the demo which was last played. This is because the Mix which was used for the
QS7.1/QS8.1 Reference Manual | 29 |