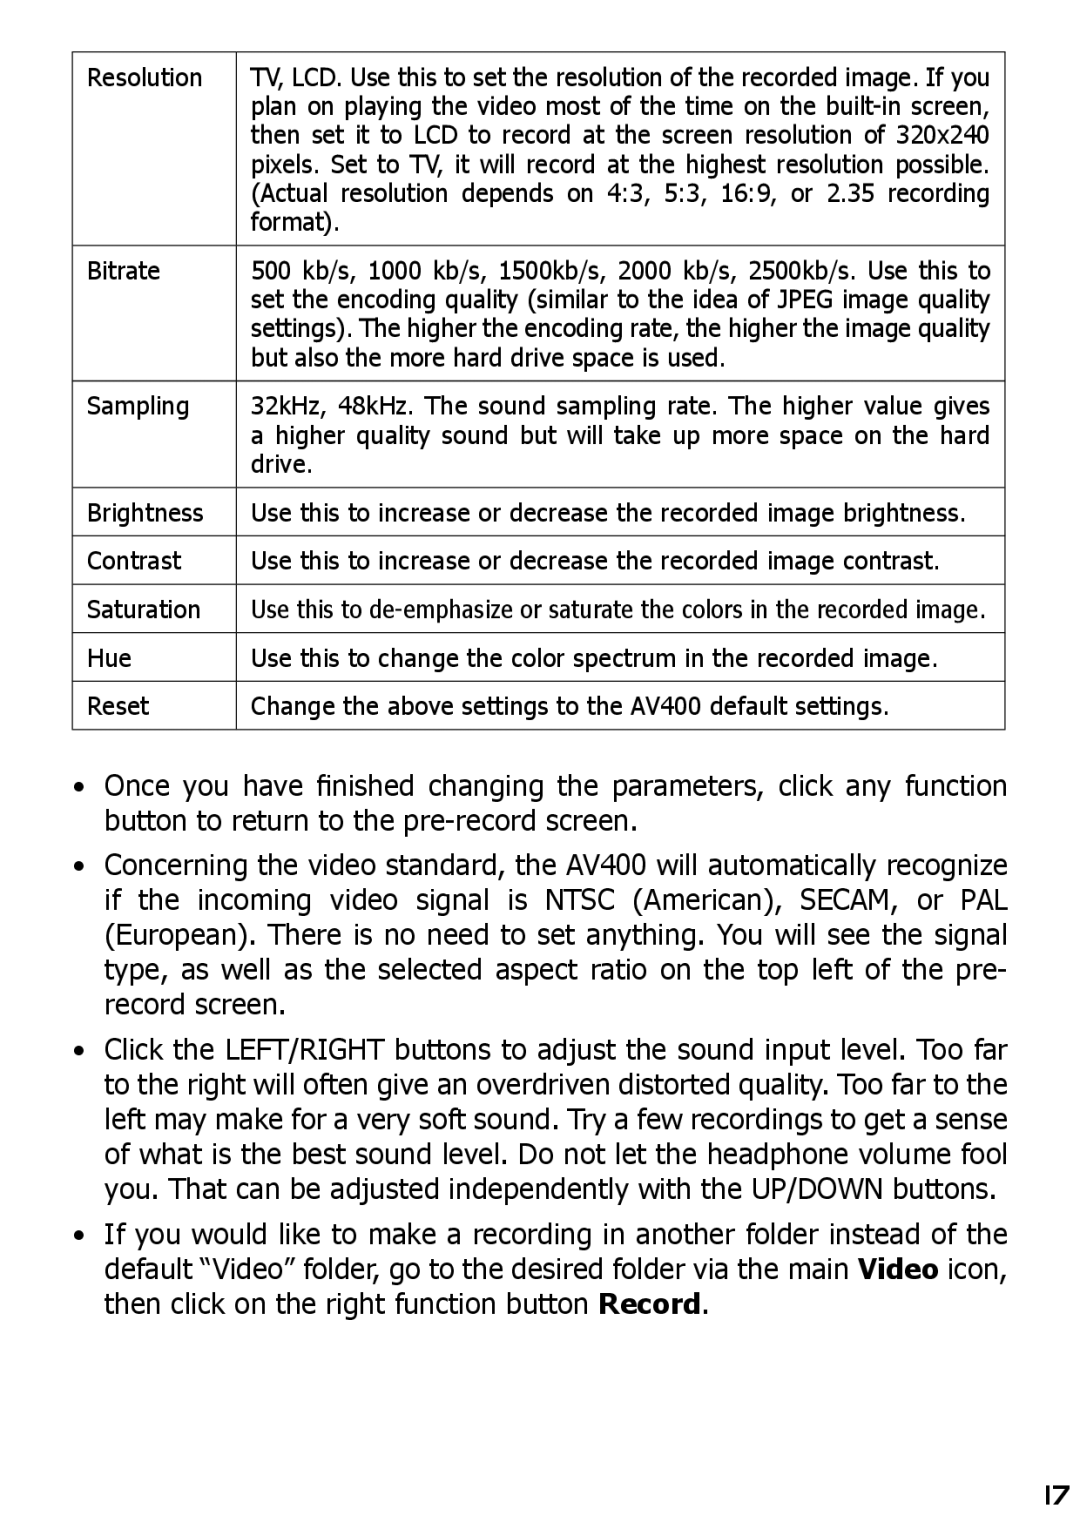
Resolution | TV, LCD. Use this to set the resolution of the recorded image. If you |
| plan on playing the video most of the time on the |
| then set it to LCD to record at the screen resolution of 320x240 |
| pixels. Set to TV, it will record at the highest resolution possible. |
| (Actual resolution depends on 4:3, 5:3, 16:9, or 2.35 recording |
| format). |
|
|
Bitrate | 500 kb/s, 1000 kb/s, 1500kb/s, 2000 kb/s, 2500kb/s. Use this to |
| set the encoding quality (similar to the idea of JPEG image quality |
| settings). The higher the encoding rate, the higher the image quality |
| but also the more hard drive space is used. |
|
|
Sampling | 32kHz, 48kHz. The sound sampling rate. The higher value gives |
| a higher quality sound but will take up more space on the hard |
| drive. |
|
|
Brightness | Use this to increase or decrease the recorded image brightness. |
|
|
Contrast | Use this to increase or decrease the recorded image contrast. |
|
|
Saturation | Use this to |
|
|
Hue | Use this to change the color spectrum in the recorded image. |
|
|
Reset | Change the above settings to the AV400 default settings. |
|
|
•Once you have finished changing the parameters, click any function button to return to the
•Concerning the video standard, the AV400 will automatically recognize if the incoming video signal is NTSC (American), SECAM, or PAL (European). There is no need to set anything. You will see the signal type, as well as the selected aspect ratio on the top left of the pre- record screen.
•Click the LEFT/RIGHT buttons to adjust the sound input level. Too far to the right will often give an overdriven distorted quality. Too far to the left may make for a very soft sound. Try a few recordings to get a sense of what is the best sound level. Do not let the headphone volume fool you. That can be adjusted independently with the UP/DOWN buttons.
•If you would like to make a recording in another folder instead of the default “Video” folder, go to the desired folder via the main Video icon, then click on the right function button Record.
17
