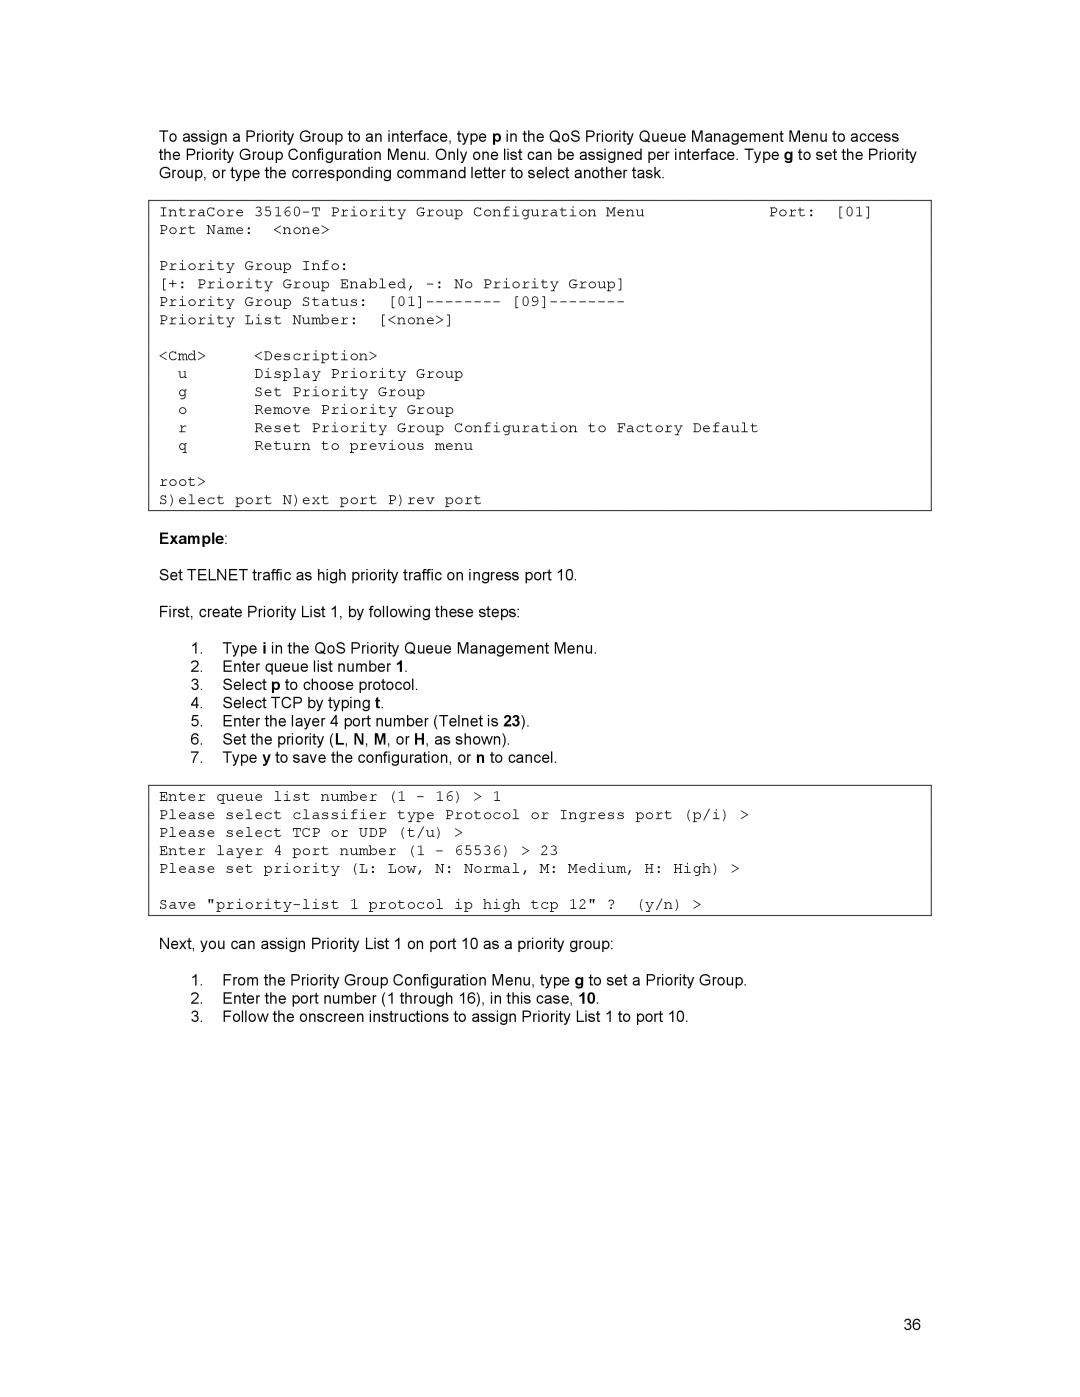
To assign a Priority Group to an interface, type p in the QoS Priority Queue Management Menu to access the Priority Group Configuration Menu. Only one list can be assigned per interface. Type g to set the Priority Group, or type the corresponding command letter to select another task.
IntraCore | Port: [01] | ||
Port Name: | <none> |
|
|
Priority Group Info: |
|
| |
[+: Priority Group Enabled, |
| ||
Priority Group Status: |
| ||
Priority List Number: | [<none>] |
| |
<Cmd> | <Description> |
|
|
u | Display Priority Group |
| |
g | Set Priority Group |
| |
o | Remove Priority Group |
| |
r | Reset Priority Group Configuration to Factory Default |
| |
q | Return to previous menu |
| |
root> |
|
|
|
S)elect port N)ext port P)rev port
Example:
Set TELNET traffic as high priority traffic on ingress port 10.
First, create Priority List 1, by following these steps:
1.Type i in the QoS Priority Queue Management Menu.
2.Enter queue list number 1.
3.Select p to choose protocol.
4.Select TCP by typing t.
5.Enter the layer 4 port number (Telnet is 23).
6.Set the priority (L, N, M, or H, as shown).
7.Type y to save the configuration, or n to cancel.
Enter queue list number (1 - 16) > 1
Please select classifier type Protocol or Ingress port (p/i) > Please select TCP or UDP (t/u) >
Enter layer 4 port number (1 - 65536) > 23
Please set priority (L: Low, N: Normal, M: Medium, H: High) > Save
Next, you can assign Priority List 1 on port 10 as a priority group:
1.From the Priority Group Configuration Menu, type g to set a Priority Group.
2.Enter the port number (1 through 16), in this case, 10.
3.Follow the onscreen instructions to assign Priority List 1 to port 10.
36