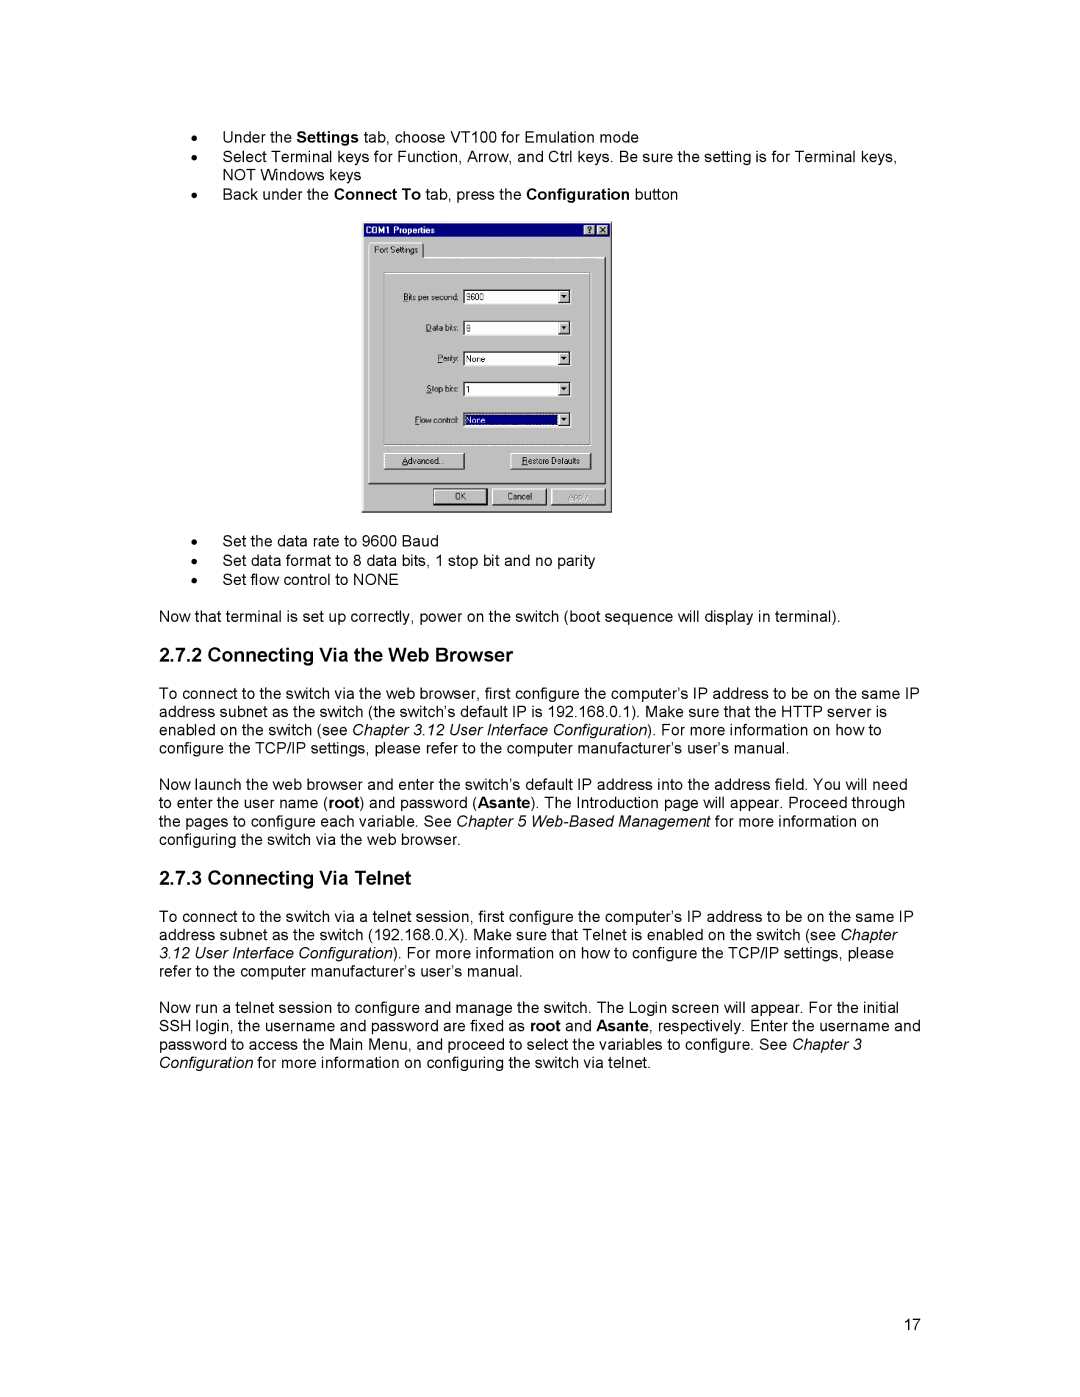
•Under the Settings tab, choose VT100 for Emulation mode
•Select Terminal keys for Function, Arrow, and Ctrl keys. Be sure the setting is for Terminal keys, NOT Windows keys
•Back under the Connect To tab, press the Configuration button
•Set the data rate to 9600 Baud
•Set data format to 8 data bits, 1 stop bit and no parity
•Set flow control to NONE
Now that terminal is set up correctly, power on the switch (boot sequence will display in terminal).
2.7.2 Connecting Via the Web Browser
To connect to the switch via the web browser, first configure the computer’s IP address to be on the same IP address subnet as the switch (the switch’s default IP is 192.168.0.1). Make sure that the HTTP server is enabled on the switch (see Chapter 3.12 User Interface Configuration). For more information on how to configure the TCP/IP settings, please refer to the computer manufacturer’s user’s manual.
Now launch the web browser and enter the switch’s default IP address into the address field. You will need to enter the user name (root) and password (Asante). The Introduction page will appear. Proceed through the pages to configure each variable. See Chapter 5
2.7.3 Connecting Via Telnet
To connect to the switch via a telnet session, first configure the computer’s IP address to be on the same IP address subnet as the switch (192.168.0.X). Make sure that Telnet is enabled on the switch (see Chapter
3.12User Interface Configuration). For more information on how to configure the TCP/IP settings, please refer to the computer manufacturer’s user’s manual.
Now run a telnet session to configure and manage the switch. The Login screen will appear. For the initial SSH login, the username and password are fixed as root and Asante, respectively. Enter the username and password to access the Main Menu, and proceed to select the variables to configure. See Chapter 3 Configuration for more information on configuring the switch via telnet.
17
