CHAPTER 8: Operation
3.Run the terminal-emulation software on the terminal-capable computer.
4.Set the software to use the correct COM port and set its serial communication parameters: 1200 to 19,200 (but not 14,400) bps, no parity, 8 data bits, 1 stop bit, and no flow control.
5.Use <CM>ZF[Enter] to access the firmware-configuration menu (see Figure 8-2 at the end of this section).
•As above, if you don’t have a null-modem cable:
1.Store the new firmware files on the terminal-capable computer.
2.Attach the serial-mouse strand of your console’s User Cable to that computer’s serial port.
3.Run the terminal-emulation software on the terminal-capable computer.
4.Set the software to use the correct COM port and set its serial communication parameters: 1200 to 19,200 (but not 14,400) bps, no parity, 8 data bits, 1 stop bit, and no flow control.
5.Use <CM>ZS[Enter] to access the firmware-configuration menu (see Figure 8-2 at the end of this section).
Once you’ve issued the appropriate command, the ServSwitch Multi will switch control to the terminal-capable computer, autodetect the data rate the terminal is set for, and match it. Press [Enter] at the terminal PC’s keyboard when the Switch prompts you to do so. The Switch should display the main firmware-configuration menu on your terminal screen:
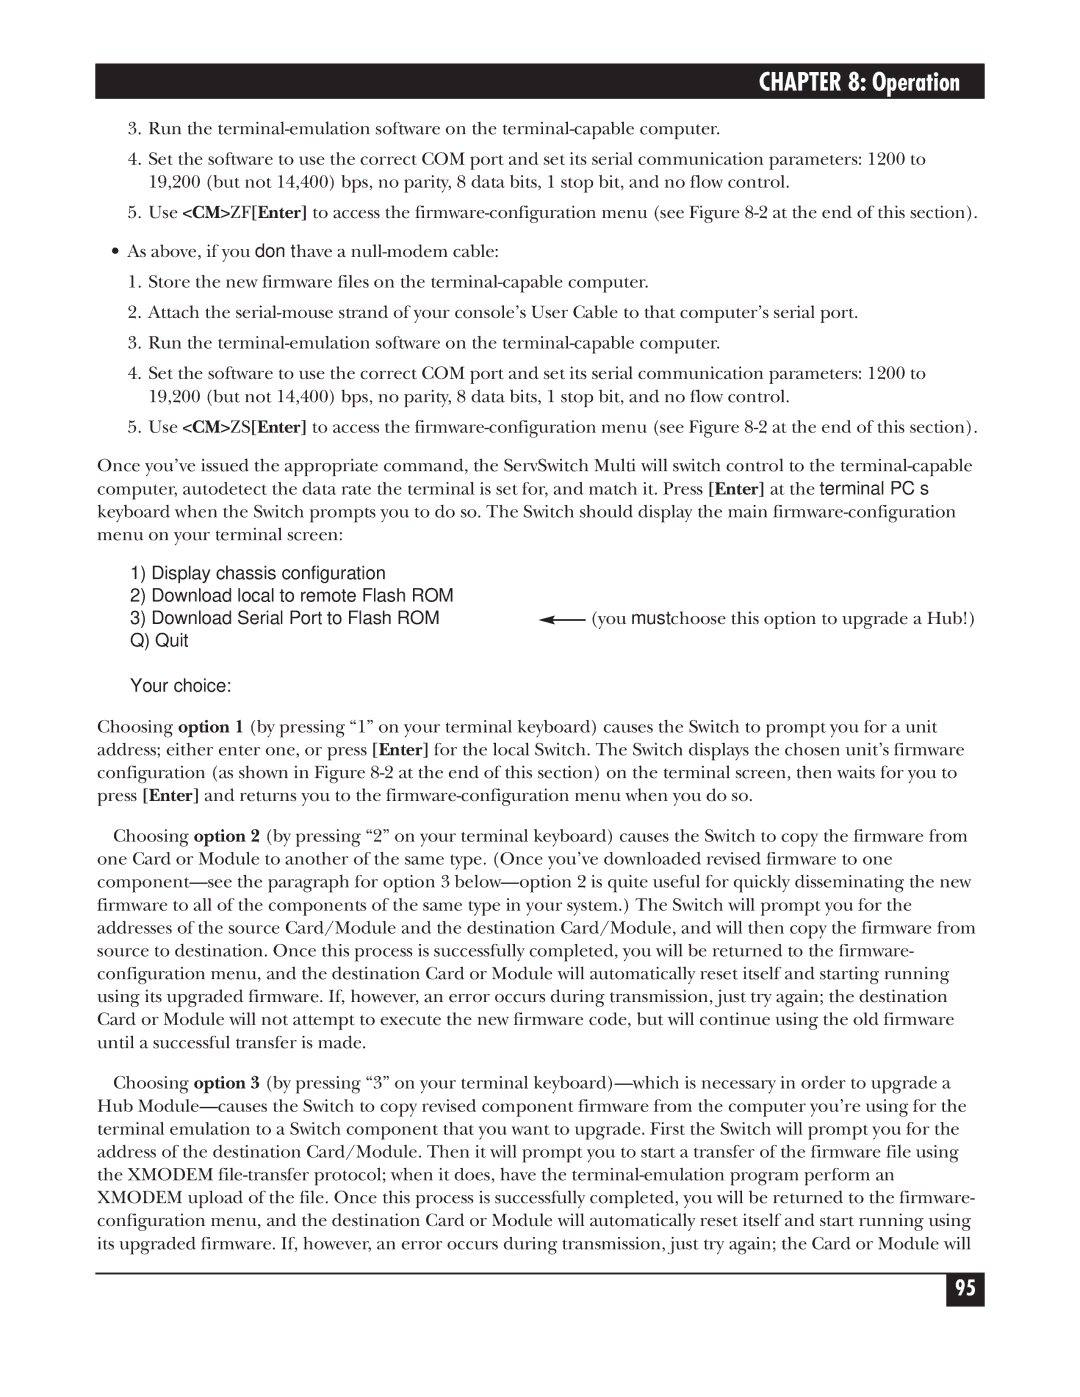
1)Display chassis configuration
2)Download local to remote Flash ROM
3)Download Serial Port to Flash ROM  (you must choose this option to upgrade a Hub!)
Q) Quit
Your choice:
Choosing option 1 (by pressing “1” on your terminal keyboard) causes the Switch to prompt you for a unit address; either enter one, or press [Enter] for the local Switch. The Switch displays the chosen unit’s firmware configuration (as shown in Figure 8-2 at the end of this section) on the terminal screen, then waits for you to press [Enter] and returns you to the firmware-configuration menu when you do so.
Choosing option 2 (by pressing “2” on your terminal keyboard) causes the Switch to copy the firmware from one Card or Module to another of the same type. (Once you’ve downloaded revised firmware to one component—see the paragraph for option 3 below—option 2 is quite useful for quickly disseminating the new firmware to all of the components of the same type in your system.) The Switch will prompt you for the addresses of the source Card/Module and the destination Card/Module, and will then copy the firmware from source to destination. Once this process is successfully completed, you will be returned to the firmware- configuration menu, and the destination Card or Module will automatically reset itself and starting running using its upgraded firmware. If, however, an error occurs during transmission, just try again; the destination Card or Module will not attempt to execute the new firmware code, but will continue using the old firmware until a successful transfer is made.
Choosing option 3 (by pressing “3” on your terminal keyboard)—which is necessary in order to upgrade a Hub Module—causes the Switch to copy revised component firmware from the computer you’re using for the terminal emulation to a Switch component that you want to upgrade. First the Switch will prompt you for the address of the destination Card/Module. Then it will prompt you to start a transfer of the firmware file using the XMODEM file-transfer protocol; when it does, have the terminal-emulation program perform an XMODEM upload of the file. Once this process is successfully completed, you will be returned to the firmware- configuration menu, and the destination Card or Module will automatically reset itself and start running using its upgraded firmware. If, however, an error occurs during transmission, just try again; the Card or Module will