1Connect the switch to a PC via Ethernet, and set a static IP address of 192.168.2.x 255.255.255.0 (where x is between 2 and 254) on the PC.
2Connect to the switch using IP address 192.168.2.1 in your web browser. The login is: username = admin with no password.
3After connecting to the device, use the IP Interface Parameters page to define the required IP address (static or DHCP) for the device and its default gateway.
4After the device is configured with new IP address, connect the device to the network or to a PC with the correct subnet settings and continue configuring it via web management.
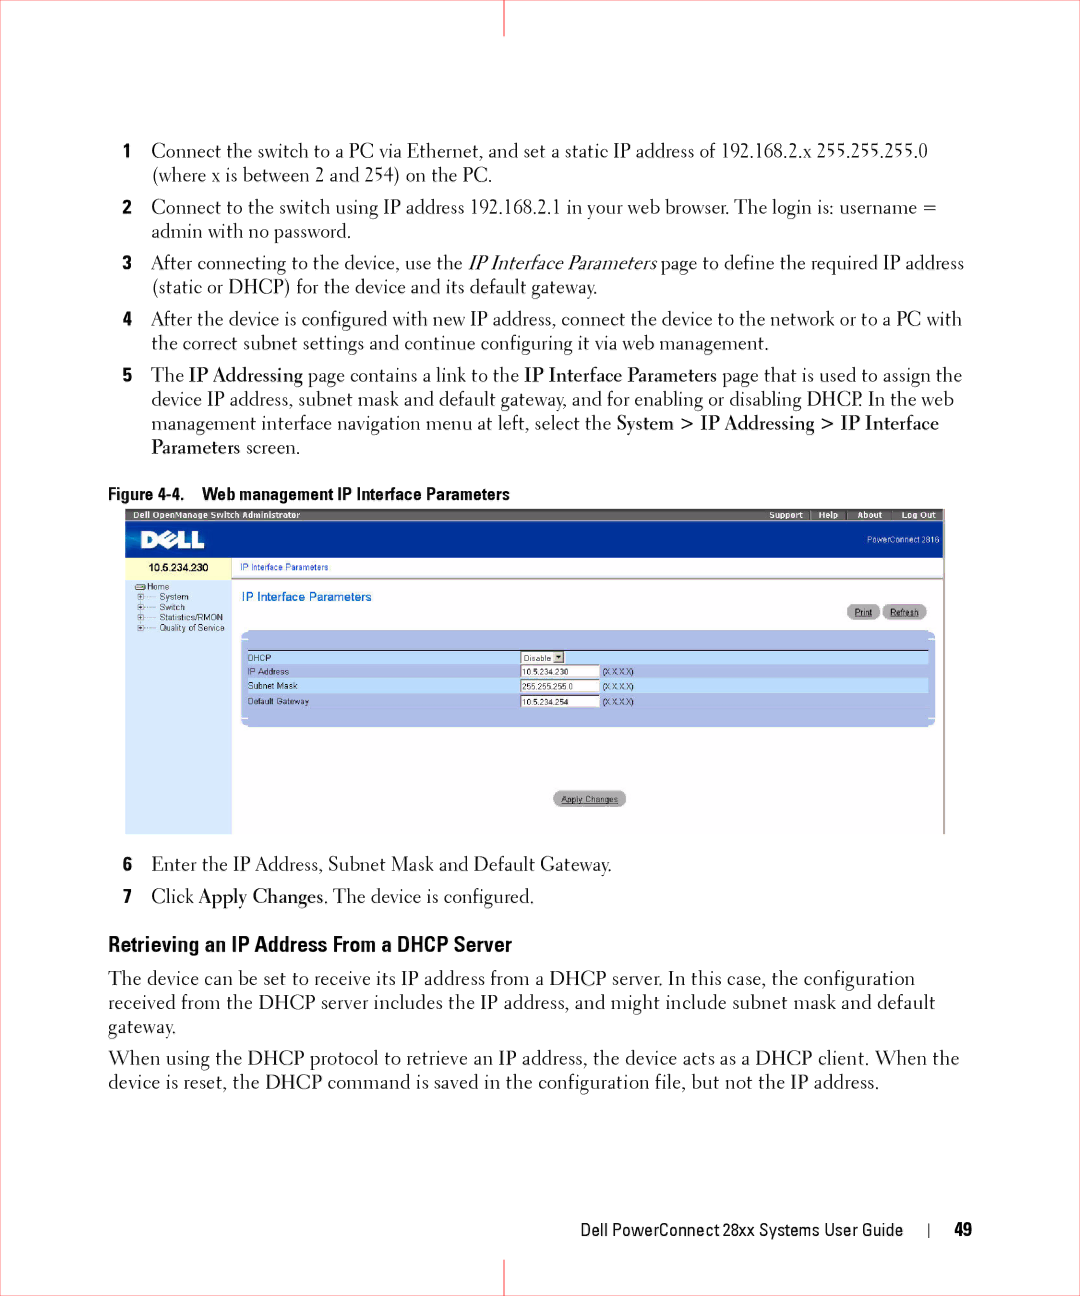
5The IP Addressing page contains a link to the IP Interface Parameters page that is used to assign the device IP address, subnet mask and default gateway, and for enabling or disabling DHCP. In the web management interface navigation menu at left, select the System > IP Addressing > IP Interface Parameters screen.
Figure 4-4. Web management IP Interface Parameters
6Enter the IP Address, Subnet Mask and Default Gateway.
7Click Apply Changes. The device is configured.
Retrieving an IP Address From a DHCP Server
The device can be set to receive its IP address from a DHCP server. In this case, the configuration received from the DHCP server includes the IP address, and might include subnet mask and default gateway.
When using the DHCP protocol to retrieve an IP address, the device acts as a DHCP client. When the device is reset, the DHCP command is saved in the configuration file, but not the IP address.
Dell PowerConnect 28xx Systems User Guide
49