Chapter 4
Installation Instructions
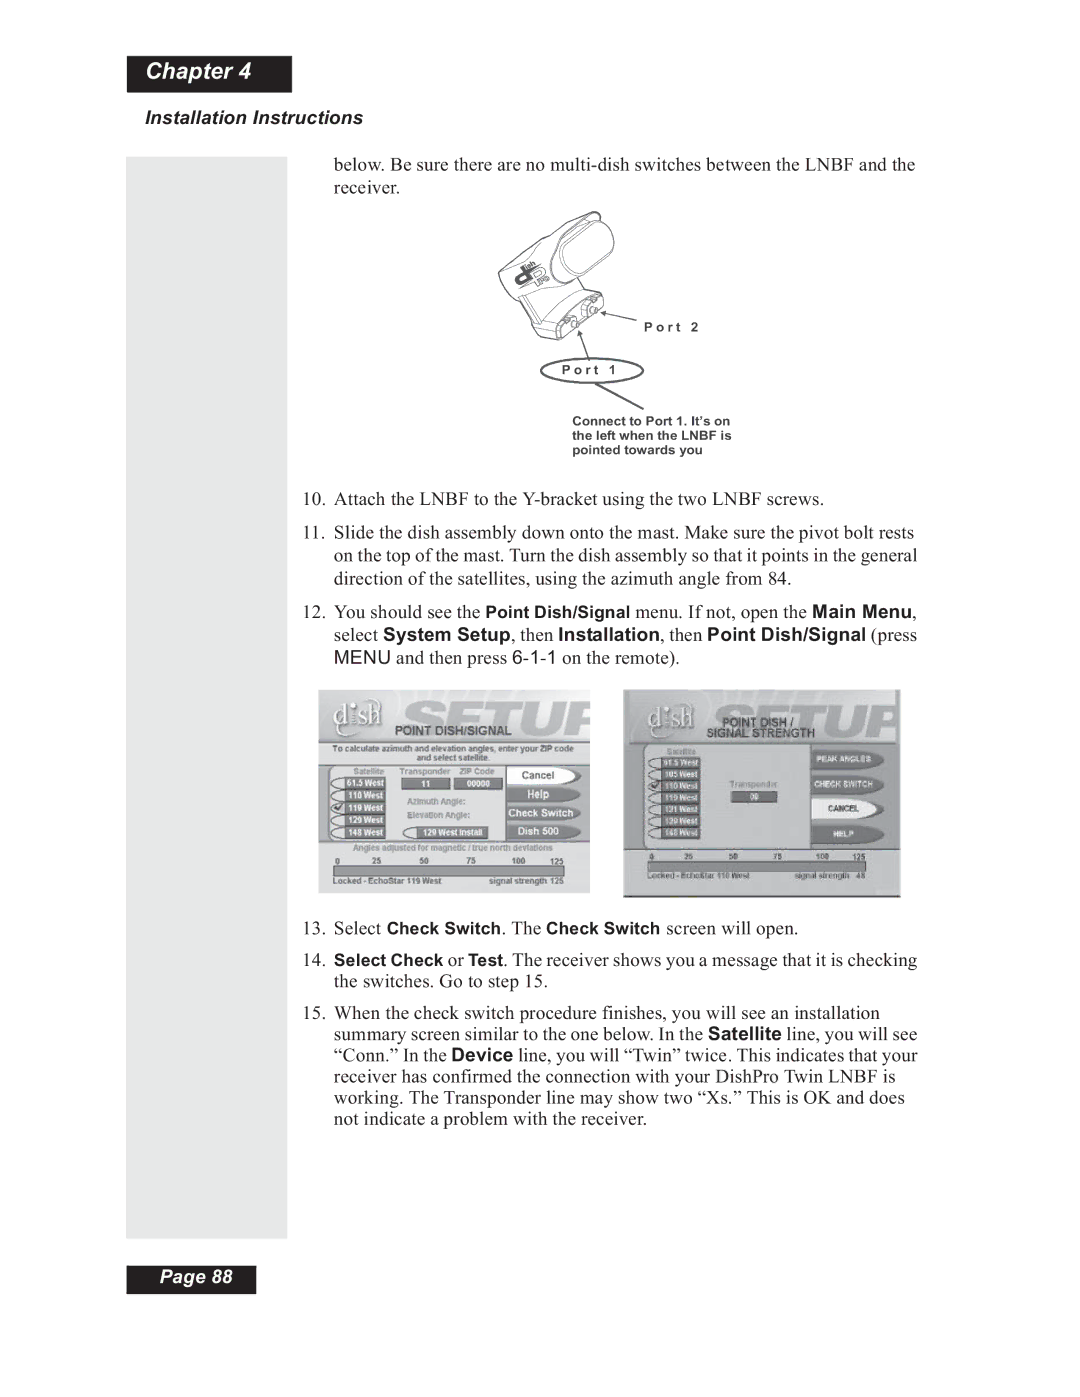
below. Be sure there are no
P o r t 2
P o r t 1
Connect to Port 1. It’s on the left when the LNBF is pointed towards you
10.Attach the LNBF to the
11.Slide the dish assembly down onto the mast. Make sure the pivot bolt rests on the top of the mast. Turn the dish assembly so that it points in the general direction of the satellites, using the azimuth angle from 84.
12.You should see the Point Dish/Signal menu. If not, open the Main Menu, select System Setup, then Installation, then Point Dish/Signal (press
MENU and then press
13.Select Check Switch. The Check Switch screen will open.
14.Select Check or Test. The receiver shows you a message that it is checking the switches. Go to step 15.
15.When the check switch procedure finishes, you will see an installation summary screen similar to the one below. In the Satellite line, you will see “Conn.” In the Device line, you will “Twin” twice. This indicates that your receiver has confirmed the connection with your DishPro Twin LNBF is working. The Transponder line may show two “Xs.” This is OK and does not indicate a problem with the receiver.
Page 88