Chapter 4
Installation Instructions
Connecting Each Receiver to a Phone Line
You must keep each receiver connected to an active telephone line. Otherwise, you may not be able to order pay per view programs or use all of the Dish Interactive features. Run a telephone cable with a standard
Note: You may be able to use a wireless telephone extender. However, this may not support all the features of some receivers, such as Caller ID.
Note: If you have a Digital Subscriber Line (DSL), you may have to install a DSL filter between the receiver’s back panel PHONE JACK and the telephone wall jack to successfully connect with the DISH Network. You can obtain a filter from your DSL provider.
You must also set up each receiver for your telephone system (touchtone or rotary/pulse), and set a telephone number prefix, if you need a prefix to make an outside call.
1.Display the Installation and Setup menu (press MENU then
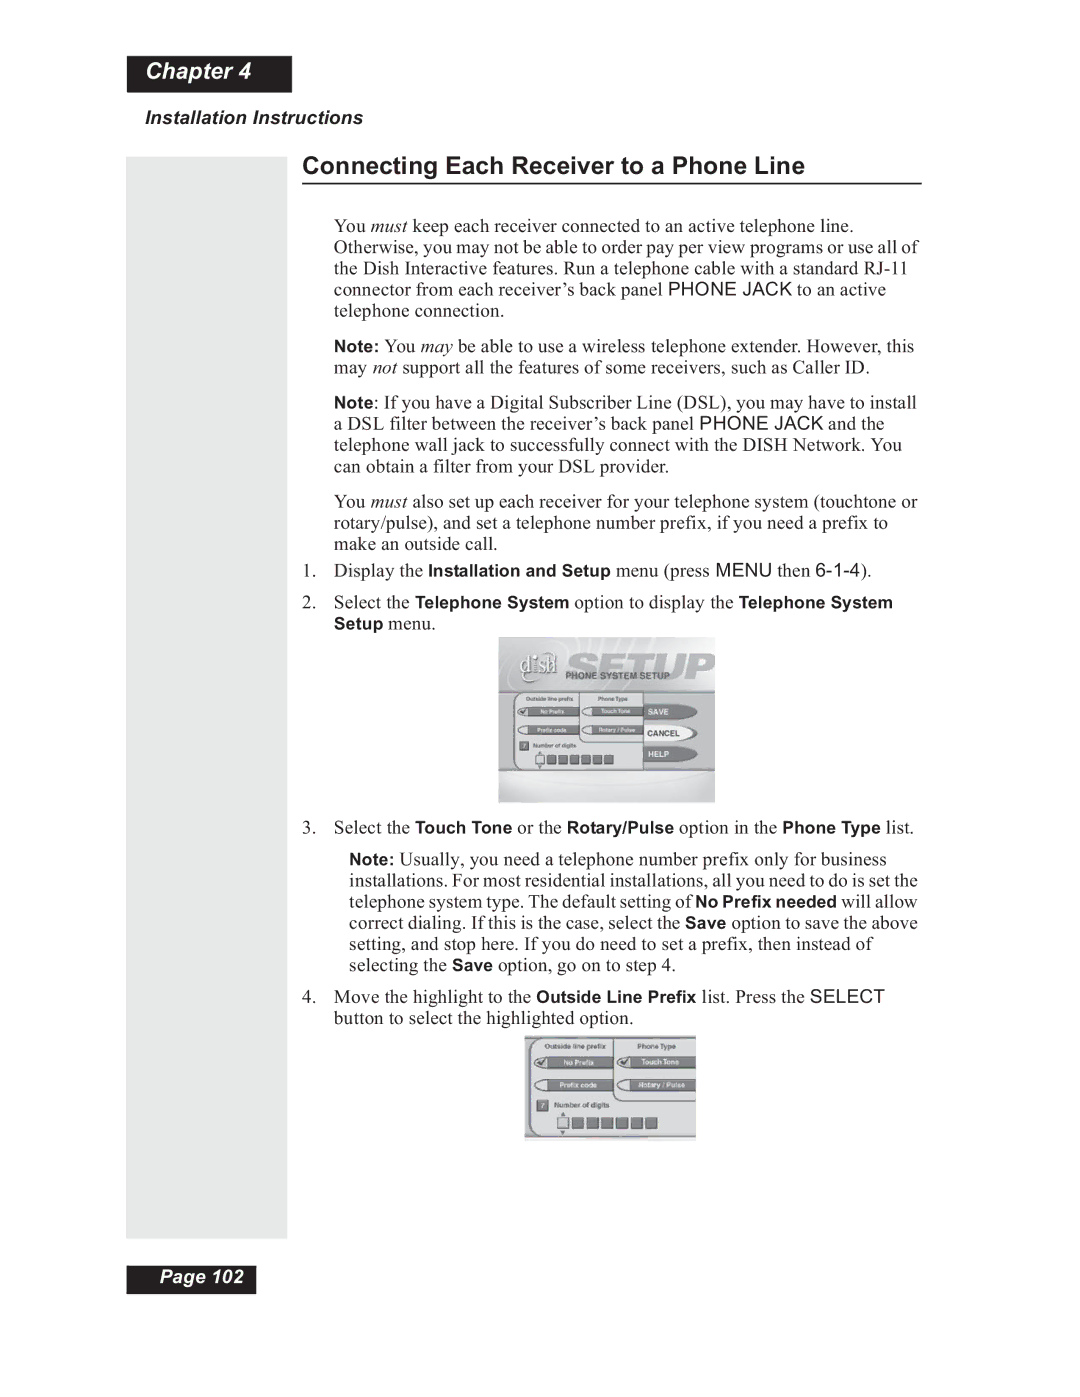
2.Select the Telephone System option to display the Telephone System Setup menu.
3. Select the Touch Tone or the Rotary/Pulse option in the Phone Type list.
Note: Usually, you need a telephone number prefix only for business installations. For most residential installations, all you need to do is set the telephone system type. The default setting of No Prefix needed will allow correct dialing. If this is the case, select the Save option to save the above setting, and stop here. If you do need to set a prefix, then instead of selecting the Save option, go on to step 4.
4.Move the highlight to the Outside Line Prefix list. Press the SELECT button to select the highlighted option.
Page 102