Stylus C40UX/C40SX/C20UX/C20SX | Revision A |
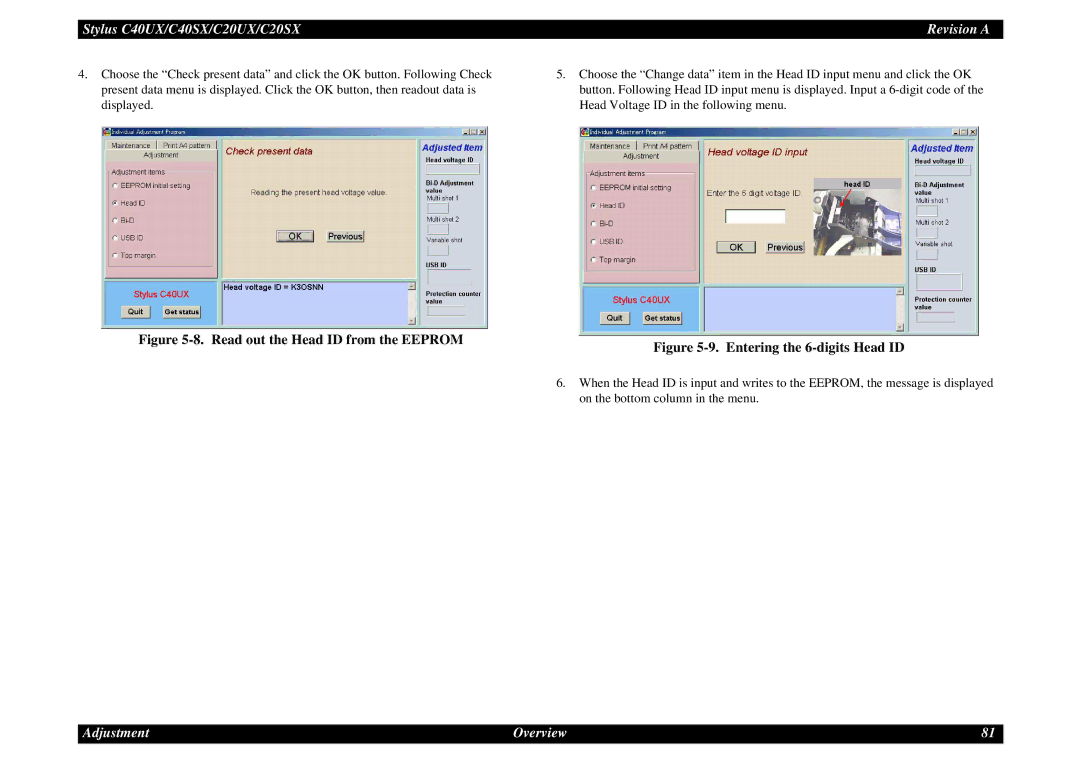
4.Choose the “Check present data” and click the OK button. Following Check present data menu is displayed. Click the OK button, then readout data is displayed.
5.Choose the “Change data” item in the Head ID input menu and click the OK button. Following Head ID input menu is displayed. Input a
Figure | Figure |
|
6.When the Head ID is input and writes to the EEPROM, the message is displayed on the bottom column in the menu.
Adjustment | Overview | 81 |