Getting Started
1.8.1Replacing the Ribbon Cassette
Caution: The print head may be very hot immediately after printing!
-Close the top cover and switch the printer ON. Lift the top cover after the display shows the message READY 1 ELQ to gain access to the ribbon cassette mountings. The print head will move to the correct position, aligned with the
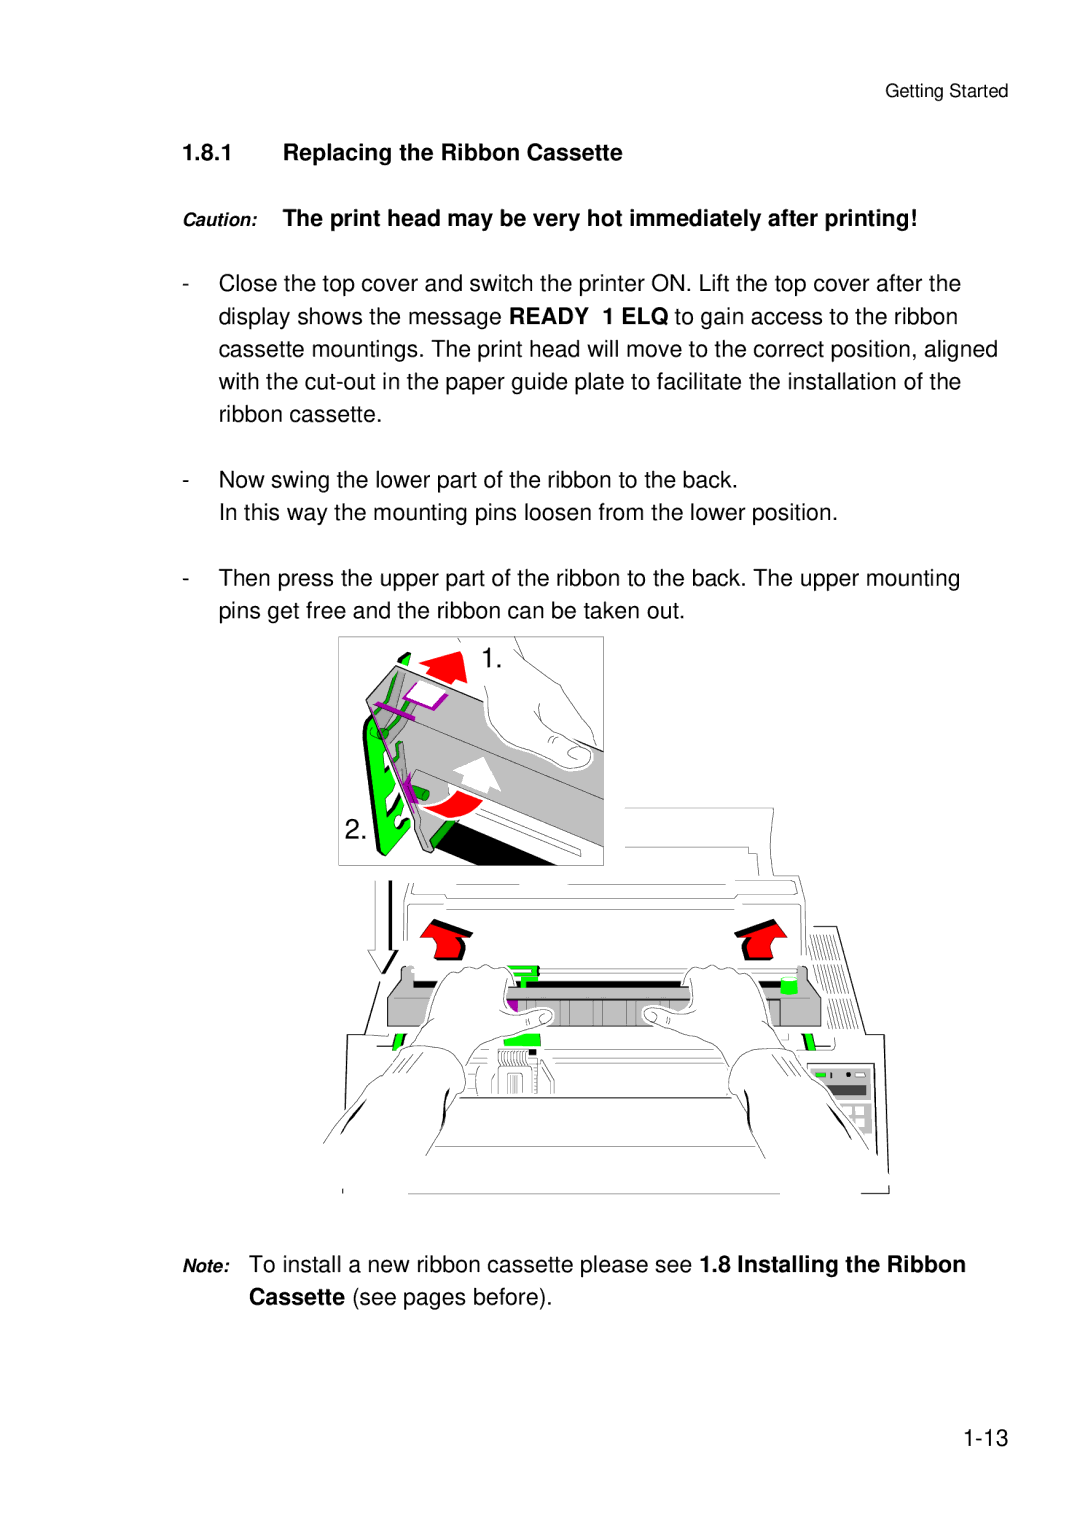
-Now swing the lower part of the ribbon to the back.
In this way the mounting pins loosen from the lower position.
-Then press the upper part of the ribbon to the back. The upper mounting pins get free and the ribbon can be taken out.
1. |
2. |
Note: To install a new ribbon cassette please see 1.8 Installing the Ribbon Cassette (see pages before).