Configuration and Control, cont’d
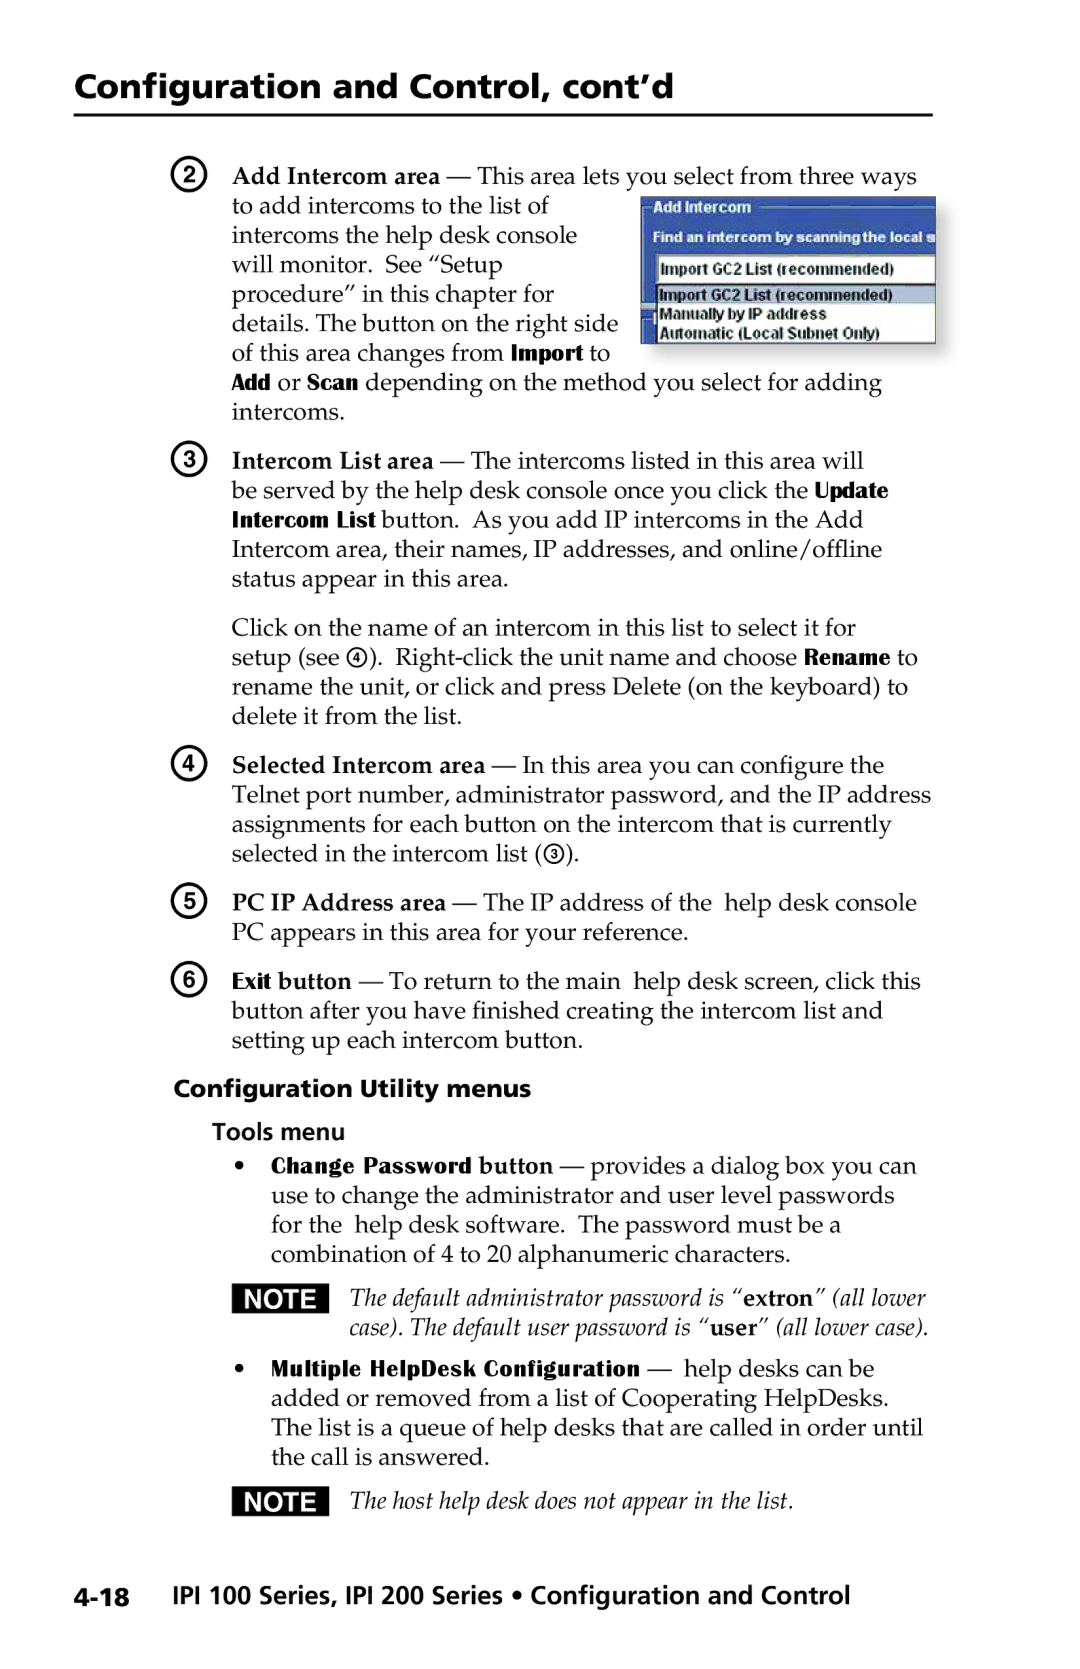
B | Add Intercom area — This area lets you select from three ways | |||
| to add intercoms to the list of |
|
|
|
| intercoms the help desk console |
|
|
|
| will monitor. See “Setup |
|
|
|
| procedure” in this chapter for |
|
|
|
| details. The button on the right side |
|
|
|
| of this area changes from Import to |
|
|
|
|
|
|
| |
| Add or Scan depending on the method |
| you select for adding | |
| intercoms. | |||
C | Intercom List area — The intercoms listed in this area will | |||
| be served by the help desk console once you click the Update | |||
| Intercom List button. As you add IP intercoms in the Add | |||
| Intercom area, their names, IP addresses, and online/offline | |||
| status appear in this area. | |||
| Click on the name of an intercom in this list to select it for | |||
| setup (see D). | |||
| rename the unit, or click and press Delete (on the keyboard) to | |||
| delete it from the list. | |||
D | Selected Intercom area — In this area you can configure the | |||
| Telnet port number, administrator password, and the IP address | |||
| assignments for each button on the intercom that is currently | |||
| selected in the intercom list (C). | |||
E | PC IP Address area — The IP address of the help desk console | |||
| PC appears in this area for your reference. | |||
F | Exit button — To return to the main help desk screen, click this | |||
| button after you have finished creating the intercom list and | |||
| setting up each intercom button. | |||
Configuration Utility menus
Tools menu
•Change Password button — provides a dialog box you can use to change the administrator and user level passwords for the help desk software. The password must be a combination of 4 to 20 alphanumeric characters.
NThe default administrator password is “extron” (all lower case). The default user password is “user” (all lower case).
•Multiple HelpDesk Configuration — help desks can be added or removed from a list of Cooperating HelpDesks. The list is a queue of help desks that are called in order until the call is answered.
NThe host help desk does not appear in the list.