![]()
![]()
![]()
![]()
![]()
![]()
![]()
![]()
![]()
![]()
![]()
![]()
![]()
![]()
![]()
![]()
![]()
![]()
![]()
![]()
![]()
![]()
![]()
![]()
![]()
![]()
![]()
![]()
![]()
![]()
![]()
![]()
![]()
![]()
![]()
![]()
![]()
![]()
![]()
![]()
![]()
![]()
![]()
![]()
![]()
![]()
![]()
![]()
![]()
![]()
![]()
![]()
![]()
![]()
![]()
![]()
![]()
![]()
![]()
![]()
![]()
![]()
![]()
![]()
![]()
![]()
![]()
![]()
![]()
![]()
![]()
![]()
![]()
![]()
![]()
![]()
Actual auto punch in/out
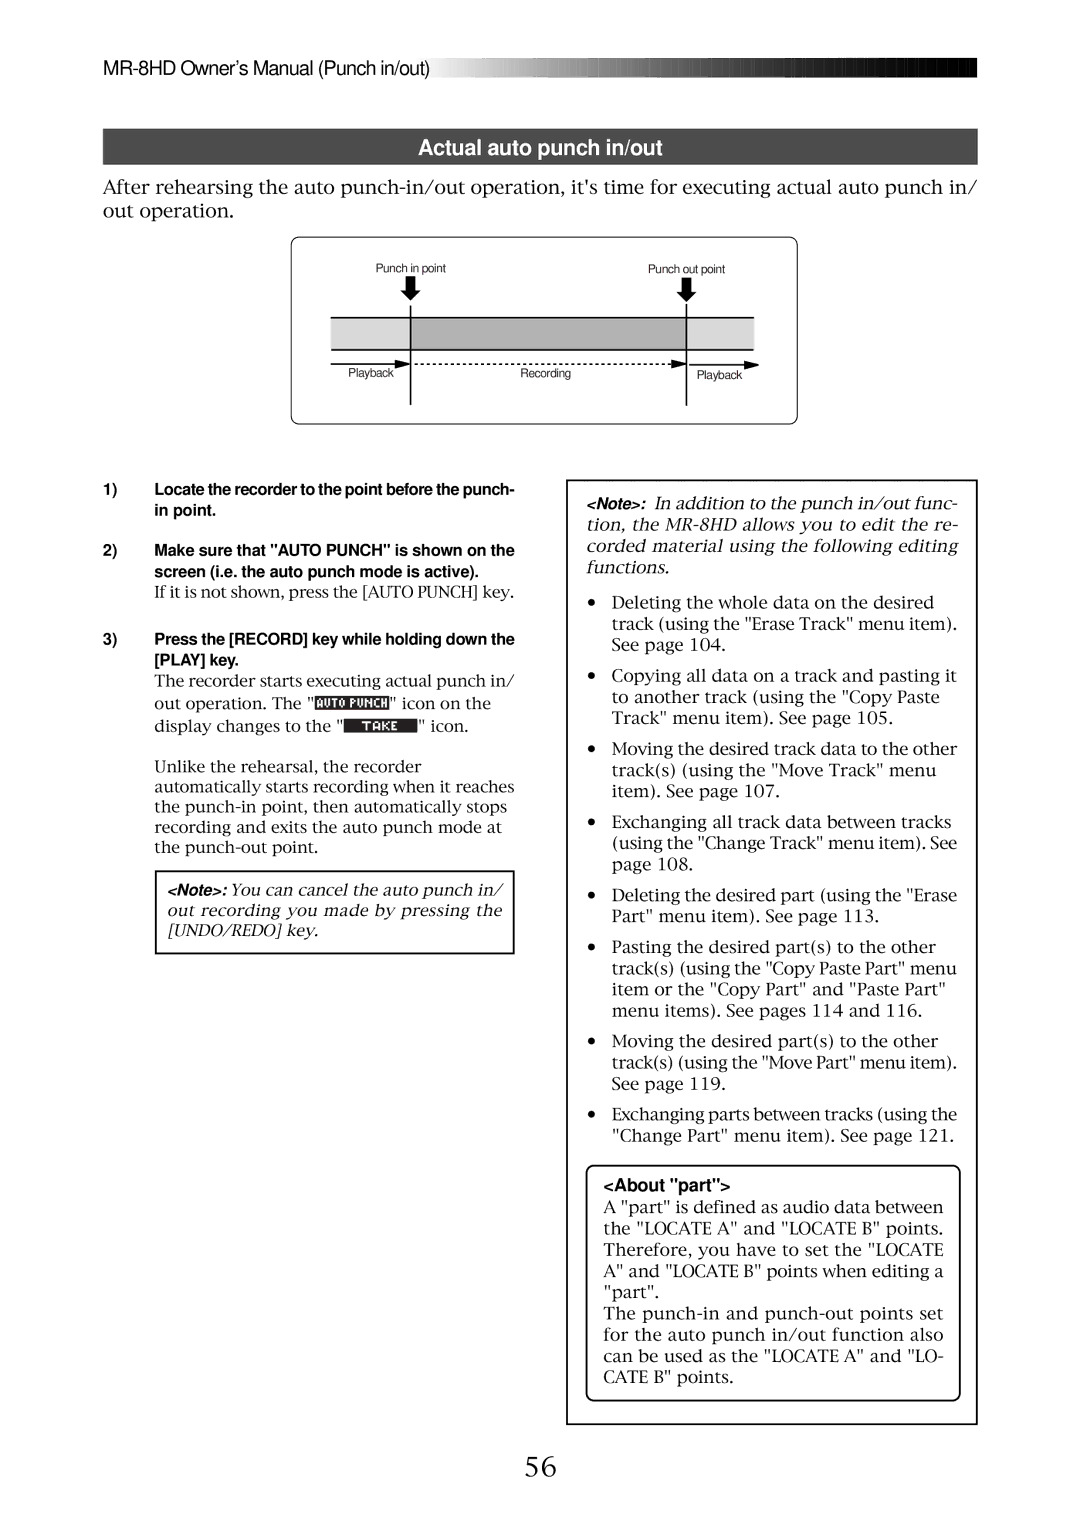
After rehearsing the auto
Punch in point | Punch out point |
Playback | Recording | Playback |
1)Locate the recorder to the point before the punch- in point.
2)Make sure that "AUTO PUNCH" is shown on the screen (i.e. the auto punch mode is active).
If it is not shown, press the [AUTO PUNCH] key.
3)Press the [RECORD] key while holding down the [PLAY] key.
The recorder starts executing actual punch in/
out operation. The "![]()
![]()
![]()
![]()
![]()
![]()
![]()
![]()
![]()
![]()
![]()
![]()
![]()
![]()
![]()
![]() " icon on the
" icon on the
display changes to the "![]() " icon.
" icon.
Unlike the rehearsal, the recorder automatically starts recording when it reaches the
<Note>: You can cancel the auto punch in/ out recording you made by pressing the [UNDO/REDO] key.
<Note>: In addition to the punch in/out func- tion, the
•Deleting the whole data on the desired track (using the "Erase Track" menu item). See page 104.
•Copying all data on a track and pasting it to another track (using the "Copy Paste Track" menu item). See page 105.
•Moving the desired track data to the other track(s) (using the "Move Track" menu item). See page 107.
•Exchanging all track data between tracks (using the "Change Track" menu item). See page 108.
•Deleting the desired part (using the "Erase Part" menu item). See page 113.
•Pasting the desired part(s) to the other track(s) (using the "Copy Paste Part" menu item or the "Copy Part" and "Paste Part" menu items). See pages 114 and 116.
•Moving the desired part(s) to the other track(s) (using the "Move Part" menu item). See page 119.
•Exchanging parts between tracks (using the "Change Part" menu item). See page 121.
<About "part">
A "part" is defined as audio data between the "LOCATE A" and "LOCATE B" points. Therefore, you have to set the "LOCATE A" and "LOCATE B" points when editing a "part".
The
56
