![]()
![]()
![]()
![]()
![]()
![]()
![]()
![]()
![]()
![]()
![]()
![]()
![]()
![]()
![]()
![]()
![]()
![]()
![]()
![]()
![]()
![]()
![]()
![]()
![]()
![]()
![]()
![]()
![]()
![]()
![]()
![]()
![]()
![]()
![]()
![]()
![]()
![]()
![]()
![]()
![]()
![]()
![]()
![]()
![]()
![]()
![]()
![]()
![]()
![]()
![]()
![]()
![]()
![]()
![]()
![]()
![]()
![]()
![]()
![]()
![]()
![]()
![]()
![]()
![]()
![]()
![]()
![]()
![]()
![]()
![]()
![]()
![]()
![]()
![]()
![]()
![]()
![]()
![]()
![]()
![]()
Playing back the "part" (between LOCATE A and LOCATE B) to be edited
You can play back audio of the "part" before carrying out edit operation. After setting the LOCATE A and LOCATE B points, follow the procedure below for checking the part. You can check the part before entering the menu mode, as well as while the part editing screen is shown.
1)Press the [PLAY] key while holding down the [STOP] key.
The
2)During playback, raise the appropriate track fader(s) and the [MASTER] fader.
You can monitor only the "part" to be edited, so you can check the editing range.
You can change the LOCATE A and LOCATE B points during the edit operation, as well as before entering the editing mode (see the following for details).
Changing an edit point during editing
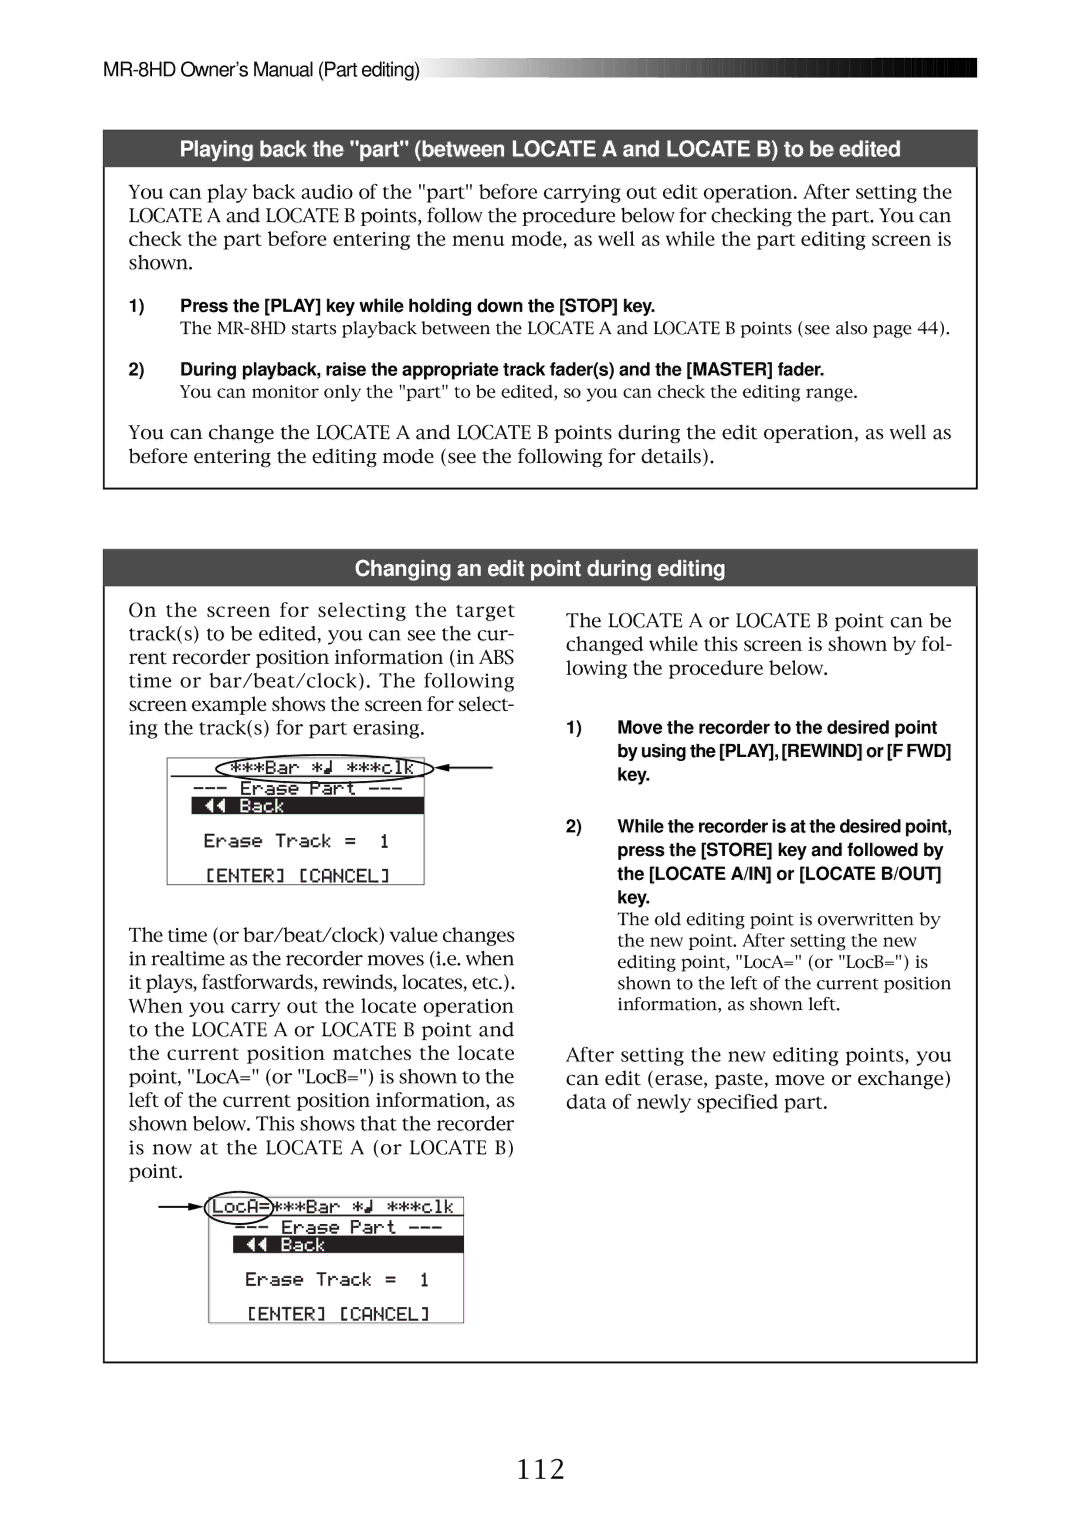
On the screen for selecting the target track(s) to be edited, you can see the cur- rent recorder position information (in ABS time or bar/beat/clock). The following screen example shows the screen for select- ing the track(s) for part erasing.
The time (or bar/beat/clock) value changes in realtime as the recorder moves (i.e. when it plays, fastforwards, rewinds, locates, etc.). When you carry out the locate operation to the LOCATE A or LOCATE B point and the current position matches the locate point, "LocA=" (or "LocB=") is shown to the left of the current position information, as shown below. This shows that the recorder is now at the LOCATE A (or LOCATE B) point.
The LOCATE A or LOCATE B point can be changed while this screen is shown by fol- lowing the procedure below.
1)Move the recorder to the desired point by using the [PLAY], [REWIND] or [F FWD] key.
2)While the recorder is at the desired point, press the [STORE] key and followed by the [LOCATE A/IN] or [LOCATE B/OUT] key.
The old editing point is overwritten by the new point. After setting the new editing point, "LocA=" (or "LocB=") is shown to the left of the current position information, as shown left.
After setting the new editing points, you can edit (erase, paste, move or exchange) data of newly specified part.