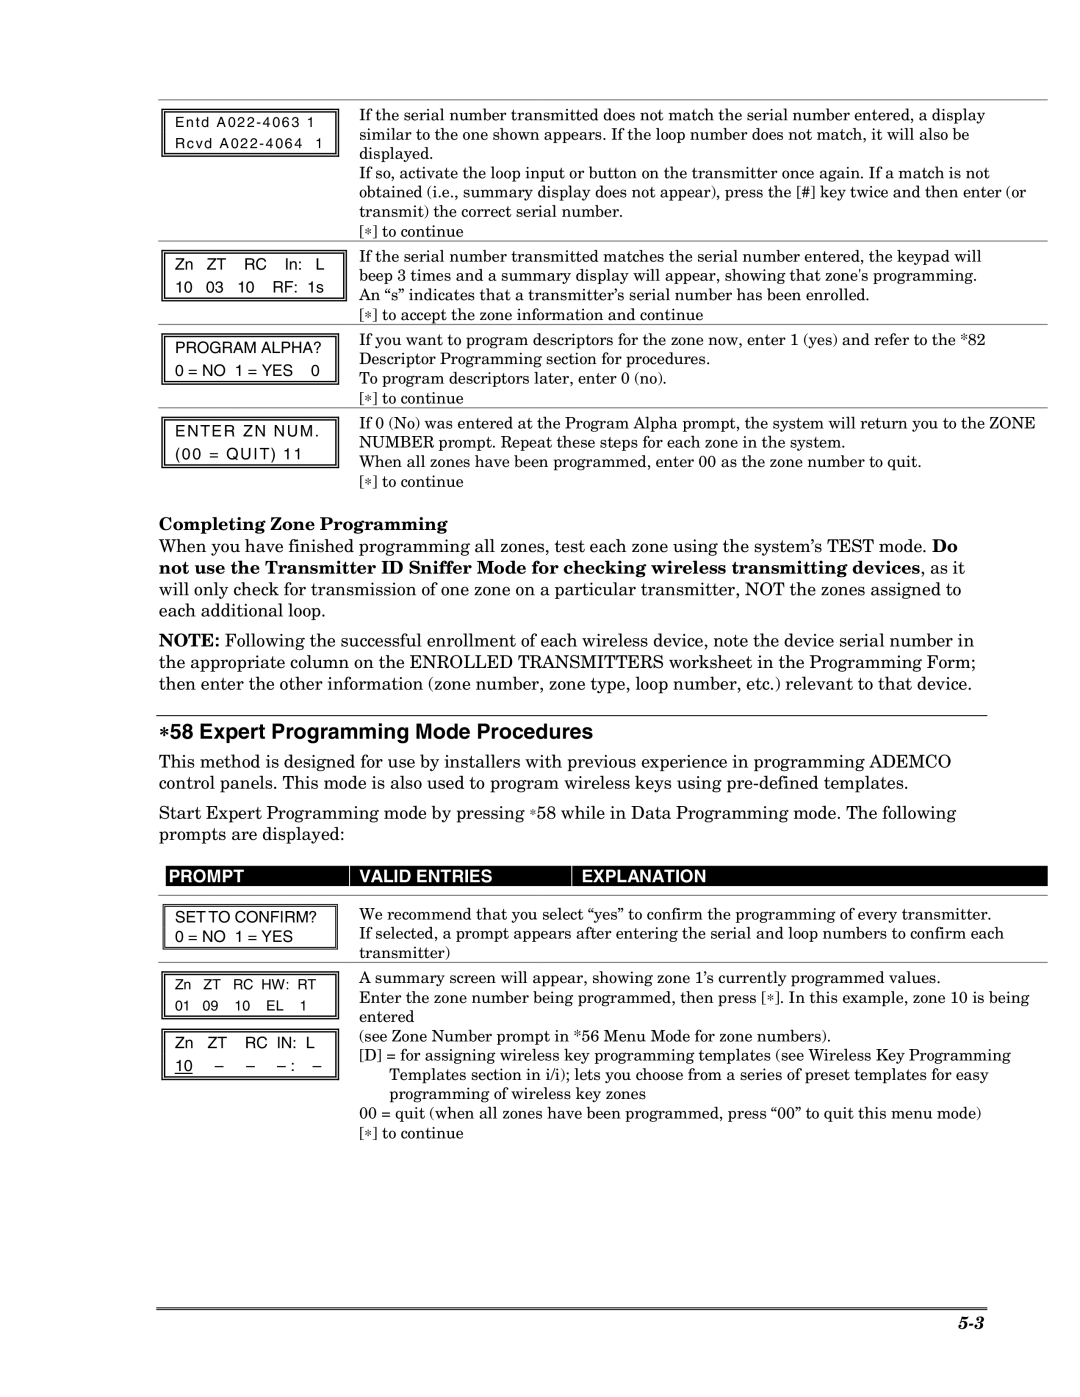
E n t d A 0 2 2 - 4 0 6 3 1 R c v d A 0 2 2 - 4 0 6 4 1
If the serial number transmitted does not match the serial number entered, a display similar to the one shown appears. If the loop number does not match, it will also be displayed.
If so, activate the loop input or button on the transmitter once again. If a match is not obtained (i.e., summary display does not appear), press the [#] key twice and then enter (or transmit) the correct serial number.
[∗] to continue
Zn ZT RC In: L
10 03 10 RF: 1s
If the serial number transmitted matches the serial number entered, the keypad will beep 3 times and a summary display will appear, showing that zone's programming. An “s” indicates that a transmitter’s serial number has been enrolled.
[∗] to accept the zone information and continue
PROGRAM ALPHA? 0 = NO 1 = YES 0
If you want to program descriptors for the zone now, enter 1 (yes) and refer to the *82 Descriptor Programming section for procedures.
To program descriptors later, enter 0 (no). [∗] to continue
ENTER ZN NUM. (00 = QUIT) 11
If 0 (No) was entered at the Program Alpha prompt, the system will return you to the ZONE NUMBER prompt. Repeat these steps for each zone in the system.
When all zones have been programmed, enter 00 as the zone number to quit. [∗] to continue
Completing Zone Programming
When you have finished programming all zones, test each zone using the system’s TEST mode. Do not use the Transmitter ID Sniffer Mode for checking wireless transmitting devices, as it will only check for transmission of one zone on a particular transmitter, NOT the zones assigned to each additional loop.
NOTE: Following the successful enrollment of each wireless device, note the device serial number in the appropriate column on the ENROLLED TRANSMITTERS worksheet in the Programming Form; then enter the other information (zone number, zone type, loop number, etc.) relevant to that device.
∗58 Expert Programming Mode Procedures
This method is designed for use by installers with previous experience in programming ADEMCO control panels. This mode is also used to program wireless keys using
Start Expert Programming mode by pressing ∗58 while in Data Programming mode. The following prompts are displayed:
| PROMPT | VALID ENTRIES | EXPLANATION |
|
|
|
|
SET TO CONFIRM? 0 = NO 1 = YES
We recommend that you select “yes” to confirm the programming of every transmitter. If selected, a prompt appears after entering the serial and loop numbers to confirm each transmitter)
Zn ZT RC HW: RT
01 09 10 EL 1
Zn ZT RC IN: L
10 – –
A summary screen will appear, showing zone 1’s currently programmed values.
Enter the zone number being programmed, then press [∗]. In this example, zone 10 is being entered
(see Zone Number prompt in *56 Menu Mode for zone numbers).
[D] = for assigning wireless key programming templates (see Wireless Key Programming Templates section in i/i); lets you choose from a series of preset templates for easy programming of wireless key zones
00 = quit (when all zones have been programmed, press “00” to quit this menu mode) [∗] to continue