To replace printheads
1.Open the top door.
2.Press and hold OK until the printhead assembly moves to the left side of the printer and stops.
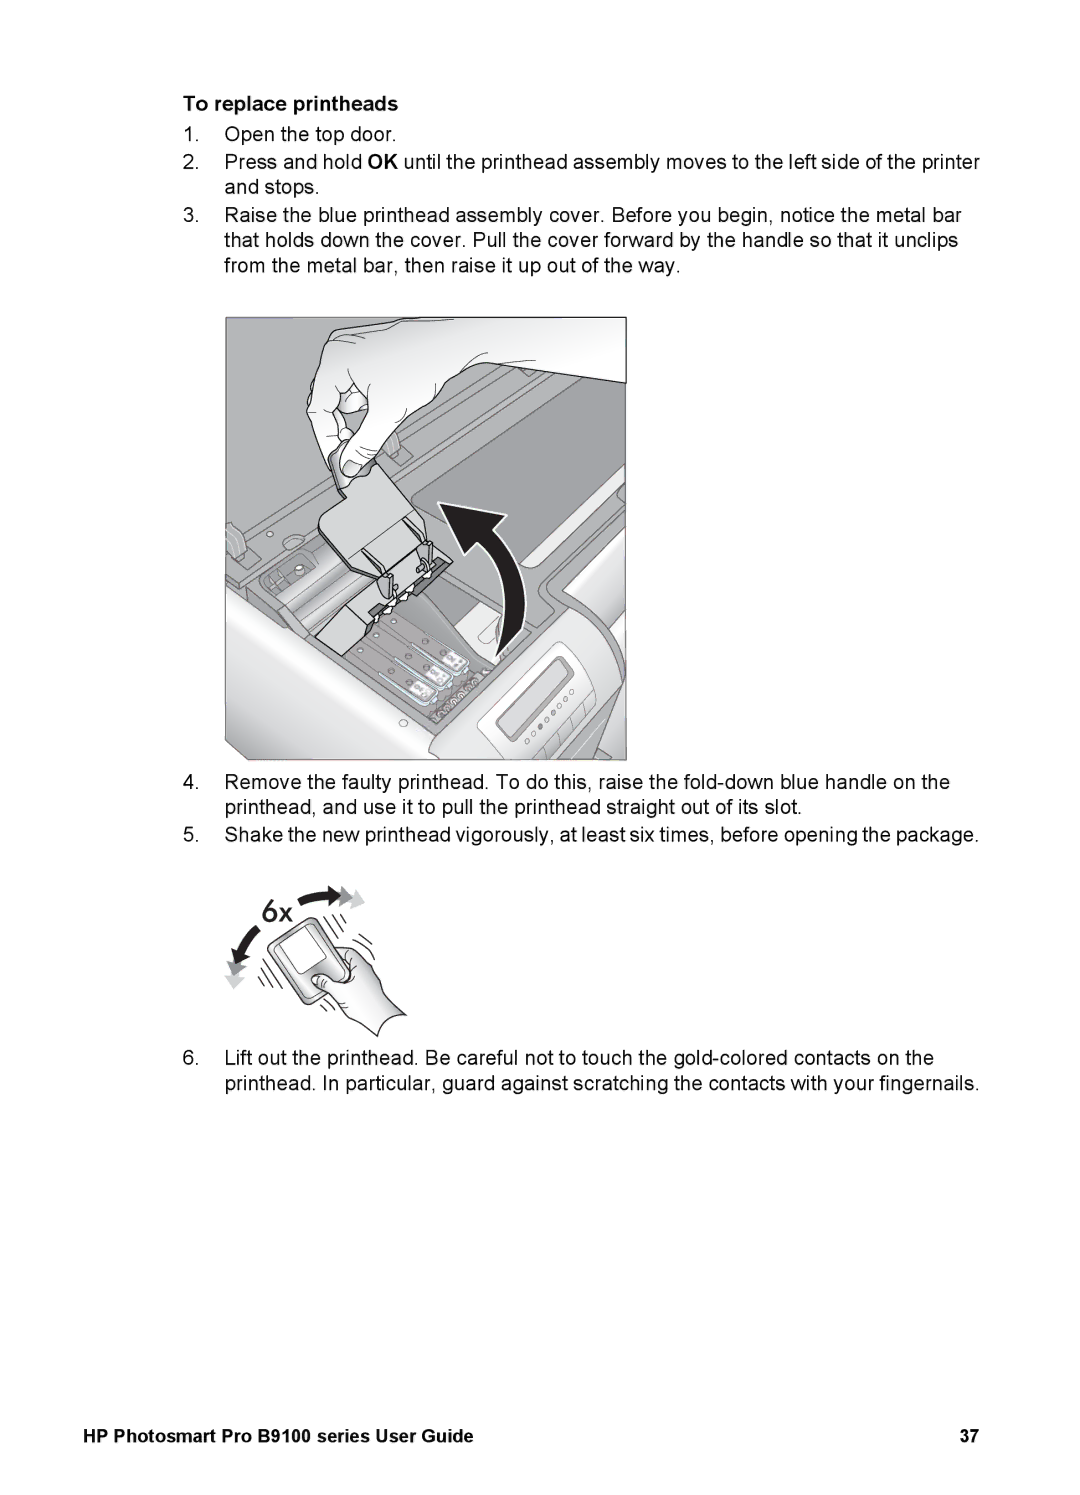
3.Raise the blue printhead assembly cover. Before you begin, notice the metal bar that holds down the cover. Pull the cover forward by the handle so that it unclips from the metal bar, then raise it up out of the way.
4.Remove the faulty printhead. To do this, raise the
5.Shake the new printhead vigorously, at least six times, before opening the package.
6.Lift out the printhead. Be careful not to touch the
HP Photosmart Pro B9100 series User Guide | 37 |