If you extended or removed the main tray to load paper, push in the main tray to the end of the paper by squeezing the release and pushing in the tray, and push the tray back into the printer until it is fully seated. Be sure to adjust the length of the main tray and reseat the tray in the printer before you adjust the
4.Adjust the
5.Check that the paper is lying flat in the tray.
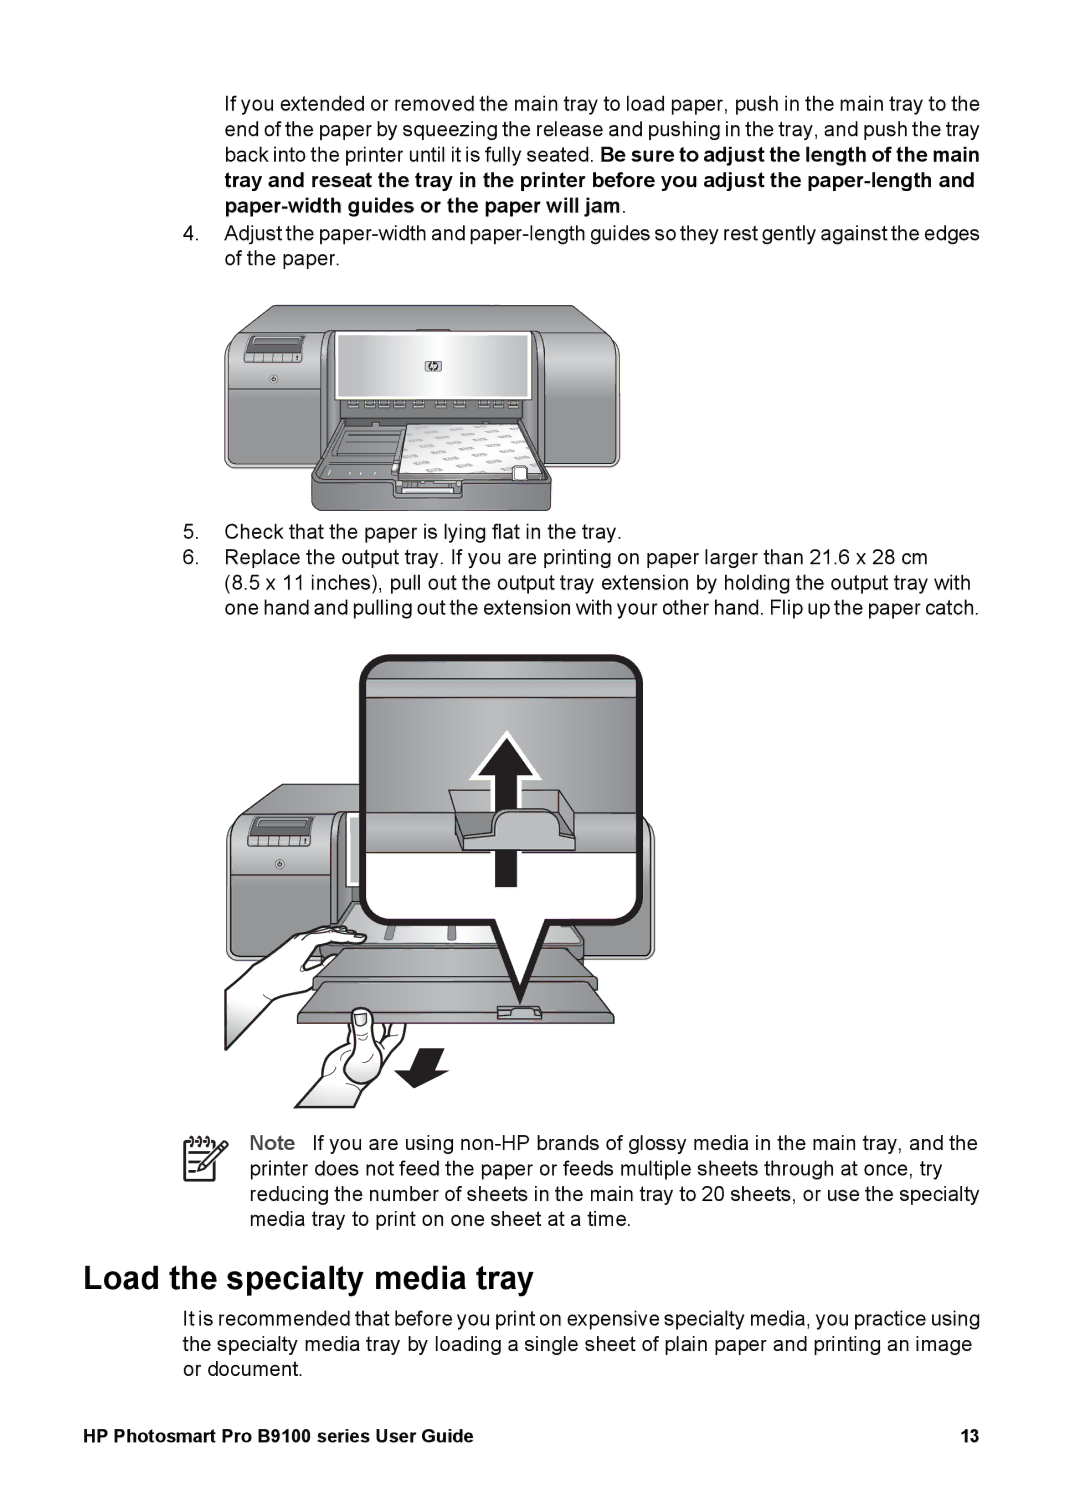
6.Replace the output tray. If you are printing on paper larger than 21.6 x 28 cm
(8.5 x 11 inches), pull out the output tray extension by holding the output tray with one hand and pulling out the extension with your other hand. Flip up the paper catch.
Note If you are using
Load the specialty media tray
It is recommended that before you print on expensive specialty media, you practice using the specialty media tray by loading a single sheet of plain paper and printing an image or document.
HP Photosmart Pro B9100 series User Guide | 13 |