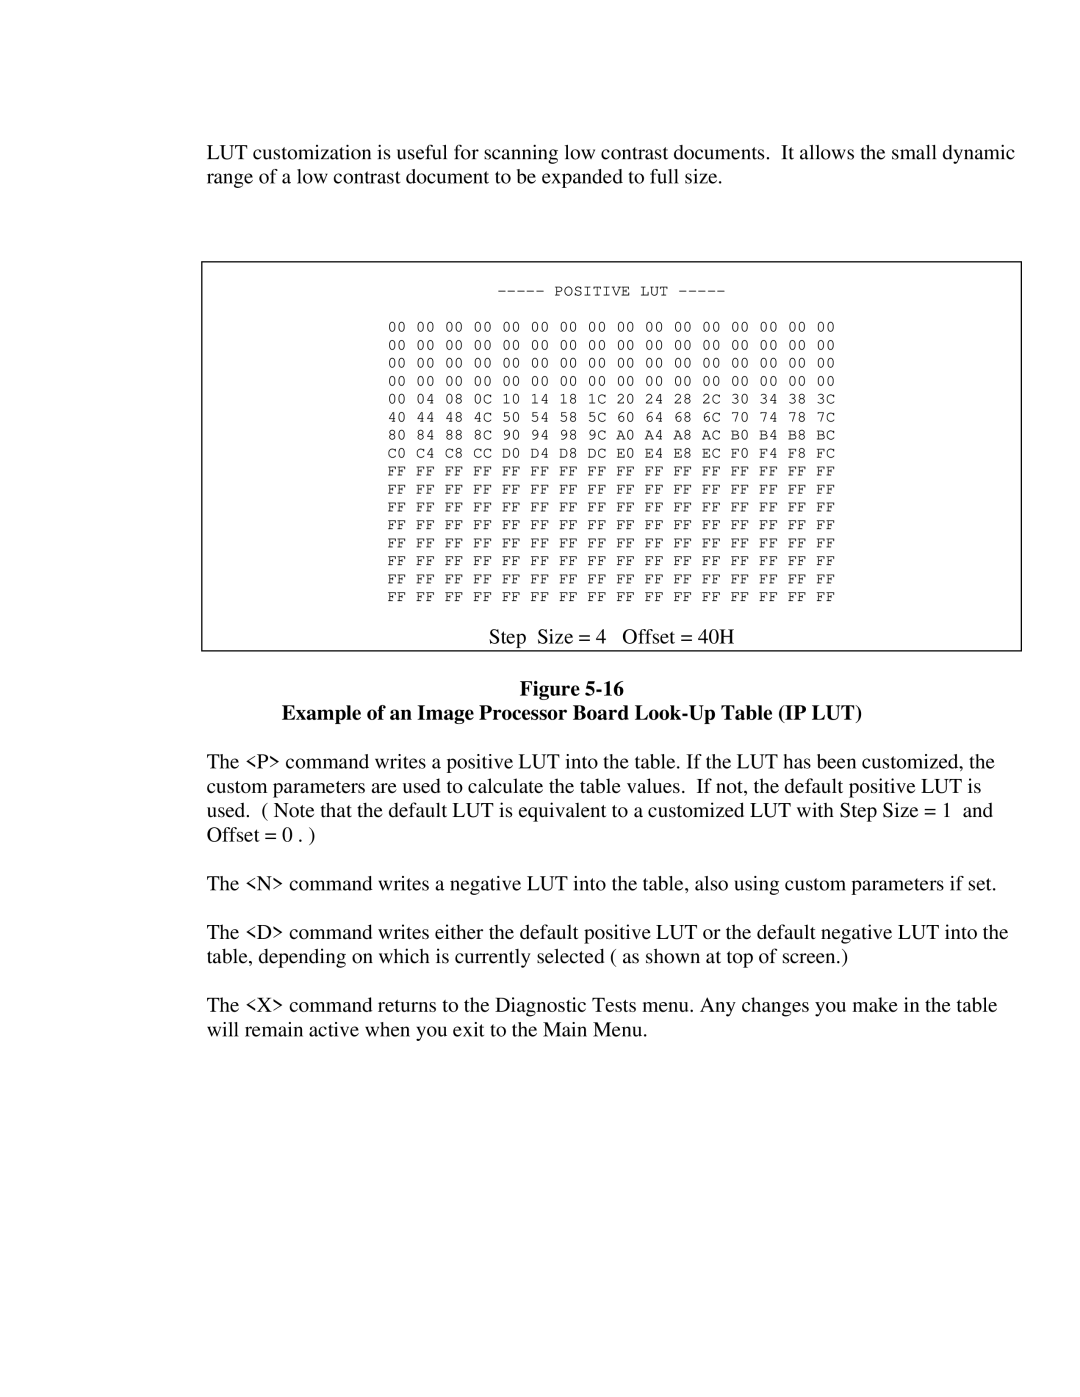
LUT customization is useful for scanning low contrast documents. It allows the small dynamic range of a low contrast document to be expanded to full size.
00 00 00 00 00 00 00 00 00 00 00 00 00 00 00 00
00 00 00 00 00 00 00 00 00 00 00 00 00 00 00 00
00 00 00 00 00 00 00 00 00 00 00 00 00 00 00 00
00 00 00 00 00 00 00 00 00 00 00 00 00 00 00 00
00 04 08 0C 10 14 18 1C 20 24 28 2C 30 34 38 3C
40 44 48 4C 50 54 58 5C 60 64 68 6C 70 74 78 7C 80 84 88 8C 90 94 98 9C A0 A4 A8 AC B0 B4 B8 BC C0 C4 C8 CC D0 D4 D8 DC E0 E4 E8 EC F0 F4 F8 FC
FFFF FF FF FF FF FF FF FF FF FF FF FF FF FF FF FF FF FF FF FF FF FF FF FF FF FF FF FF FF FF FF FF FF FF FF FF FF FF FF FF FF FF FF FF FF FF FF FF FF FF FF FF FF FF FF FF FF FF FF FF FF FF FF FF FF FF FF FF FF FF FF FF FF FF FF FF FF FF FF FF FF FF FF FF FF FF FF FF FF FF FF FF FF FF FF FF FF FF FF FF FF FF FF FF FF FF FF FF FF FF FF FF FF FF FF FF FF FF FF FF FF FF FF FF FF FF FF
Step Size = 4 Offset = 40H
Figure
Example of an Image Processor Board Look-Up Table (IP LUT)
The <P> command writes a positive LUT into the table. If the LUT has been customized, the custom parameters are used to calculate the table values. If not, the default positive LUT is used. ( Note that the default LUT is equivalent to a customized LUT with Step Size = 1 and Offset = 0 . )
The <N> command writes a negative LUT into the table, also using custom parameters if set.
The <D> command writes either the default positive LUT or the default negative LUT into the table, depending on which is currently selected ( as shown at top of screen.)
The <X> command returns to the Diagnostic Tests menu. Any changes you make in the table will remain active when you exit to the Main Menu.
