5.1.16(G) DOCUMENT SIZES
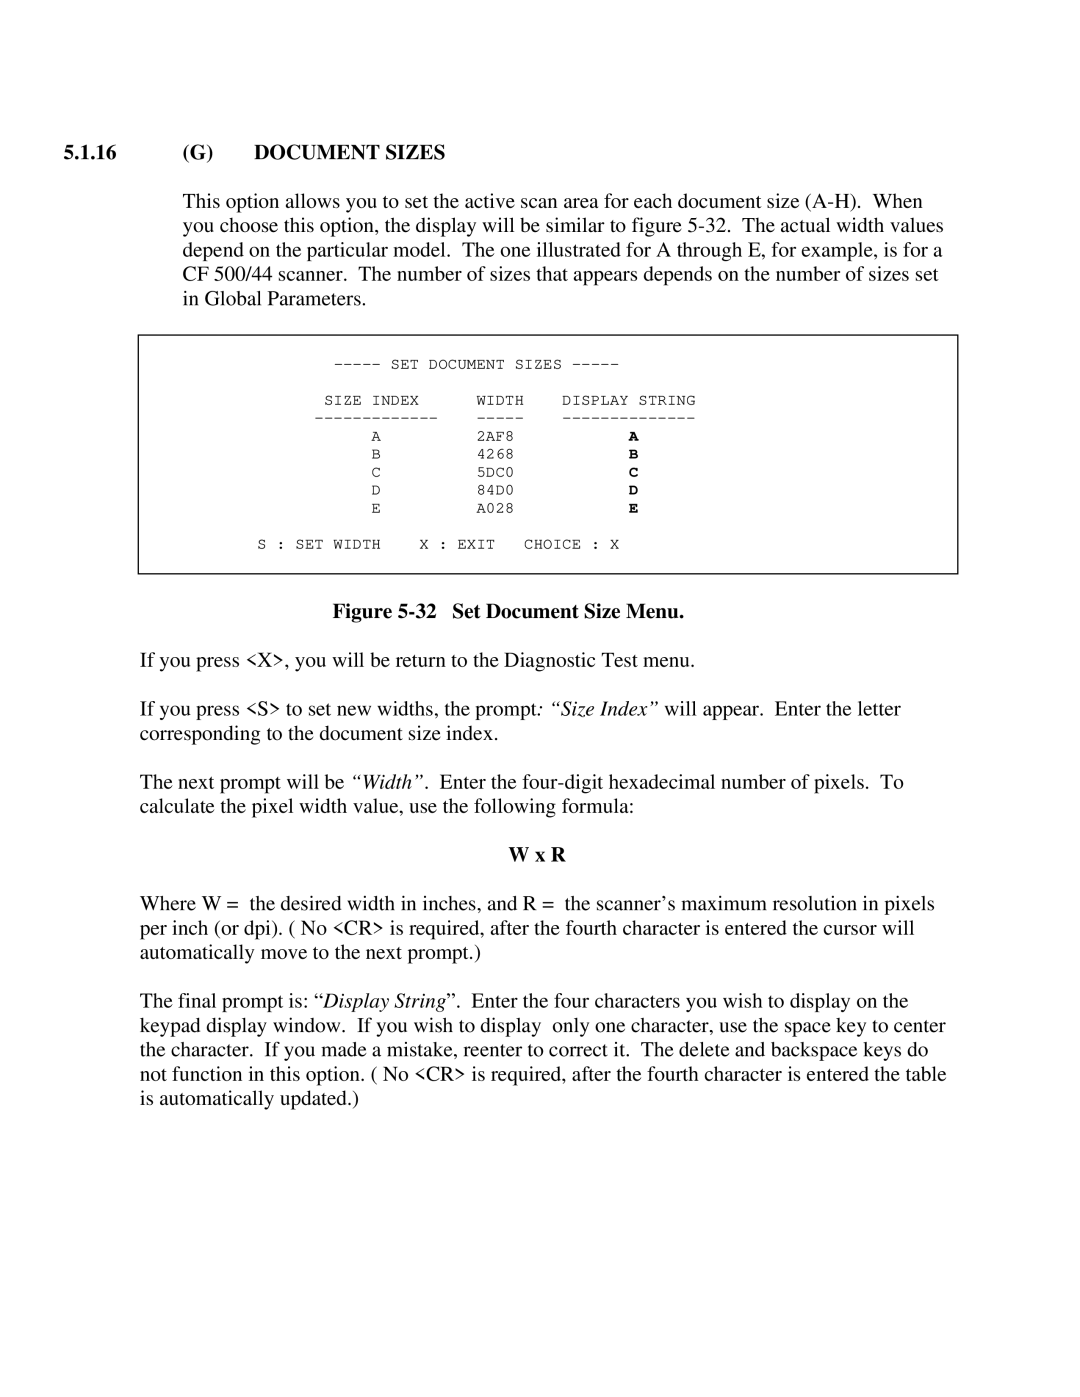
This option allows you to set the active scan area for each document size
SIZE INDEX |
| WIDTH | DISPLAY STRING |
A |
| 2AF8 | A |
B |
| 4268 | B |
C |
| 5DC0 | C |
D |
| 84D0 | D |
E |
| A028 | E |
S : SET WIDTH | X : EXIT | CHOICE : X | |
Figure 5-32 Set Document Size Menu.
If you press <X>, you will be return to the Diagnostic Test menu.
If you press <S> to set new widths, the prompt: “Size Index” will appear. Enter the letter corresponding to the document size index.
The next prompt will be “Width”. Enter the
W x R
Where W = the desired width in inches, and R = the scanner’s maximum resolution in pixels per inch (or dpi). ( No <CR> is required, after the fourth character is entered the cursor will automatically move to the next prompt.)
The final prompt is: “Display String”. Enter the four characters you wish to display on the keypad display window. If you wish to display only one character, use the space key to center the character. If you made a mistake, reenter to correct it. The delete and backspace keys do not function in this option. ( No <CR> is required, after the fourth character is entered the table is automatically updated.)
