SECTION
Replacing Handrims
Non-Projection Handrims
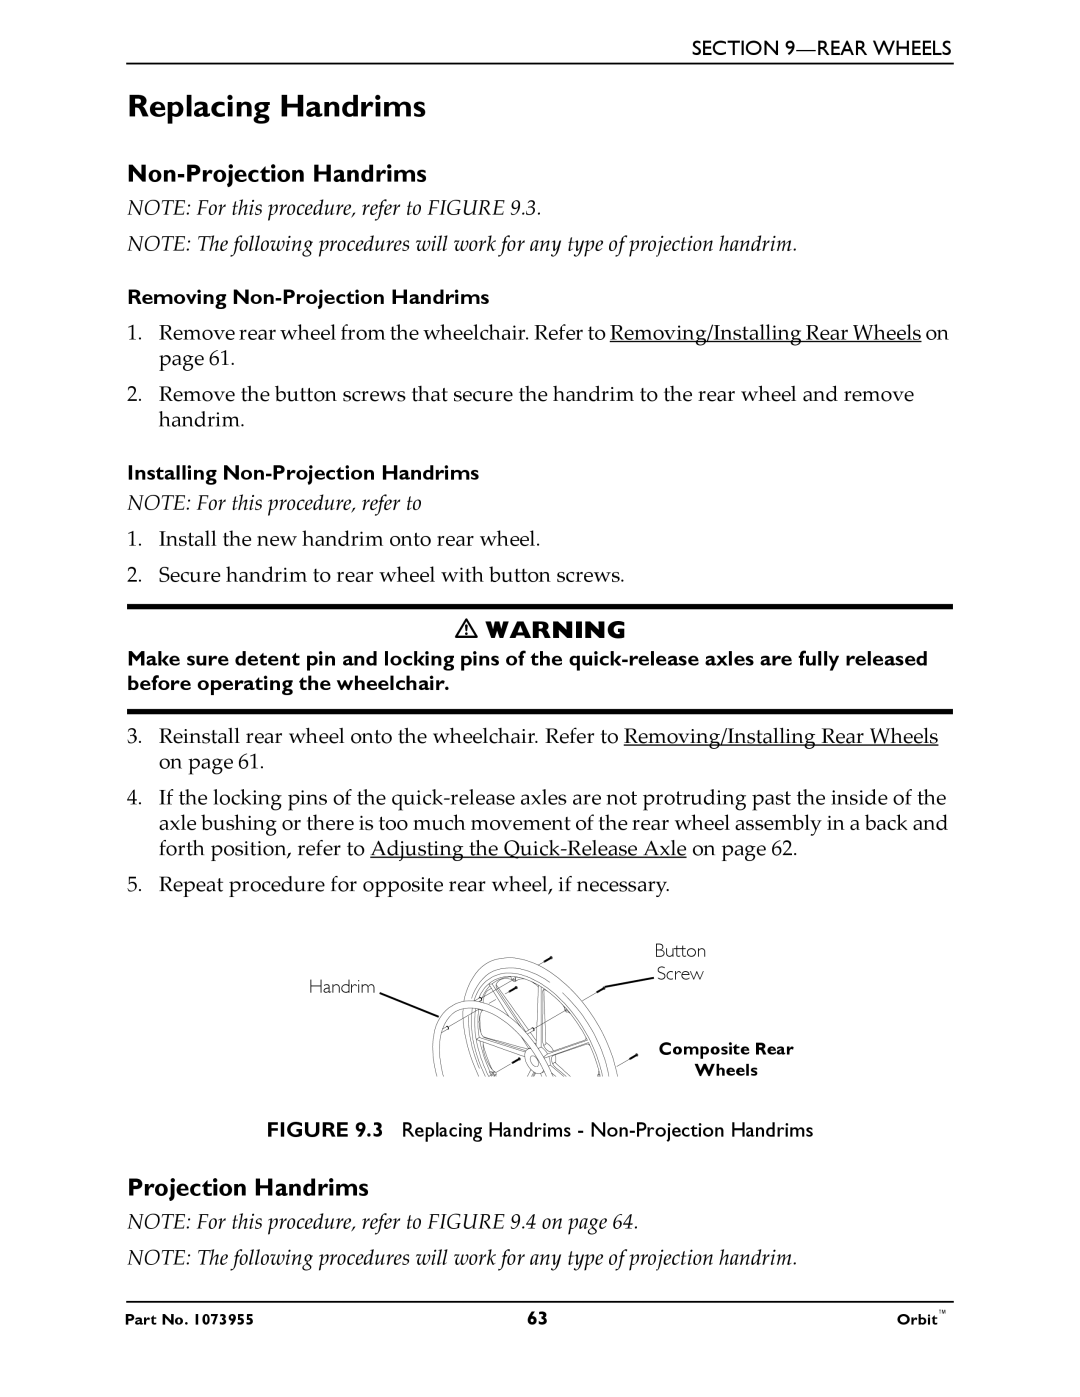
NOTE: For this procedure, refer to FIGURE 9.3.
NOTE: The following procedures will work for any type of projection handrim.
Removing Non-Projection Handrims
1.Remove rear wheel from the wheelchair. Refer to Removing/Installing Rear Wheels on page 61.
2.Remove the button screws that secure the handrim to the rear wheel and remove handrim.
Installing Non-Projection Handrims
NOTE: For this procedure, refer to
1.Install the new handrim onto rear wheel.
2.Secure handrim to rear wheel with button screws.
WARNING
Make sure detent pin and locking pins of the
3.Reinstall rear wheel onto the wheelchair. Refer to Removing/Installing Rear Wheels on page 61.
4.If the locking pins of the quick‐release axles are not protruding past the inside of the axle bushing or there is too much movement of the rear wheel assembly in a back and forth position, refer to Adjusting the Quick‐Release Axle on page 62.
5.Repeat procedure for opposite rear wheel, if necessary.
| Button |
Handrim | Screw |
|
Composite Rear
Wheels
FIGURE 9.3 Replacing Handrims - Non-Projection Handrims
Projection Handrims
NOTE: For this procedure, refer to FIGURE 9.4 on page 64.
NOTE: The following procedures will work for any type of projection handrim.
