In the guided setup, you are prompted to select your country from a list. This determines which Jabra test server number is displayed for you to dial. If your country is not listed, select a neighbouring country.
If the Jabra GO base cannot contact the Jabra test server:
In this case, you can choose to set the switch manually. You must step through the switch positions using the touchscreen (no switch is accessible to the user on the base). The procedure is outlined in the following steps:
1.Put on the headset.
Note: If your setup includes an EHS or RHL, you do not use the headset in this procedure as you do not listen for a dial tone (it is detected automatically). However, you still need to select switch positions manually for testing, when prompted to do so by the wizard.
2.Press the headset button on your desk phone (or lift the handset from your desk phone). This connects your desk phone to the phone network.
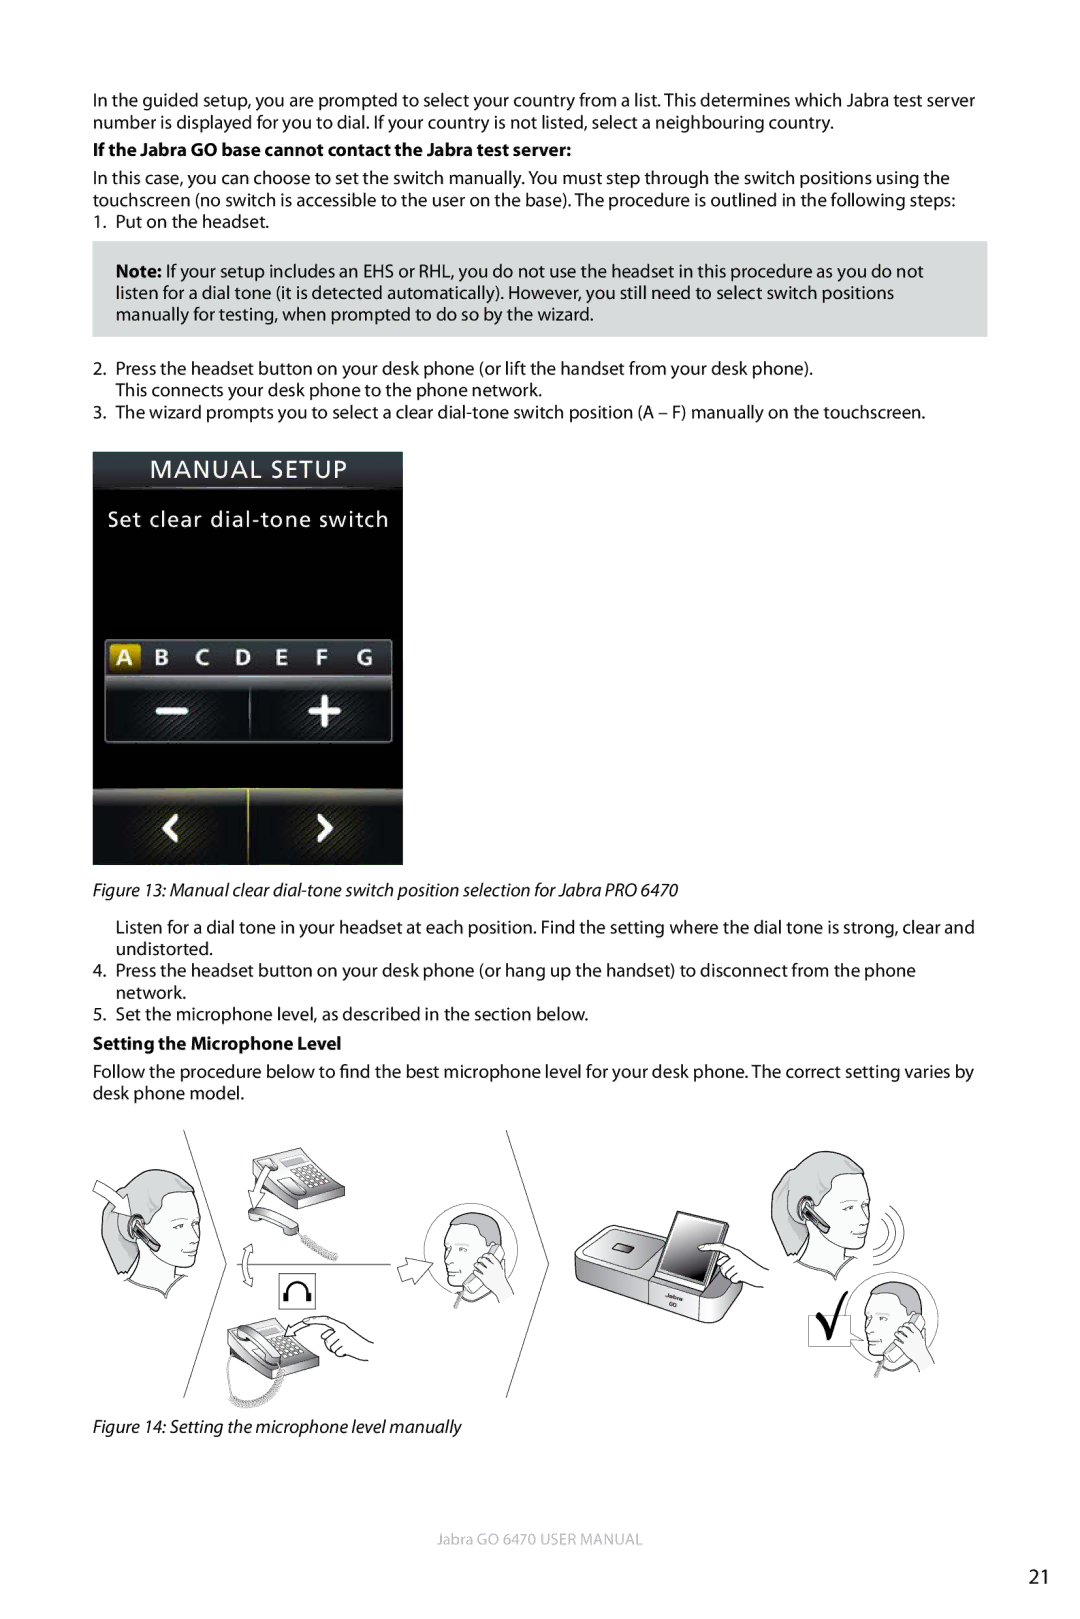
3.The wizard prompts you to select a clear
MANUAL SETUP
Set clear dial-tone switch
Figure 13: Manual clear dial-tone switch position selection for Jabra PRO 6470
Listen for a dial tone in your headset at each position. Find the setting where the dial tone is strong, clear and undistorted.
4.Press the headset button on your desk phone (or hang up the handset) to disconnect from the phone network.
5.Set the microphone level, as described in the section below.
Setting the Microphone Level
Follow the procedure below to find the best microphone level for your desk phone. The correct setting varies by desk phone model.
Figure 14: Setting the microphone level manually
Jabra GO 6470 User manual
21
