Table Top and Rack Mount Installation Instructions
H
This appendix presents
■On a table top
■Using front rack mount brackets
■Using rear rack mount brackets
Table Top Instructions To install a Tiernan unit on a tabletop or other flat surface, install the rubber feet included in the shipping kit, or place the unit on a rubber mat or other material that will prevent the unit from sliding and protect the table top surface.
Ensure that the unit is placed on a stable surface of sufficient size and strength where it will not be jarred or pushed off its surface. Ensure that all cables and cords are out of the way and that they will not be tripped over, as this may cause personal injury or serious damage to the unit.
To install the rubber feet, perform these steps:
1.Ensure that there are four rubber feet included in the shipping kit.
2.Break the feet apart from one another. Working with one rubber foot at a time:
a.Remove the protective backing
b.Place the foot under one corner of the unit, with the sticky side against the unit.
c.Press the foot firmly against the unit. When you are finished, there should be one rubber foot under each corner of the unit.
3.Ensure that the unit’s location and position provide the minimum required air flow clearance.
Front Rack Mount To install a Tiernan unit in a standard
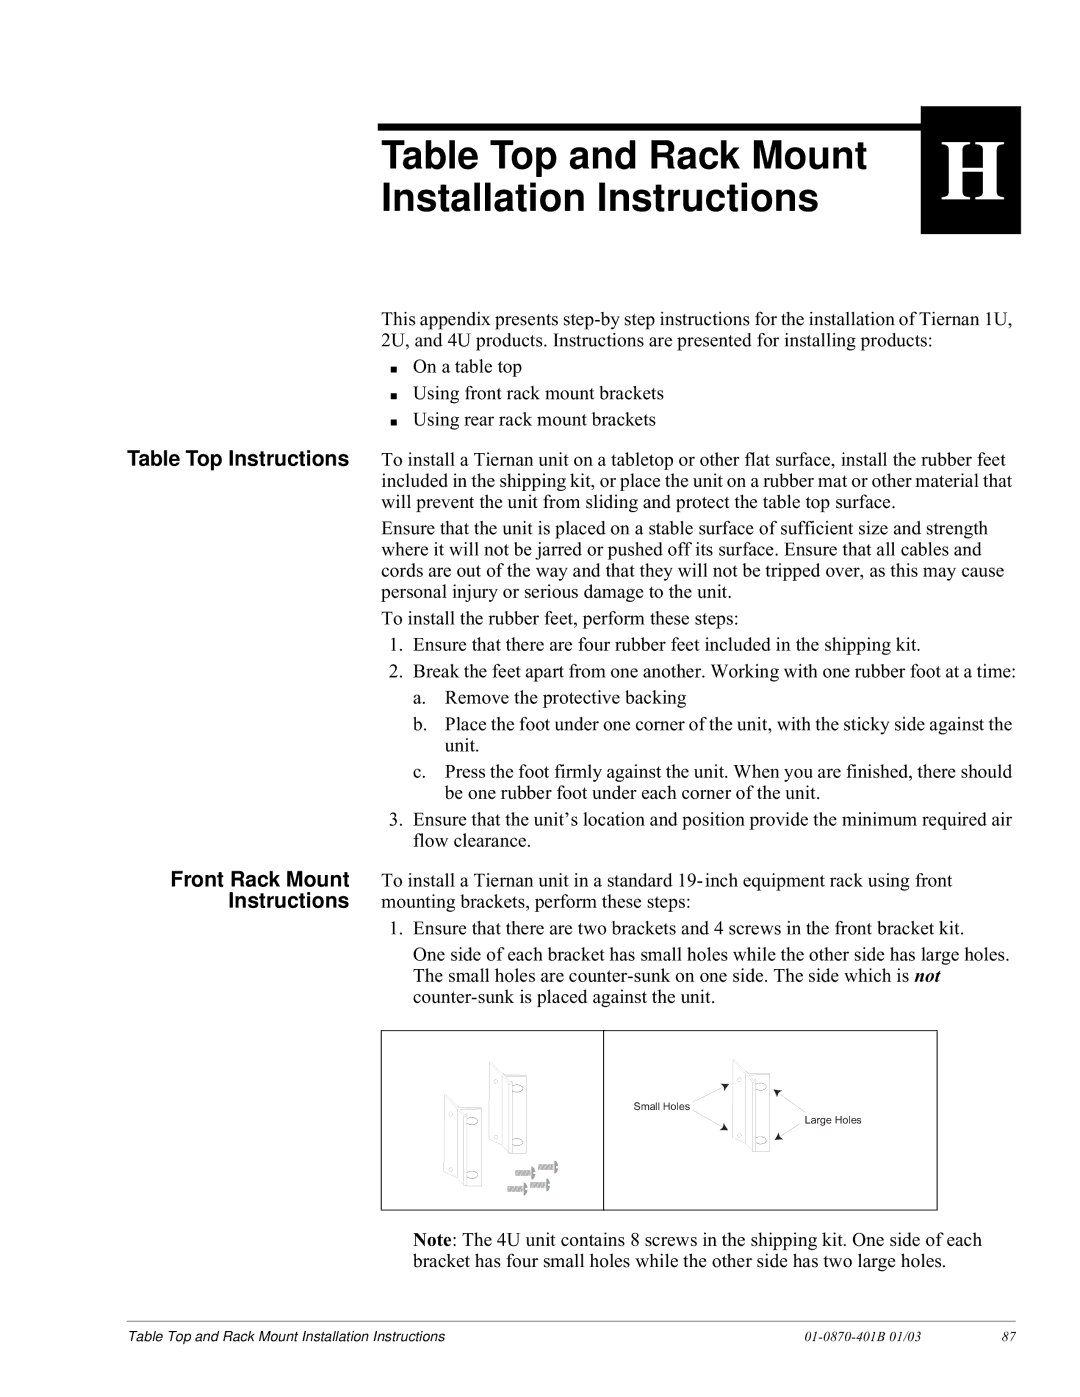
1.Ensure that there are two brackets and 4 screws in the front bracket kit.
One side of each bracket has small holes while the other side has large holes. The small holes are
Small Holes
Large Holes
Note: The 4U unit contains 8 screws in the shipping kit. One side of each bracket has four small holes while the other side has two large holes.
Table Top and Rack Mount Installation Instructions |
| 87 |