3Press the [WRITE] key.
The display will ask you for confirmation.
4Press the [WRITE] key once again.
When the LCD screen indicates “Completed,” the data has been written.
Never turn off the power during the Write operation. This can damage the data.
5Press the [EXIT] key.
You will return to the screen where you started.
Editing a synth program
Here is the procedure for editing a synth program.
Unless otherwise specified, this is the procedure for editing a program whose voice mode is Single.
The explanation assumes that you are already in LCD Edit mode.
1. Specify how notes will be sounded
In Page 03A: VOICE “Assign,” specify how the timbre will sound the notes.
●Press the SELECT [2] key.
The LCD screen will show Page 03A: VOICE “Assign.”
![]() 03A VOICE
03A VOICE
Assign: Mono
Use the [+/YES]
2. Make oscillator settings
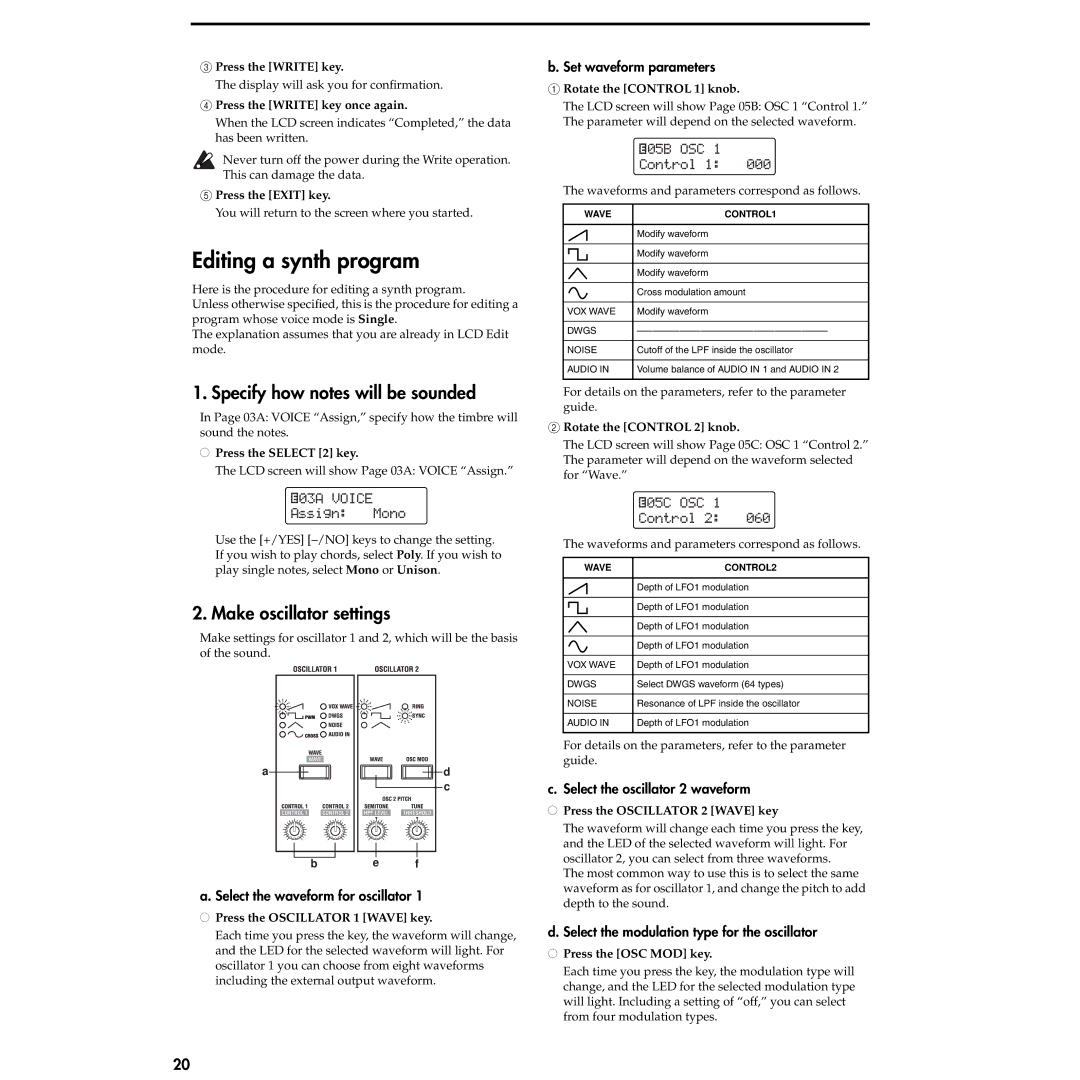
Make settings for oscillator 1 and 2, which will be the basis of the sound.
b. Set waveform parameters
1Rotate the [CONTROL 1] knob.
The LCD screen will show Page 05B: OSC 1 “Control 1.” The parameter will depend on the selected waveform.
![]()
![]()
![]()
![]()
![]()
![]()
![]()
![]()
![]()
![]() 05B OSC 1
05B OSC 1
Control 1: 000
The waveforms and parameters correspond as follows.
|
| WAVE | CONTROL1 | |||
|
|
|
|
|
|
|
|
|
|
|
|
| Modify waveform |
|
|
|
|
|
| |
|
|
|
|
|
|
|
|
|
|
|
|
|
|
|
|
|
|
|
| Modify waveform |
|
|
|
|
|
| |
|
|
|
|
|
|
|
|
|
|
|
|
| Modify waveform |
|
|
|
|
|
| |
|
|
|
|
|
|
|
|
|
|
|
|
|
|
|
|
|
|
|
| Cross modulation amount |
|
|
|
|
|
| |
|
|
|
|
|
|
|
|
|
|
|
|
|
|
| VOX WAVE | Modify waveform | ||||
|
|
|
|
|
|
|
| DWGS | |||||
|
|
|
|
|
|
|
| NOISE | Cutoff of the LPF inside the oscillator | ||||
|
|
|
|
|
|
|
| AUDIO IN | Volume balance of AUDIO IN 1 and AUDIO IN 2 | ||||
|
|
|
|
|
|
|
For details on the parameters, refer to the parameter guide.
2Rotate the [CONTROL 2] knob.
The LCD screen will show Page 05C: OSC 1 “Control 2.” The parameter will depend on the waveform selected for “Wave.”
![]()
![]()
![]()
![]()
![]()
![]()
![]()
![]()
![]()
![]() 05C OSC 1
05C OSC 1
Control 2: 060
The waveforms and parameters correspond as follows.
|
| WAVE | CONTROL2 | |||
|
|
|
|
|
|
|
|
|
|
|
|
| Depth of LFO1 modulation |
|
|
|
|
|
| |
|
|
|
|
|
|
|
|
|
|
|
|
|
|
|
|
|
|
|
| Depth of LFO1 modulation |
|
|
|
|
|
| |
|
|
|
|
|
|
|
|
|
|
|
|
| Depth of LFO1 modulation |
|
|
|
|
|
| |
|
|
|
|
|
|
|
|
|
|
|
|
|
|
|
|
|
|
|
| Depth of LFO1 modulation |
|
|
|
|
|
| |
|
|
|
|
|
|
|
|
|
|
|
|
|
|
| VOX WAVE | Depth of LFO1 modulation | ||||
a |
b |
| d |
| c |
e | f |
DWGS | Select DWGS waveform (64 types) |
|
|
NOISE | Resonance of LPF inside the oscillator |
|
|
AUDIO IN | Depth of LFO1 modulation |
For details on the parameters, refer to the parameter guide.
c. Select the oscillator 2 waveform
● Press the OSCILLATOR 2 [WAVE] key |
The waveform will change each time you press the key, |
and the LED of the selected waveform will light. For |
oscillator 2, you can select from three waveforms. |
The most common way to use this is to select the same |
waveform as for oscillator 1, and change the pitch to add |
a. Select the waveform for oscillator 1
●Press the OSCILLATOR 1 [WAVE] key.
Each time you press the key, the waveform will change, and the LED for the selected waveform will light. For oscillator 1 you can choose from eight waveforms including the external output waveform.
depth to the sound. |
d. Select the modulation type for the oscillator
●Press the [OSC MOD] key.
Each time you press the key, the modulation type will change, and the LED for the selected modulation type will light. Including a setting of “off,” you can select from four modulation types.
20
