Installing or replacing a memory module
Attention
Do not open your computer or attempt any repair before reading and understanding the “Important safety information” in the ThinkCentre Safety and Warranty Guide that came with your computer. To obtain a copy of the ThinkCentre Safety and Warranty Guide, go to: http://www.lenovo.com/support
This section provides instructions on how to install or replace a memory module.
Your computer has two slots for installing or replacing DDR2 DIMMs (double data rate 2 dual inline memory modules) that provide up to a maximum of 4 GB system memory.
When installing or replacing a memory module, use the following guidelines:
vUse 1.8 V,
vUse 512 MB, 1 GB, or 2 GB memory modules in any combination up to a maximum of 4 GB.
Note: Only DDR2 SDRAM DIMMs can be used.
To install or replace a memory module:
1.Open the computer cover. See “Opening the computer cover” on page 126.
2.Pivot the drive bay assembly upward to access the memory slots. See “Accessing the system board components and drives” on page 127.
3.Remove any parts that might prevent your access to the memory slots.
4.Locate the memory slots.
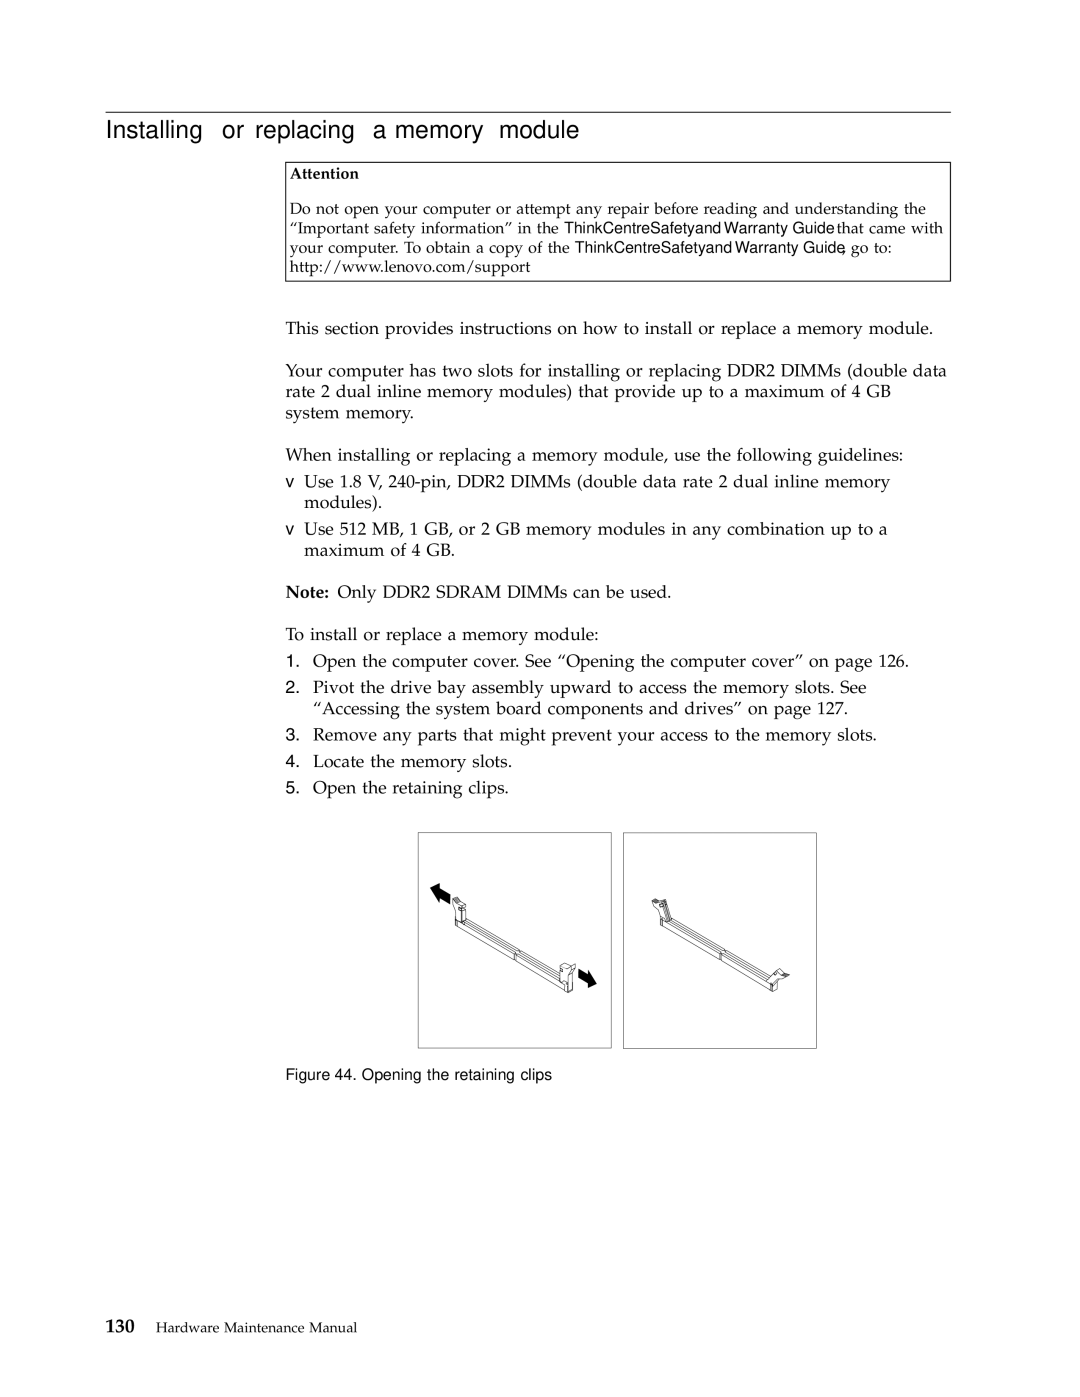
5.Open the retaining clips.
