Operating Instructions
Copyright
Environment
Trademarks
Property of their respective owners
For best performance
For your safety
It is unlawful to make copies of certain documents
Moving the unit
Illegal copies
Routine care
Single telephone line
Telephone line
106
101
102
103
Quick reference guide
Supplied accessories
Accessory information
Toner cartridge Drum cartridge
Button descriptions
Display and buttons
Display descriptions
Rear view
Power inlet
Overview
Front view
Supplied toner cartridge is a starter toner cartridge
Toner cartridge and drum cartridge
When to replace the toner cartridge and the drum cartridge
Waste disposal method
Toner save feature
Moist paper Inkjet paper
Recording paper
Introduction and Installation
Approx .8 kg 10.6 lb
Connections
Using surge protectors
Using network router/network hub
We recommend using network routers/network hubs
Press Menu to exit
Turning the power switch on
Dialing mode
Turn the power switch to the on position
Effective scanning area
Selecting the operation mode Scan/Copy/Fax
Setting the original
Using the scanner glass
Maximum document size
Using the automatic document feeder
Document weight
Minimum document size
Date and time
Adjusting the volume
Your logo
You can turn this feature OFF feature #226 on
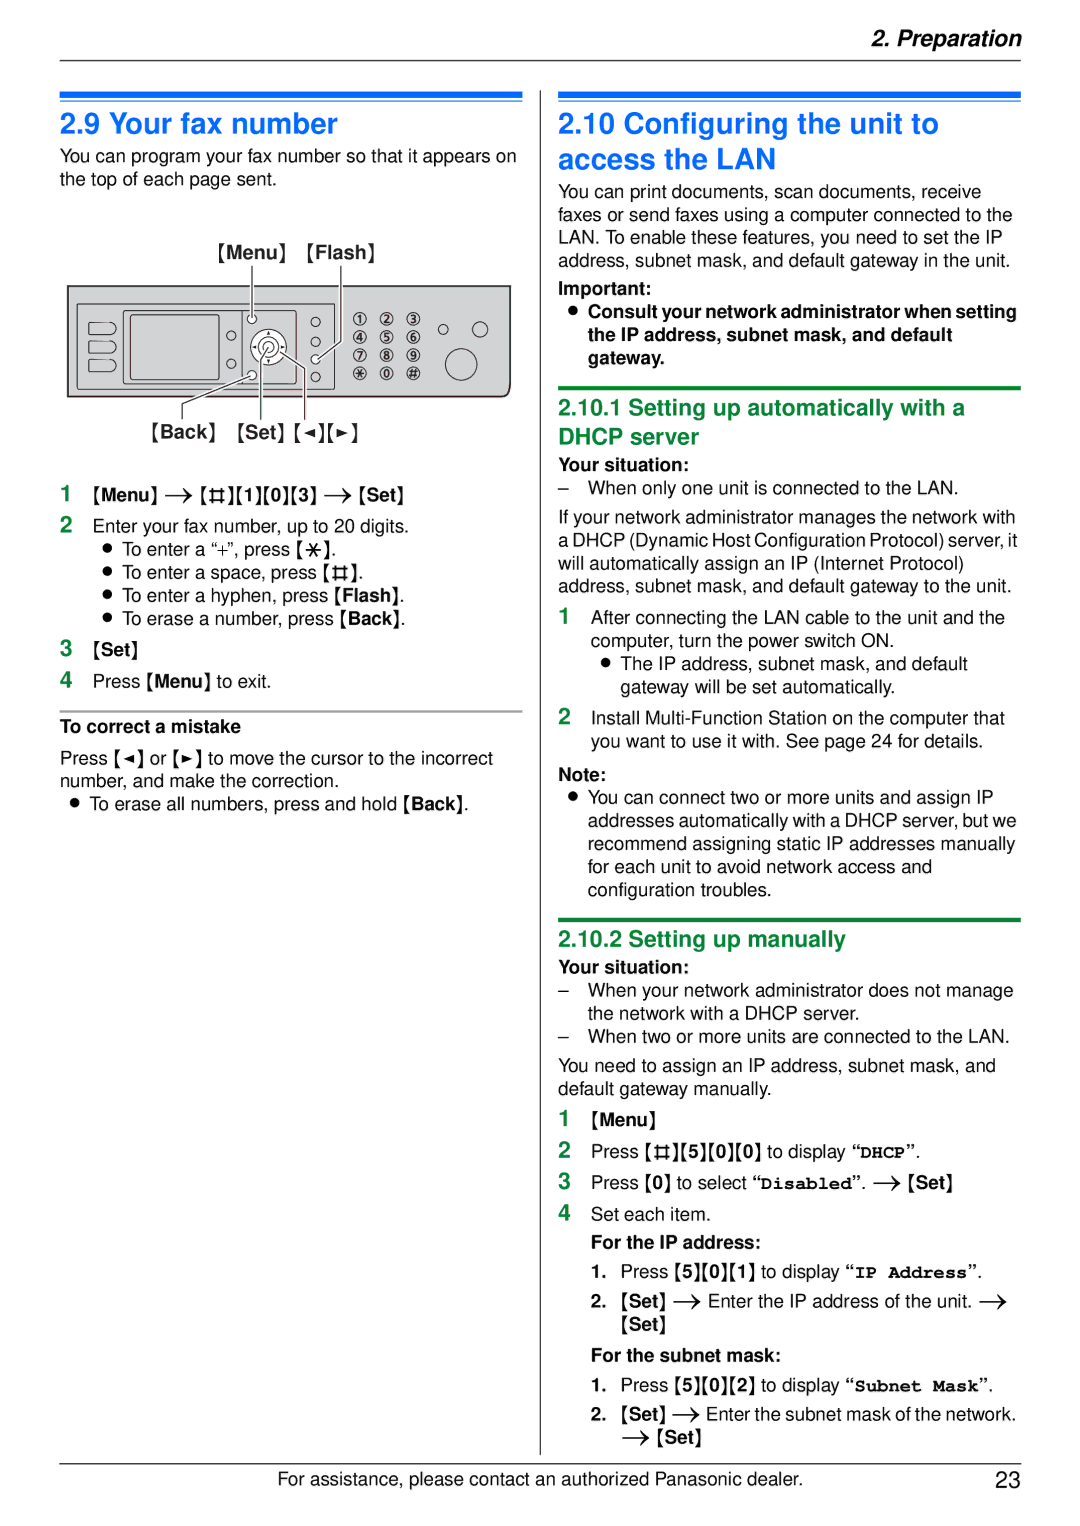
Your fax number
Configuring the unit to access the LAN
Setting up automatically with a Dhcp server
Setting up manually
Required computer environment
Installing Multi-Function Station
Setting the computer for PC fax reception
Installing Multi-Function Station on a computer
Starting Multi-Function Station
Appears, click Continue
To change the settings
To select the default Email software
OCR Path To select the OCR software
Duplex printing
Printing from Windows applications
To print on labels
Utilities iConfiguration Web Page i Network Configuration
Printing on special media
To print on transparencies
Printer
Scan to Viewer
Scanning from the unit Push Scan
Scan to email address LAN connection only
Scan to save as a file
Scan to Email
Scan to OCR
Example Lisa
Using navigator key
Using dial keypad
Scanning 2-sided originals automatic document feeder only
Utilities iViewer Multi-Function Viewer will appear
Using Multi-Function scan application
Using Viewer
Scanning from a computer Pull Scan
For WIA scanning Select From Scanner or Camera... from
Using other applications
For Twain scanning
Select Acquire Image... from the File menu
Making a copy
Original document
When using the scanner glass, the unit will only
Using the automatic document feeder
Example 70 % reduced copy Using the scanner glass
Collate copy
More copying features
Duplex feature
For details
When using the scanner glass Start
Quick ID copy feature
Easy repeat feature
Easy repeat feature Start
Poster feature Scanner glass only
1 feature
Quick ID copy feature Start
Start to start copying
Booklet feature
Copy reservation
To redial the last number Redial
Reserving the fax transmission Dual Access
When using the automatic document feeder, press Start
Sending a fax manually
To send 2-sided originals
Sending from memory Quick scan feature
Printing a journal report
Pre-dialing a fax number
Erasing a stored item
Storing items for the navigator directory
Storing navigator directory items
Editing a stored item
Adding a new item into the broadcast memory
Sending a fax using navigator directory
Broadcast transmission
Programming items into the broadcast memory
To add other items, repeat this step up to 20 items
To send the same document using the scanner glass
Erasing a stored item from the broadcast memory
Sending the same document to pre- programmed parties
Send
Activating FAX only mode
If you have subscribed to a Distinctive Ring service
Receiving a fax automatically Auto answer on
Viewing a fax document
Activating TEL mode
Receiving a fax manually Auto answer OFF
Displaying a received fax document
Erasing a fax document
Printing a fax document
Saving a fax document
Receiving a voice message and fax document in one call
Using the unit with an answering machine
Setting up the unit and an answering machine
Connect the answering machine
Storing undesired callers
Activating the junk fax prohibitor
Web fax preview LAN connection only
Activating the fax preview mode
Programming the web fax preview access code
Receiving a fax on your computer
What , means
How Caller ID is displayed
Caller ID service
Symbols and operations for caller information
Menu Set
Erasing caller information
Erasing all caller information
Erasing specific caller information
Programming the ring pattern assigned for fax
Distinctive Ring service
Using two or more phone numbers on a single telephone line
Activating the Distinctive Ring feature
Submit
Configuration Web
Programming
700ms default
Basic features
Counter view feature #484 on page 61 will not be reset
No default
Activating this feature
To reset all features
To select #1+#2
Paper type setting feature #383 on
Setting feature #383 on
Setting the default operation
Programmable Features
Calling charges may be higher than usual
Fax features
This feature is not available for broadcast transmission
Re-send the document
Then press Set
#412 Desired time Off default To send a document
Type setting feature #383 on
To beep when the memory is nearly full
Connection, it will print the data
Data after recognition of the computer connection
Feature/Code Selection Setting the information for
To change the setting again
Copy features
Overrides this feature
Beforehand
Paper. Change the setting to Plain Paper or Thin Paper
Desired paper input tray
Repeatedly, then press Start
That 80 characters in 10 cpi font may be printed on a line
PC print features
To each font
Feature/Code Selection Setting the font number
Address destinations via an
Scan features
Programmable Features
LAN features
Click Edit next to Approved Users
Select the LAN Feature tab
Change the mode and edit IP filtering information. iSubmit
Interface
Enter the Snmp community name. Consult your
Network features LAN connection only
Feature Tab Selection Setting the LAN LAN Feature
Features Setting the community
Enter the desired email checking interval for the scan to
Status of the unit
Using Remote Control
To select characters using V or
Character entry
Using the web browser LAN connection only
Canceling the operations
Using Device Monitor
Lower input tray optional
For Number of Input Tray, 2 will be selected
Setting the lower input tray
Click Auto Configuration on the Device tab. iOK
For Windows 98/Windows Me/Windows 2000/Windows XP
Report messages
Display messages
Display Cause & Solution
Check that the computer is turned on
Settings
104
Check the connection between the computer and the unit
Document into two or more sheets and try again
Sided document / 360 mm 143/ of 2-sided document using
Transmission error occurred. Try again
Document is jammed. Remove the jammed document
General
When a function does not work
Printing problems
Scanner
11.3.5 Fax
Copier
Automatically
Problem Cause & Solution Cannot receive documents
Connecting, but faxes are
Receiving mode
Documents by pressing
Problem Cause & Solution When an extension telephone
Receiving mode does not
Is connected, I cannot receive
Network
If a power failure occurs
Using an answering machine
Continue
Change settings
Easy installation Modify iNext
Windows Firewall
Display will show the following
When the recording paper has jammed inside of the unit
Recording paper jam
Remove the jammed paper 5 carefully by pulling it upward
Case When the recording paper has jammed near the rollers
When the recording paper has jammed inside the fuser unit
Remove the jammed paper 4 carefully by pulling it upward
When the recording paper has jammed over the fuser unit
Remove the jammed paper n carefully by pulling it upward
Push up the green levers m to the original position
Paper Jammed Open Tray #2 Left Cover Paper Jammed b
Close the cover at the left side of the lower input tray
When the recording paper is not fed into the unit properly
Open the ADF cover 1 while holding the document cover
When the document has jammed near the document entrance
When the document has jammed near the document exit
Document jams Automatic document feeder
Cleaning the white plates and glass
Clean the rollers when documents frequently misfeed
Cleaning the document feeder rollers
Reference lists and reports
Specifications
Recording paper weight
Printing resolution
ITU-T No.1 Test Chart
Recording paper specifications Plain paper/Thin paper size
Drum life
Approx ,600 pages can be printed
Information of copyrights and licenses
107
108
109
110
111
112
113
114
115
Index
117
118
119
PNQX2279ZA CM0709TM0 CD