2. Preparation
2.6 Date and time
You must set the date and time.
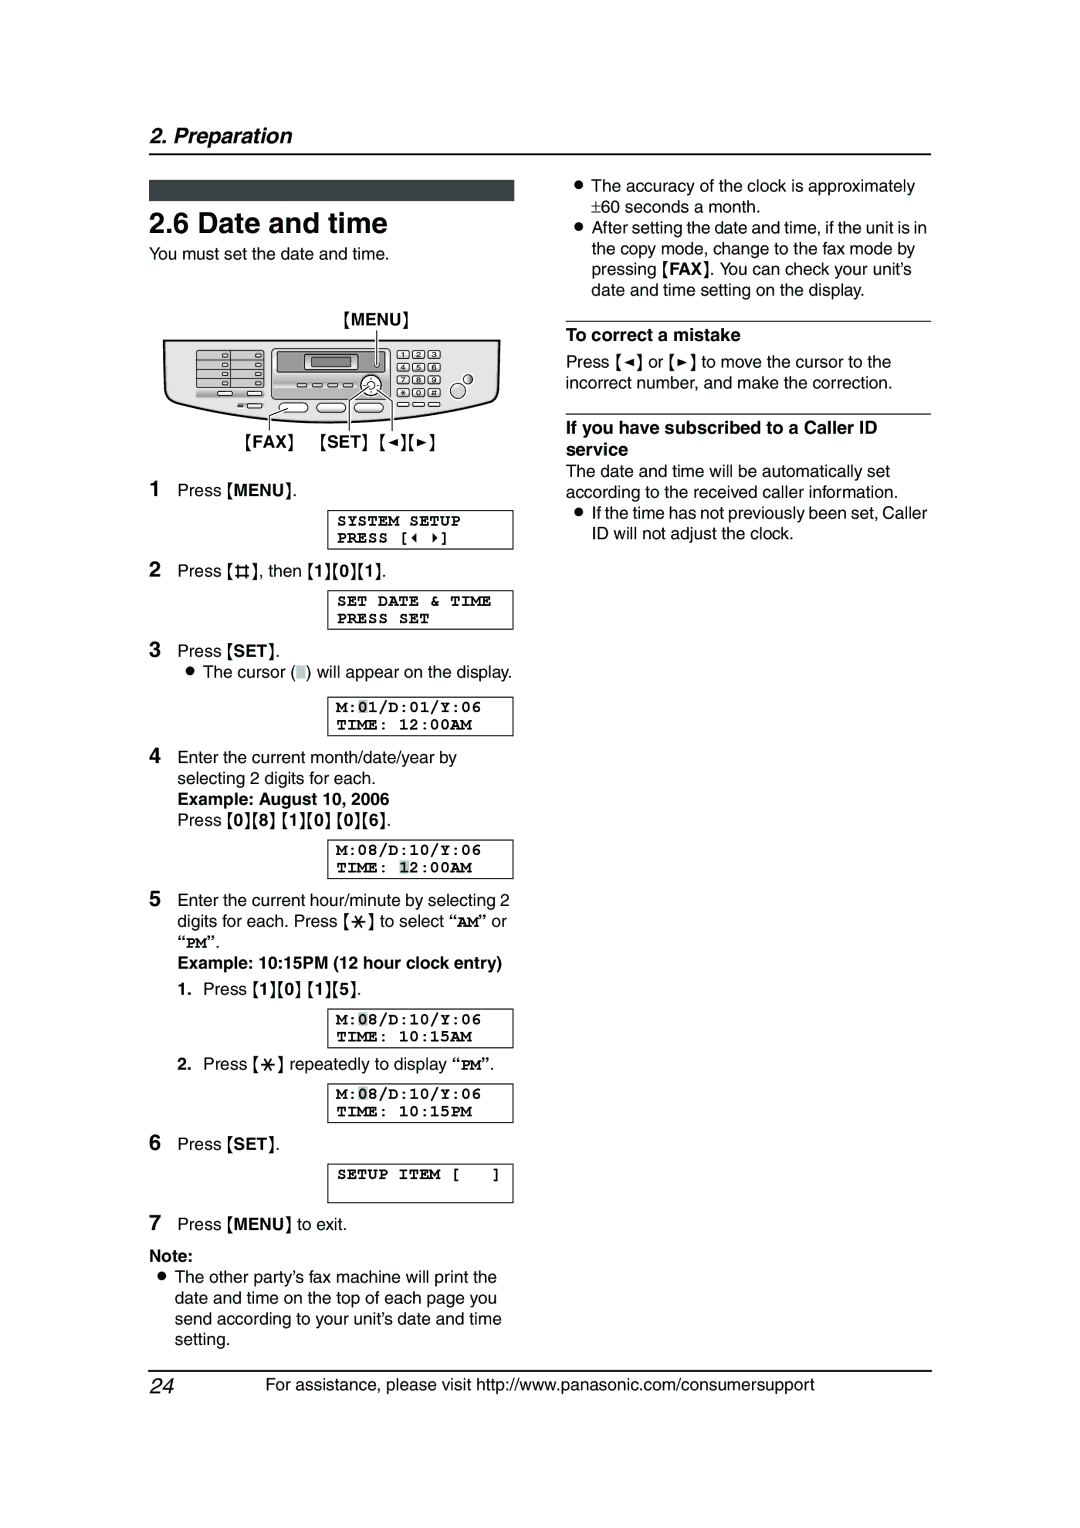
{MENU}
{FAX} {SET} {<}{>}
1Press {MENU}.
SYSTEM SETUP
PRESS [( )]
2Press {#}, then {1}{0}{1}.
SET DATE & TIME
PRESS SET
3Press {SET}.
LThe cursor () will appear on the display.
M:01/D:01/Y:06
TIME: 12:00AM
4Enter the current month/date/year by selecting 2 digits for each.
Example: August 10, 2006 Press {0}{8} {1}{0} {0}{6}.
M:08/D:10/Y:06
TIME: 12:00AM
5Enter the current hour/minute by selecting 2 digits for each. Press {*} to select “AM” or “PM”.
Example: 10:15PM (12 hour clock entry) 1. Press {1}{0} {1}{5}.
M:08/D:10/Y:06
TIME: 10:15AM
2.Press {*} repeatedly to display “PM”.
M:08/D:10/Y:06
TIME: 10:15PM
6Press {SET}.
SETUP ITEM [ | ] |
|
|
7Press {MENU} to exit.
Note:
LThe other party’s fax machine will print the date and time on the top of each page you send according to your unit’s date and time setting.
LThe accuracy of the clock is approximately
±60 seconds a month.
LAfter setting the date and time, if the unit is in the copy mode, change to the fax mode by pressing {FAX}. You can check your unit’s date and time setting on the display.
To correct a mistake
Press {<} or {>} to move the cursor to the incorrect number, and make the correction.
If you have subscribed to a Caller ID service
The date and time will be automatically set according to the received caller information.
LIf the time has not previously been set, Caller ID will not adjust the clock.
24For assistance, please visit http://www.panasonic.com/consumersupport